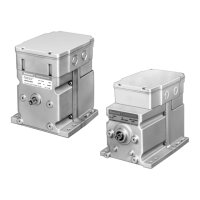
SERIES 71, 72, AND 76 MODUTROL IV™ MOTORS
63-2640—07 8
Fig. 8. Driving up to six motors from
one 4 to 20 mA controller.
SETTINGS AND ADJUSTMENTS
Before Setting Stroke
1. Remove the top cover from the motor.
2. Disconnect the controller from the motor.
3. For models with an internal transformer (line voltage
motors), ensure that power (and nothing else) remains
connected to the motor.
IMPORTANT
Detach linkage from motor before adjusting stroke.
Careless Installation Hazard.
Use of excessive force while adjusting cams
damages the motor.
To avoid damaging motor end switches, set cams by
moving only the screwdriver top.
Equipment Damage Hazard.
Can damage the motor beyond repair.
Never turn the motor shaft by hand or with a wrench.
Forcibly turning the motor shaft damages the gear train
and stroke limit contacts.
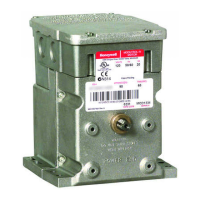
Adjustable Stroke
All models except for M7284C1083,
M7284C1091, M7284Q1082, and
M7284Q1090.
When viewing from the power end of the motor, the stroke
potentiometer is to the far left. To set the stroke to 160°
(maximum position) turn the potentiometer fully clockwise
, using a 1/8 in. straight-blade screwdriver. To set the
stroke at 90° (minimum position) turn the potentiometer fully
counter-clockwise . Setting the potentiometer anywhere
between fully clockwise and fully counter-clockwise will set the
stroke between 160° and 90°.
Fig. 9. Stroke adjustment setup
4-20 mA
CONTROLLER
L1
(HOT)
L2
POWER SUPPLY. PROVIDE DISCONNECT MEANS AND
OVERLOAD PROTECTION AS REQURED.
CONNECTING F TO – WILL DRIVE MOTOR TO FULLY OPEN.
MOTORS FUNCTION INDEPENDENTLY.
1
M31109
1
MOTOR
MOTOR
+
-
MOTOR
2
F
T1
T2
2
F
T1
T2
2
F
T1
T2
2
+
-
+
+
-
-
M13699
POWER END
OF MOTOR
AUXILIARY
SWITCH CAMS
ADJUSTABLE
STROKE
POTENTIOMETER
 Loading...