Do you have a question about the Honeywell RTH2410 and is the answer not in the manual?
Do not put your old thermostat in the trash if it contains mercury. Contact local authority for disposal.
Identify and label each wire using terminal screw designations, ignoring colors. Disconnect after labeling.
Do not use non-connected wires. Wrap C or C1 wires with electrical tape.
Remove the jumper if R and RC wires are both present.
Follow specific rules for C, C1, X, B, and L wires. Wrap bare ends with tape.
Place jumper between Y and W/AUX for heat pumps without auxiliary/backup heat.
Notes on R/RC jumper, compatibility (R, RC, V, VR), and B wire handling.
Instructions for C, X, L, O/B, Y1/W1/W2, and E/AUX wires.
Incorrect setting can cause cold air before heating starts in gas/oil systems.
Incorrect setting reverses heat pump operation (cools in heat mode, heats in cool mode).
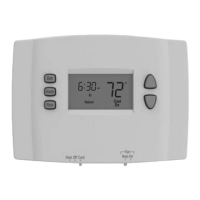
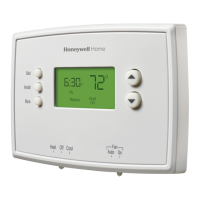
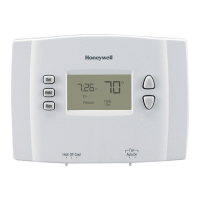
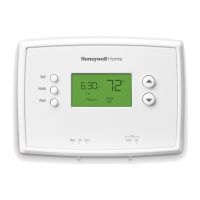
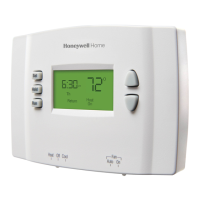
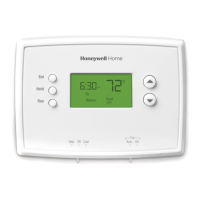
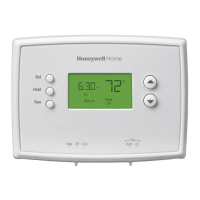
Personalize and configure the thermostat according to the heating/cooling system.
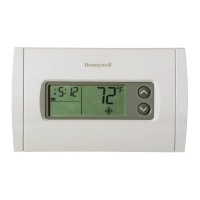
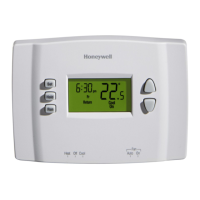
Select Fahrenheit or Celsius temperature display.
Select 12-hour or 24-hour display format.
Select cycles per hour for gas, oil, steam, or electric heating systems.
Enable or disable compressor protection to prevent short cycling.
Enable 'Early Start' to allow the thermostat to learn system heating/cooling times.
Configure system startup for conventional or heat pump systems.
Contact Honeywell for assistance with the product.
Details of the product's one-year limited warranty coverage.
| Power Source | Battery |
|---|---|
| Backlight | No |
| Stages | 1 |
| Voltage | 24V |
| Battery | 2 AA batteries |
| Compatibility | Single-stage heating and cooling systems |