
B
Betty RobinsonAug 8, 2025
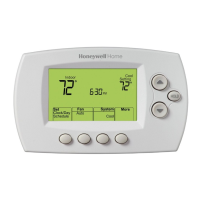
What to do if my Honeywell RTH6580WF Wi-Fi Thermostat display is blank?
- BBrandon ValdezAug 8, 2025
If your Honeywell Thermostat display is blank, check the circuit breaker at the main panel. Also, ensure the ON/OFF selector is set to ON. If the problem persists, try resetting the switch using a paper clip.