T775A/B/M SERIES 2000 ELECTRONIC STAND-ALONE CONTROLLERS
62-0254—13 30
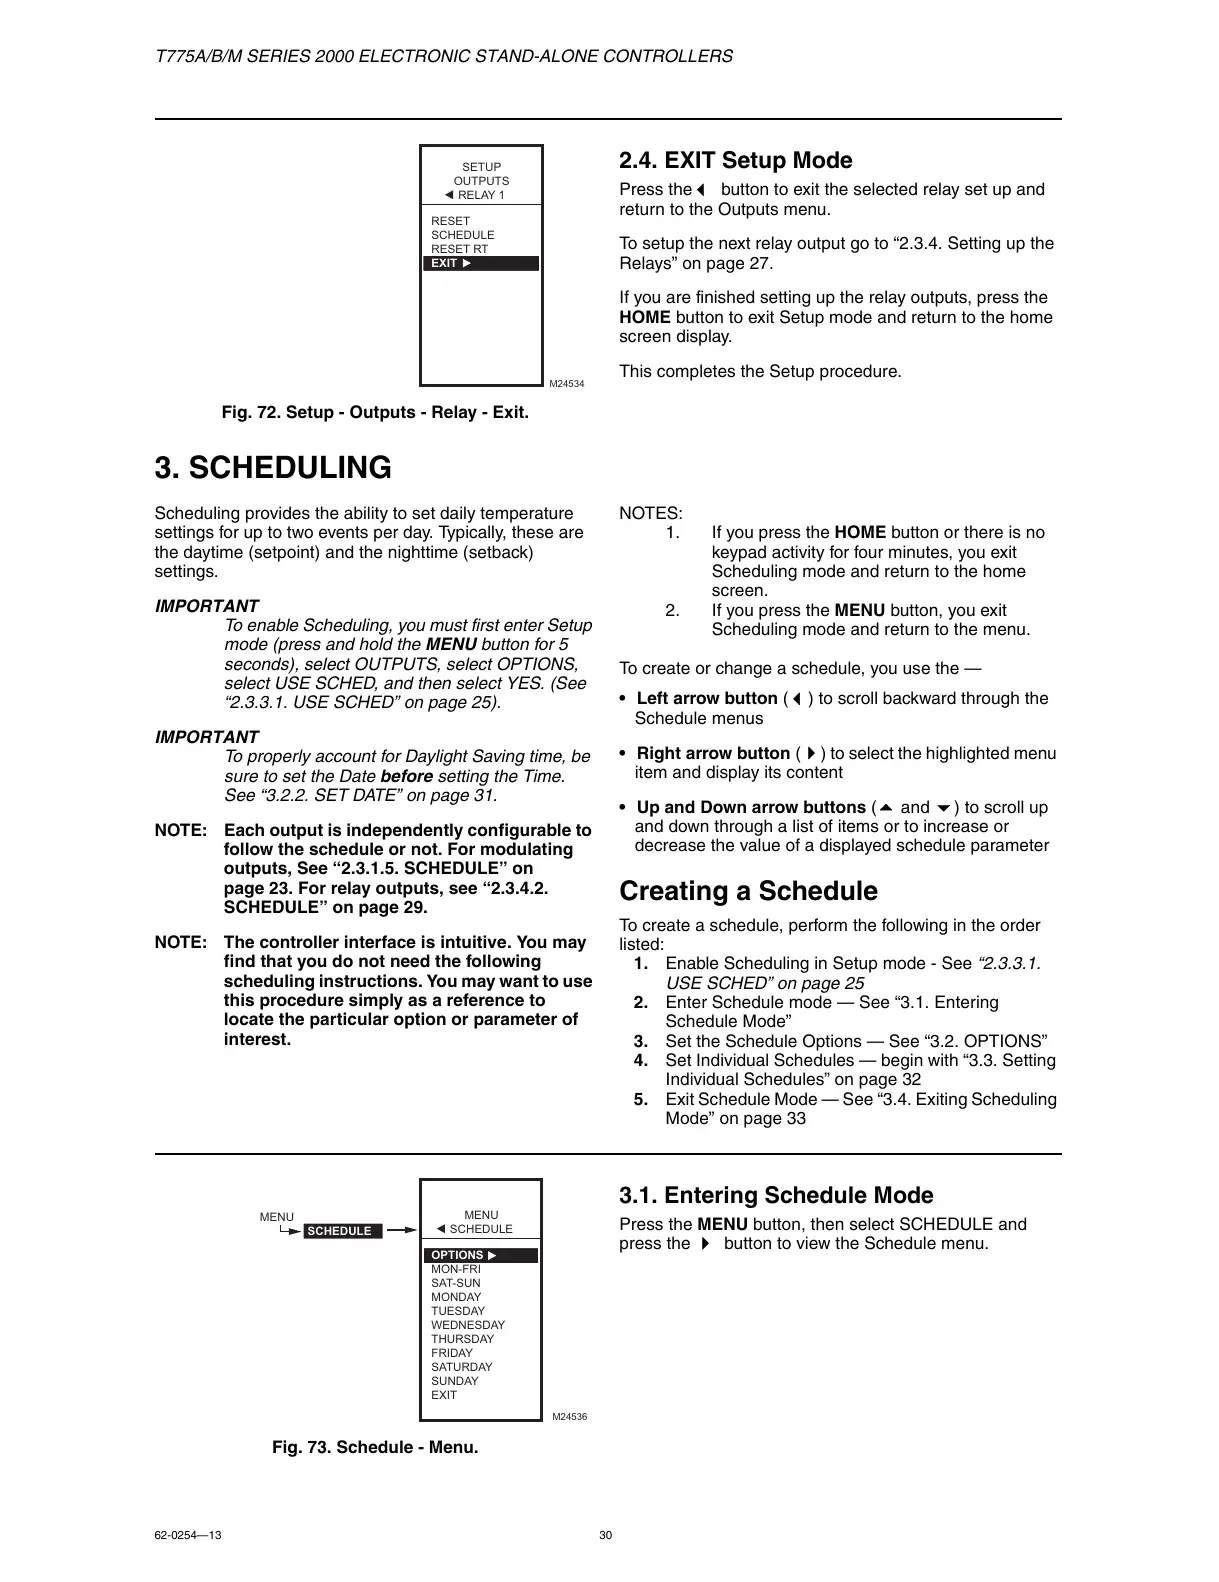
Fig. 72. Setup - Outputs - Relay - Exit.
2.4. EXIT Setup Mode
Press the button to exit the selected relay set up and
return to the Outputs menu.
To setup the next relay output go to “2.3.4. Setting up the
Relays” on page 27.
If you are finished setting up the relay outputs, press the
HOME button to exit Setup mode and return to the home
screen display.
This completes the Setup procedure.
3. SCHEDULING
Scheduling provides the ability to set daily temperature
settings for up to two events per day. Typically, these are
the daytime (setpoint) and the nighttime (setback)
settings.
IMPORT ANT
To enable Scheduling, you must first enter Setup
mode (press and hold the MENU button for 5
seconds), select OUTPUTS, select OPTIONS,
select USE SCHED, and then select YES. (See
“2.3.3.1. USE SCHED” on page 25).
IMPORT ANT
To properly account for Daylight Saving time, be
sure to set the Date before setting the Time.
See “3.2.2. SET DATE” on page 31.
NOTE: Each output is independently configurable to
follow the schedule or not. For modulating
outputs, See “2.3.1.5. SCHEDULE” on
page 23. For relay outputs, see “2.3.4.2.
SCHEDULE” on page 29.
NOTE: The controller interface is intuitive. You may
find that you do not need the following
scheduling instructions. You may want to use
this procedure simply as a reference to
locate the particular option or parameter of
interest.
NOTES:
1. If you press the HOME button or there is no
keypad activity for four minutes, you exit
Scheduling mode and return to the home
screen.
2. If you press the MENU button, you exit
Scheduling mode and return to the menu.
To create or change a schedule, you use the —
• Left arrow button (
) to scroll backward through the
Schedule menus
• Right arrow button () to select the highlighted menu
item and display its content
• Up and Down arrow buttons ( and ) to scroll up
and down through a list of items or to increase or
decrease the value of a displayed schedule parameter
Creating a Schedule
To create a schedule, perform the following in the order
listed:
1. Enable Scheduling in Setup mode - See “2.3.3.1.
USE SCHED” on page 25
2. Enter Schedule mode — See “3.1. Entering
Schedule Mode”
3. Set the Schedule Options — See “3.2. OPTIONS”
4. Set Individual Schedules — begin with “3.3. Setting
Individual Schedules” on page 32
5. Exit Schedule Mode — See “3.4. Exiting Scheduling
Mode” on page 33
Fig. 73. Schedule - Menu.
3.1. Entering Schedule Mode
Press the MENU button, then select SCHEDULE and
press the
button to view the Schedule menu.

 Loading...