7
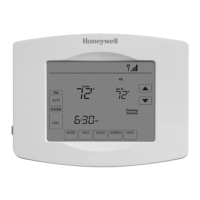
After installer setup, you will be prompted to connect to a WiFi network.
NOTE: If you select No, the homeowner
can connect to the WiFi network later.
(See “Connecting to WiFi later” on
page 9 or in the User’s Guide.) The
thermostat will display its Home screen
and thermostat setup is complete.
1 Connect to the WiFi network now.
1.1 Press Yes.
The thermostat will scan for available
WiFi networks.
1.2 Use the arrow buttons to scroll up/
down or left/right. Press the WiFi
network name, then press Select.
NOTE: If the WiFi network name is
hidden, see “Connecting to a hidden WiFi
network” on page 10.
1.3 When prompted, press the screen to
edit the password (if necessary).
Enter the password.
Press the s or t buttons to change
the letter or number.
Press the
button to move to the
next character, or the
button to
move to the previous character.
Use the s or t buttons at the
bottom to change letter case.
Press Done when complete.
1.4 The screen will let you know when the
connection is successful. Press Done
when the connection is successful.
If the connection is not successful,
the screen will explain why not. See
“Unsuccessful connection” on page
9. Follow instructions on the
screen to try again.
NOTE: Press the Help button for more
information about an unsuccessful connection.
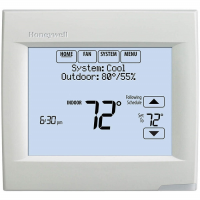
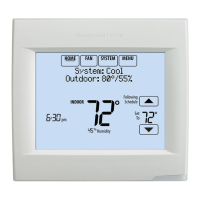
Connecting to Wi-Fi
Connect to a
Wi-Fi network now?
Delete Space
AC
Select Wi-Fi Network
Your Network
Finding Networks
Please Wait
Enter Password
Press Here to Edit
Connection
Successful
 Loading...