Do you have a question about the Hoover DDY 088T and is the answer not in the manual?
Basic safety rules for appliance installation, including power supply and cable management.
Essential safety precautions for operating the dishwasher, including handling, children, and water.
Requirements for safe electrical connection, including earthing and supply capacity.
Instructions for correctly connecting the drain hose to a standpipe or sink.
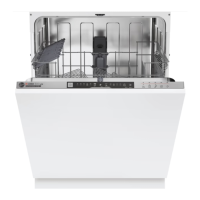
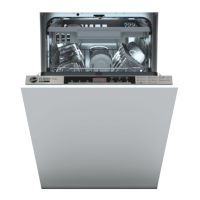
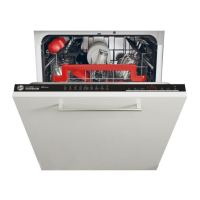
Guidance on fitting the dishwasher into standard kitchen cabinets.
Steps for installing the dishwasher under a kitchen worktop.
How to adjust the water softener settings based on water hardness.
Guidance on loading items into the upper dishwasher basket.
Guidance on loading items into the lower dishwasher basket.
Instructions for filling the detergent dispenser.
Instructions for filling the rinse aid dispenser.
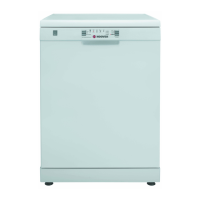
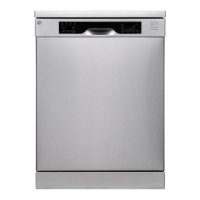
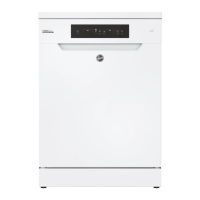
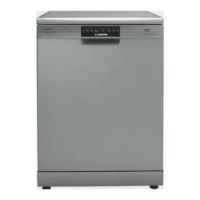
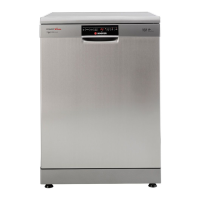
This document provides user instructions for the HOOVER DDY 088T and DDY 088TX dishwashers, covering installation, operation, maintenance, and troubleshooting.
The HOOVER dishwasher is designed for indoor use in household applications, specifically for washing normal kitchen utensils. It features a water softener unit to counteract hard water, ensuring optimal cleaning and preventing limescale deposits. The appliance offers various wash programmes tailored to different levels of soil and types of dishes, including "AUTOMATIC" programmes that use a dirt sensor to adapt washing parameters. It also incorporates "IMPULSE" washing technology, which aims to reduce consumption and noise while increasing performance. For safety, the dishwasher is equipped with an anti-overflow device that automatically discharges excess water if a problem occurs.
Installation and Setup: The dishwasher can be fitted between existing cabinets or underneath a worktop. Its height is adjustable to ensure it is level and fits perfectly into kitchen spaces. Proper electrical connection to a earthed supply is crucial for safety and performance. Water connection requires new hose-sets, and the appliance can be connected to either cold or hot water (up to 60°C) with a pressure range of 80 kPa to 800 kPa. The outlet hose should discharge into a standpipe at least 40 cm above floor level, with an anti-odour air trap recommended.
Water Softener Unit: The water softener unit is essential for preventing limescale. Users can regulate the water softener setting from 0 to 7 based on their water hardness, which can be obtained from their local water supply company. The factory default setting is level 4 (d4). To adjust, the dishwasher must be off. Hold the "PROGRAMME SELECTION" button while pressing "ON/OFF," then hold "PROGRAMME SELECTION" again for 5 seconds until an audible signal sounds and the current setting appears on the display. Press the button repeatedly to cycle through settings, and turn off the dishwasher to confirm.
Loading Salt: A dedicated container at the bottom of the machine holds salt for regenerating the softener. Only dishwasher-specific salt should be used. For the first use, after filling the salt container, water must be added until it overflows. A salt loading indicator light on the control panel will illuminate when a refill is needed. After loading salt, it's recommended to run a complete washing cycle or a COLD RINSE programme.
Loading Detergent: Detergent, either powder, liquid, or tablet form, must be specifically designed for dishwashers. Unsuitable detergents can impair performance. The detergent container is located inside the door. To open, press button (A). The recommended amount is 20-30g for the wash section. After pouring, close the lid by pushing (1) and pressing (2) until it clicks. When using "ALL in 1" combined detergents, users should follow the manufacturer's instructions and be aware that the salt and rinse aid indicator lights may become superfluous.
Loading Rinse Aid: Rinse aid, automatically released during the last rinse, helps dishes dry quickly and prevents spots. The rinse aid container is next to the detergent container. The rinse aid level can be checked via an indicator eye (C). The regulator (D) under the lid allows adjustment from 1 to 6, with 4 being the recommended position. Adjusting this quantity helps achieve optimal drying results based on water hardness.
Loading Dishes: The dishwasher features an upper basket, a lower basket, and a third basket.
Programme Selection and Special Functions: The dishwasher has a memory function that saves the last used programme. To start, open the door, load dishes, press "ON/OFF," then "PROGRAMME SELECTION" to choose a programme. The "ACTION PRO" button allows modification of wash intensity (and thus wash time and temperature) based on dirtiness, creating 8 additional wash cycles for a total of 12. Option buttons like "SUPER ECO" (energy/time saving, recommended for light soil) and "EXTRA DRY" (increased drying efficiency) can be selected within one minute of programme commencement. The "DELAY START" button allows delaying the start time from 1 to 23 hours. Press "START" to begin the countdown. To cancel a running programme or delayed start, hold the "RESET" button for at least 5 seconds.
Cleaning the Filters: The filter system (Fig. A "4") consists of a central container, a flat gauze, and a micro filter. Filters should be checked and cleaned after each wash. To remove, turn the handle anticlockwise (fig. 1). The central container is removable (fig. 2). The gauze filter (fig. 3) and the entire unit should be washed under running water, using a small brush if necessary. After cleaning, ensure filters are correctly reassembled and the gauze filter is properly positioned at the bottom of the dishwasher, screwed back clockwise. Never use the dishwasher without the filters.
Routine Cleaning and Maintenance:
When the Cycle is Finished: After each wash, turn off the water supply and switch off the machine. If the machine will not be used for some time, it is advisable to:
Troubleshooting (Identifying Minor Faults): The dishwasher can signal faults via the display. For example:
For issues like partially washed dishes, detergent not dispensed, white spots, or noise during wash, specific remedies are provided, such as repositioning dishes, checking salt/rinse aid levels, or adjusting detergent amounts. If malfunctions persist, contact the Service Centre, providing the serial number.
| Appliance placement | Freestanding |
|---|---|
| Colour | White |
| Drying class | A |
| Delay Start | Yes |
| Half Load Option | Yes |
| Number of place settings | 8 place settings |
| Washing programs | Eco, Intensive, Normal, Quick |
| Width | 450 mm |
| Depth | 60 cm |
| Height | 85 cm |