A
Alexis GrimesJul 29, 2025
What to do if the recovery tank lid is not on correctly on my Hoover Vacuum Cleaner?
- JJason NealJul 30, 2025
Ensure that the recovery tank lid is firmly in place to resolve this issue.
What to do if the recovery tank lid is not on correctly on my Hoover Vacuum Cleaner?
Ensure that the recovery tank lid is firmly in place to resolve this issue.
What to do if the solution tank is empty in my Hoover F5912900?
Refill the solution tank according to the instructions for the surface you are cleaning.
Essential safety guidelines for operating the appliance indoors and with care to prevent injury.
Proper connection to grounded outlets to reduce the risk of electric shock.
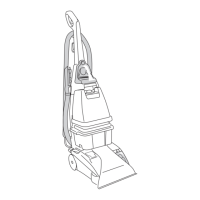
Lists all parts included in the product packaging for initial assembly.
Attaching the upper handle to the main body of the deep cleaner.
Mounting the hose holder onto the deep cleaner handle.
Attaching the tool holder to the back of the deep cleaner.
Reinserting the clean solution tank into the main unit.
Instructions for properly coiling and securing the hose for storage.
Methods for storing tools directly on the deep cleaner.
Storing the stair/upholstery nozzle in its designated bracket.
Reattaching the tool cover after it has detached from the unit.
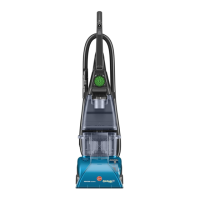
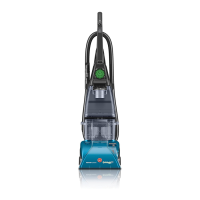
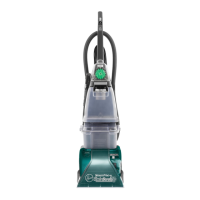
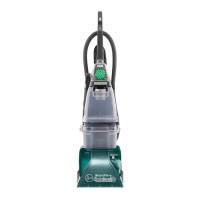
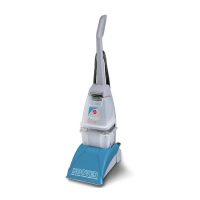
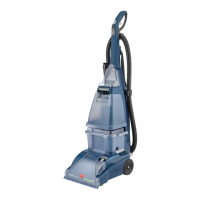
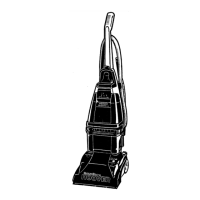
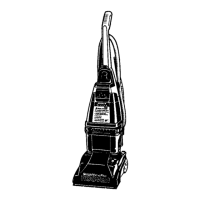
Identifies and explains the various parts of the deep cleaner.
Explains the function of the ON/OFF, handle release, and lifting handles.
Instructions on how to move the deep cleaner between rooms.
Explains the automatic shut-off feature when the recovery tank is full.
Details the different settings for brush speed (HI, LO, OFF).
Explains the brush indicator and reasons for it not spinning.
Overview of tanks and step-by-step guide for filling the clean solution tank.
How to use the cap as a measuring cup and ensure the rubber ring is positioned.
Adding detergent and hot water to the clean solution tank.
Steps to safely empty the dirty water from the recovery tank.
Preparatory steps before starting the cleaning process, including pre-vacuuming and testing.
Post-cleaning procedures to ensure proper care and drying.
Method for clearing debris from the cleaning nozzle.
Detailed instructions for cleaning carpets effectively with the deep cleaner.
Guidelines for using the cleaner to pick up small liquid spills.
How to use the Clean Surge button for extra solution dispensing.
Instructions for cleaning hard, bare floors with the deep cleaner.
Steps to attach the optional bare floor cleaning attachment.
Information on the powered hand tool and stair/upholstery nozzle.
Steps for connecting the hose to the deep cleaner.
Connecting converter, solution tube, and tools to the hose.
Priming the pump to ensure solution flow to the attached tool.
Steps to take after using a tool, including rinsing and draining.
Specific instructions for cleaning carpeted staircases safely.
Detailed guidance for cleaning upholstery safely and effectively.
Techniques for cleaning heavily soiled upholstery areas.
Information about the deep cleaner's removable brushes.
Steps to detach and reattach the brushes from the deep cleaner.
Troubleshooting steps for when the machine fails to power on.
Diagnosing and resolving issues with reduced suction power.
Troubleshooting steps when the cleaning solution is not dispensed.
Identifying causes for brushes or indicator not rotating during cleaning.
Information on how to obtain authorized warranty service for the appliance.
| AC input voltage | 120 V |
|---|---|
| Cord length | 7.3 m |
| Product color | Black |
| Removable water tank | Yes |
| Machine type | Walk-behind |
| Operating current | 12 A |
| Dirty water tank capacity | 3.8 L |
| Weight | 9100 g |
|---|