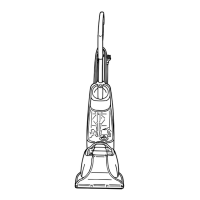
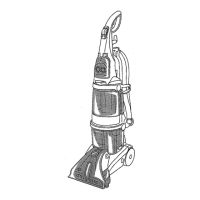
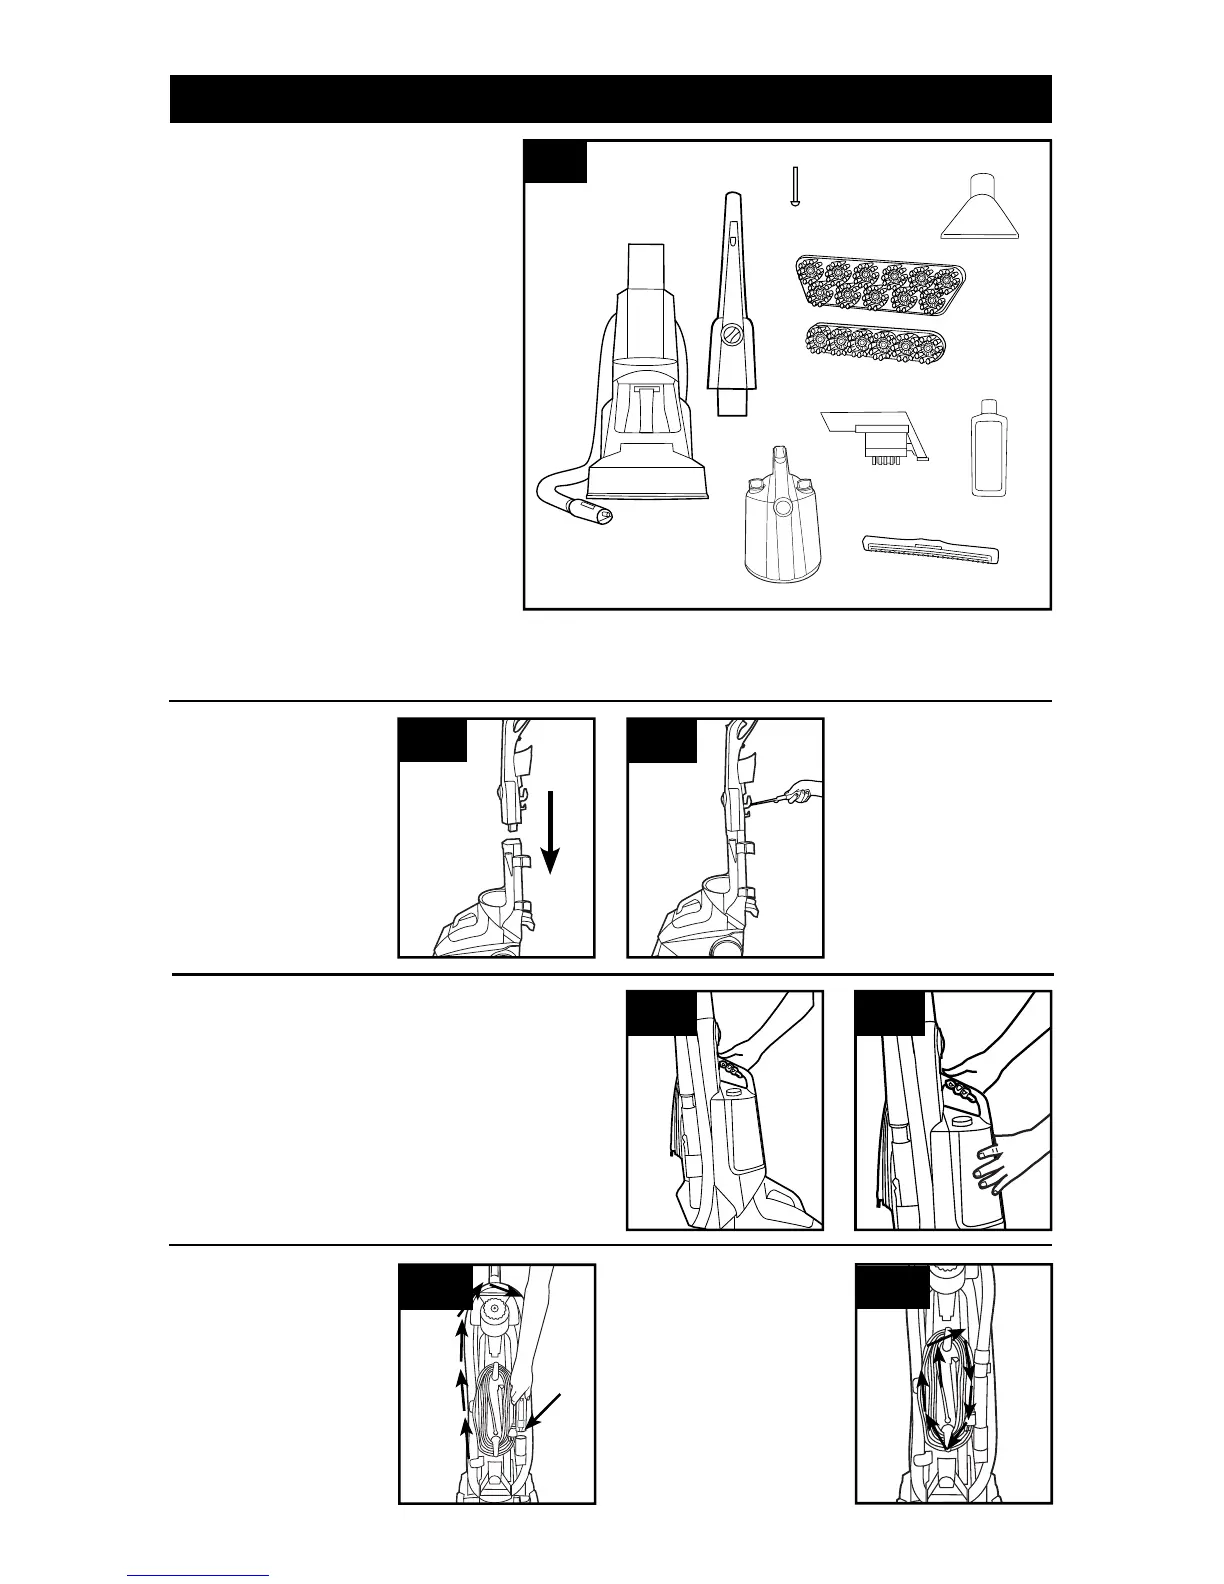
1. CLEANER ASSEMBLY
5
A. Base, Hose and Removable Dirty
Water Tank
B. Upper Handle
C. Handle Bolt (located in handle of unit)
D. SpinScrub
®
60 Brush Assembly or
SpinScrub
®
77 Brush Assembly
(Assembled on unit)
E. Stair/Upholstery Nozzle
(Assembled on unit)
F. SpinScrub
®
Hand Tool*
G. Clean Water Tank/ Carry
Handle
H. Squeegee* (Assembled on unit)
I. Solution Bottle
Remove all parts from carton and identify
each item shown.
Make sure all parts are located before
disposing of packing materials.
Handle ships with bolt
screwed in place. Remove
bolt.
1.2 Insert handle section
into vacuum base. Push
down firmly.
1.3 Insert bolt. Tighten
with screwdriver.
ATTACH HANDLE
CARTON CONTENTS
1.2
1.3
1.1
A
B
C
D
E
F*
Actual model may vary from images shown.
1.4 1.5
UPPER TANK
1.4 Position bottom of tank onto cleaner.
1.5 Push upper part of tank to lock it into place.
STORE HOSE
1.6 Wrap hose around
back of cleaner. Store
hose handle in holster.
1.7
1.6
CORD STORAGE
1.7 Wrap cord around
cord hooks for
convenient storage.
Attach the plug end to
cord.
G
H*
*Available on select models only. Accessories not included with your
model may be purchased separately by visiting hoover.com.
NOTE: Phillips screwdriver needed for assembly.
I