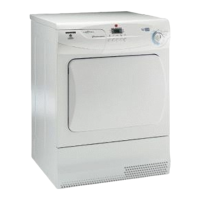
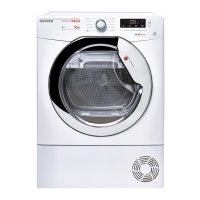
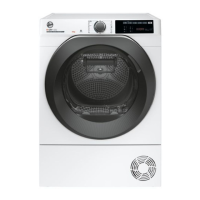
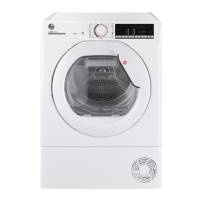
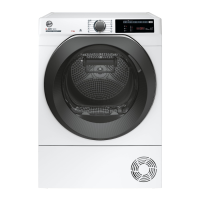
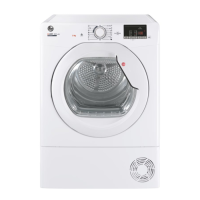
This document is an instruction manual for a Hoover Condenser Tumble Dryer, model HNC 180, with an 8kg capacity.
Function Description
The Hoover Condenser Tumble Dryer is designed for domestic use to dry household textiles and garments. It operates by tumbling laundry in thermostatically controlled warm air. As a condenser dryer, it collects the water removed from the laundry in a container, which needs to be emptied after each drying cycle. The dryer includes a cool-down period at the end of each cycle to reduce creasing and cool the load for handling. It also features a "Fast Iron" program for conditioning and anti-crease functions, which heats the load for 8 minutes followed by a 2-minute cool-down, making ironing quicker and easier, especially for garments left in a linen basket or stiffened after air drying.
Important Technical Specifications
- Model: HNC 180
- Capacity: 8kg (maximum load)
- Drum Capacity: 115 litres
- Dimensions:
- Height: 85cm
- Width: 60cm
- Depth: 60cm
- Electrical Requirements: 230-240V, 50 Hz single phase, rated to at least 13A. The appliance is fitted with a moulded-on non-rewireable plug with a BS 1362 ASTA approved 13A fuse. It must be earthed.
- Energy Label Band: C
Usage Features
The dryer is equipped with a control panel featuring an 'ON' button and indicator, an 'ACRYLICS/SYNTHETICS' button, a 'DRYING TIME' selector, a 'FILTER CARE' indicator, and an 'EMPTY WATER' indicator.
Loading and Sorting:
- Before first use, remove all internal packaging, wipe the drum and door with a damp cloth.
- Ensure laundry is suitable for tumble drying by checking care symbols.
- Close all fastenings, empty pockets, and turn articles inside out.
- Do not overload the drum; maximum loads are 8kg for cottons and 4kg for synthetics.
- Sort laundry by care symbols (suitable for tumble drying, high temperature, low temperature only, do not tumble dry), amount and thickness, and fabric type (cottons/linen, synthetics).
- For delicate items, use the 'ACRYLICS/SYNTHETICS' button to select low drying temperature.
Operation:
- Open the door and load the drum, ensuring garments do not obstruct closure.
- Select the desired heat level: 'ACRYLICS/SYNTHETICS' button for low heat (delicate items) or high heat.
- Turn the 'DRYING TIME' selector to align with the required drying time or select the "Fast Iron" option.
- Close the door firmly until it clicks.
- Press the 'ON' button; the indicator will light, and the cycle will begin.
- The dryer tumbles laundry in warm air, with the last 15 minutes using cool air to reduce creasing.
- The drum stops rotating when the program is complete, and the dial points to 0.
- Open the door and remove the load.
- Safety during operation: The drum and door can become very hot. Do not stop the dryer before the end of the cycle unless items are removed and spread out to dissipate heat.
Drying Advice:
- Only dry laundry that has been thoroughly wrung or spin-dried to save energy.
- Do not tumble dry woollens, silk, delicate fabrics, nylon stockings, delicate embroidery, fabrics with metallic decorations, garments with PVC or leather trimmings, training shoes, or bulky items like sleeping bags.
- Never dry articles treated with dry cleaning fluid or rubber clothes due to fire/explosion risk.
- Avoid drying items soiled with substances like cooking oil, acetone, alcohol, petrol, kerosene, spot removers, turpentine, waxes, and wax removers unless they have been washed in hot water with extra detergent.
- Do not leave lighters or matches in pockets.
- Never use flammable liquids near the machine.
- Do not put glass fibre curtains in the machine.
- Always refer to laundry care labels.
Maintenance Features
Regular maintenance is crucial for efficiency and safety.
Filter Care:
- The 'FILTER CARE' indicator lights up when the filter needs cleaning.
- Clean the fluff filter before every drying cycle.
- To clean: Pull the filter upwards, open it, gently remove lint with a soft brush or fingertips, then snap it together and push back into place.
Water Container:
- The 'EMPTY WATER' indicator lights up when the container is full, requiring emptying.
- It is recommended to empty the container after each drying cycle.
- To remove: Gently pull the bottom of the kickplate to unclip it, then unhinge the top section to remove the kickplate. Pull firmly on the handgrip to slide the container out.
- To empty: Open the lid on top of the container and pour out the water.
- To refit: Slide the container back into position, pushing firmly into place. Refit the kickplate by engaging top hinges and snapping lower clips.
Condenser Cleaning:
- Always switch off and unplug the dryer before cleaning the condenser.
- Clean the condenser approximately every 10 drying cycles to maintain efficiency.
- To remove: Remove the kickplate (as for water container). Turn the two locking levers anti-clockwise and pull out the condenser unit.
- To clean: Gently remove dust or fluff with a cloth, then wash the unit under a running tap, turning it to allow water flow between the plates.
- To refit: Ensure the condenser is in the correct way (indicated by an arrow) and pushed firmly into place. Lock the two levers by turning them clockwise. Refit the kickplate.
General Cleaning:
- After each use, wipe the inside of the drum and leave the door open for a while to allow air circulation.
- Wipe the outside of the machine and the door with a soft cloth.
- Do NOT use abrasive pads or cleaning agents.
- Periodically clean the inner door and gasket with a damp cloth to prevent sticking or fluff build-up.
Safety Reminders:
- Ensure adequate ventilation in the room to prevent gases from other appliances being drawn in.
- Exhaust air must not be discharged into a flue used for other fumes.
- Check regularly that airflow is not restricted.
- Maintain a gap of at least 12mm between the machine and any obstructions.
- Do not install the dryer against curtains.
- Do not install in a bathroom or shower room.
- Do not use adapters, multiple connectors, or extensions.
- The appliance must not be installed behind a lockable door, a sliding door, or a door with a hinge on the opposite side.
- Do not touch the appliance with damp hands or feet.
- Do not lean on the door or use it to lift/move the machine.
- Do not allow children to play with the machine or its controls.
- Do not use the dryer if the fluff filter is not in position or is damaged.
- Disconnect from electricity supply before cleaning.
- Do not continue to use if faulty.
- Allow the dryer to complete the cool-down period before removing laundry.
Environmental Issues:
- All packaging materials are environmentally-friendly and recyclable.
- For disposal of an old dryer, disconnect the mains plug, cut the power cable, and destroy the plug. Break door hinges or lock to prevent children from getting trapped.
- The appliance is marked according to European Directive 2002/96/EC on Waste Electrical and Electronic Equipment (WEEE) and should not be treated as household waste. It should be handed over to an applicable collection point for recycling.