ASSEMBLING YOUR CLEANER
Remove all components from the packaging.
1. Connect the hose to the cleaner bag door, ensuring it clips and locks into position. To
release: simply press the two buttons on the hose end and pull. [2]
2. Connect the hose handle to the tube upper end. [3]
3. Connect the tube lower end to the nozzle. [4]
USING YOUR CLEANER
1. Extract power cord and plug it into the power supply. Do not pull the cord beyond the
red marker. [5]
2. Adjust the length of the telescopic tube by moving the telescopic release button up
and raise or lower the hose handle to the most comfortable cleaning position. [6]
3. Carpet & Floor Nozzle **. Press the pedal on the nozzle [7] to select the ideal cleaning
mode for the oor type.
Hard Floor: The brushes are lowered to protect the oor
Carpet: With lifted brushes for the deepest clean
4. Switch the cleaner on by pressing the On/Off button on the cleaner main body. [8]
5. Fixed Power control - The cleaner will operate at a fixed power setting.
6. Variable Power control - Rotate the On/Off button to increase or decrease the
suction level. Use low suction for delicate fabrics. [9]
7. Switch off at the end of use by pressing the On/Off button. Unplug and press the cord
rewind pedal to wind the power cord back into the cleaner. [10]
8. Parking and Storage - The tube can be parked for temporary storage while in use
[11], or in the storage position when not in use [12].
2
*Certain Models Only ** Certain models only, nozzles may vary according to model
GB
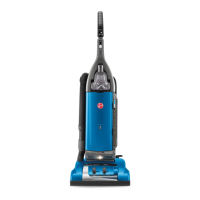
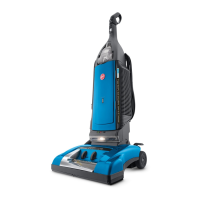
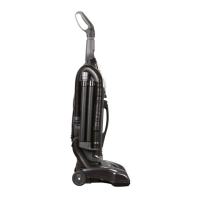
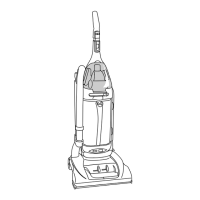
GETTING TO KNOW YOUR CLEANER
A. Main Cleaner
B. On / Off / Power Control Button
C. Cord Rewind Button
D. Bag Check Indicator
E. Bag Door Release Latch
F. Bag Door
G. Hose Handle
H. Carry Handle
I. Dust Bag
J. Telescopic Tube
K. Telescopic tube adjuster
L. Hose
M. Carpet and Floor nozzle (GP)**
M1. Carpet Nozzle (CA)**
M2. Hard Floor Nozzle (HF)**
N. Surface Selector Pedal**
O. Exhaust Filter
P. Pre motor lter
Q. Accessory Set
Qa. Crevice Tool
Qb. Furniture Nozzle
R. Parquet Nozzle*
S. Pet Hair Remover Mini Turbo Nozzle*
T. Allergy Remover Mini Turbo Nozzle*
U. Grand Turbo Nozzle*
CLEANER MAINTENANCE
Replacing The Dust Bag
If the bag check indicator is red please check and, if necessary, replace the bag.
1. Lift the bag door release latch [13] to open the cover, and pull the bag collar to remove
the bag [14].
2. Fold a new bag as shown on the bag [15] and t by inserting the collar into the bag
holder [16].
3. Close the bag door.
WARNING - The bag door will NOT close if the dust bag and/or the bag holder are not
assembled to the cleaner. Always ensure the bag and bag holder are present when closing
the bag door.
Remember: The bag check indicator may also be red if an obstruction has occurred. In this
case refer to ‘Removing A Blockage From the System’.
Cleaning the Filters
To maintain optimum performance of your cleaner, please wash the lters after each 5 bag
changes.
IMPORTANT - Regularly check and maintain the lters by following the lter
maintenance instructions, it is also recommended that you purchase new lters
after every 3rd lter wash. This will maintain your cleaners performance.
Cleaning the pre-motor lter:
1. Lift the bag door release latch [13] to open the cover and pull the bag collar to remove
the bag [14].
2. Remove the pre-motor lter from the cleaner. [17]
3. Remove the lter from the holder. [18]
4. Wash in hand warm water, [19] and allow it to dry thoroughly before replacing to the
cleaner.
Cleaning the exhaust lter:
1. Lift the bag door release latch [13] to open the cover.
2. Remove the exhaust lter. [20]
3. Wash the lter in hand warm water [21] and allow it to dry thoroughly before replacing
to the cleaner.
REMEMBER: Do not use hot water or detergents. In the unlikely event of the lters
becoming damaged, t a Genuine Hoover replacement. Do not try and use the product
without a dust bag or lter tted.
 Loading...