Horizont User manual, 1970 year
– 5 –
To obtain photos of high quality mount the
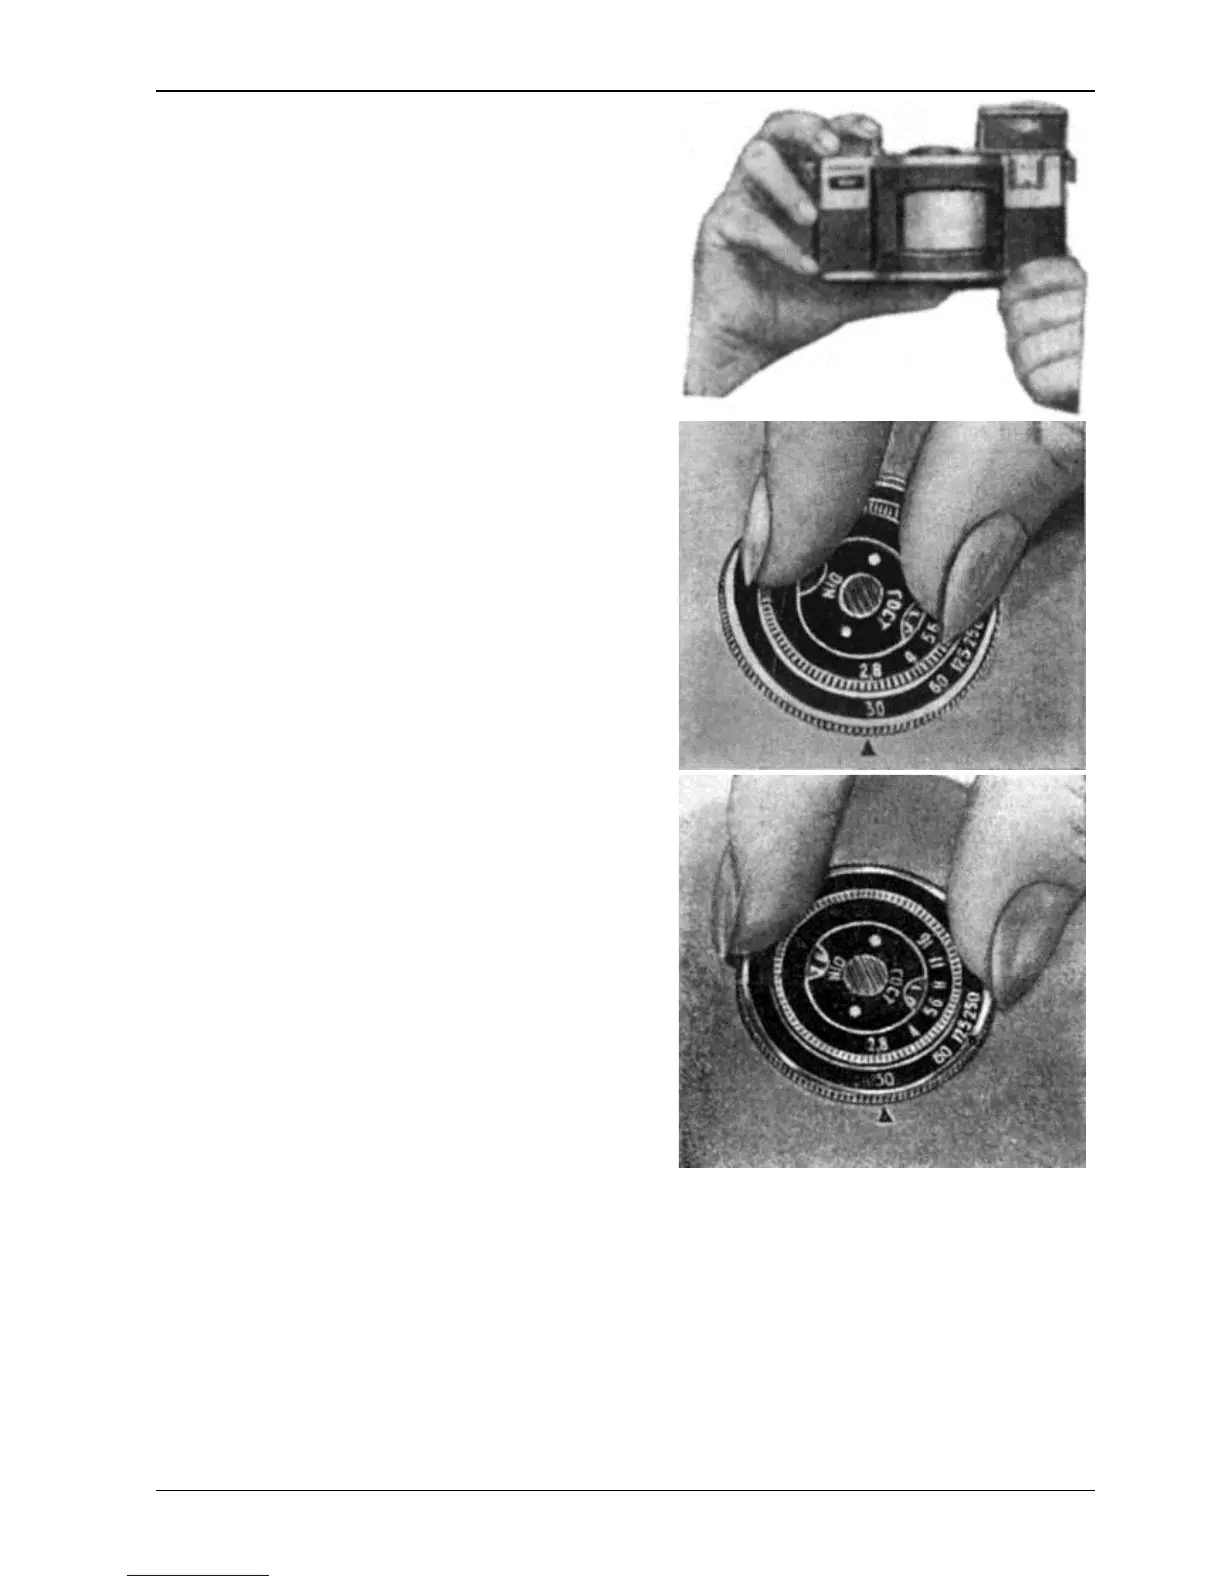
When photographing hold the camera in the way
shown in the picture. Otherwise you will often
photograph your own fingers. If you want to photograph
with the camera mounted on the tripod, the grip should
screw off the grip screw and
put the grip into the carrying case.
Before taking a picture set the desired exposure time
and diaphragm value against the index. The exposu
time dial and the diaphragm scale have one and the same
index at the top of the camera against the exposure time
The latter can be rotated only in small limits;
position of the dial is fixed. Exposure time and
diaphragm may be set only with the shutter cocked. Each
position of the diaphragm is fixed. To obtain high quality
pictures small diaphragm openings should be preferred
when determining the exposure, i
. e. it is advisable to use
the smallest possible diaphragm and a longer exposure
Looking through the viewfinder eyepiece, compose the scene to be photographed.
Correct horizontal position of the camera ensures a perspectively correct picture of the subject. For
this aim the ball of the spirit level should be placed in the contour of the light circle.
If you can not see the ball, carefully change the position of the camera so that the ball appears in the
circle.
When taking vertical pictures, the level is not used.
The release button should be pressed smoothly.
Correct position Wrong position
 Loading...