EasyManua.ls Logo

horsch Maestro SW 1630 - User Manual

horsch Maestro SW 1630
132 pages
Print Icon
To Next Page IconTo Next Page
Loading...
1 Maestro SW Owner’s Manual Ver. 1.1 09/2016
www.horsch.com
Maestro SW
Owner’s Manual
Serial Numbers:
SW 2430 SN 24591286 Current
SW 1630 SN 510163016001 Current
SW 2420 SN 510242017001 Current
SW 2422 SN 510242216001 Current
SW 3115 SN 510311516001 Current
SW 3215 SN 510321516001 Current
SW 3620 SN 510362017001 Current
SW 3622 SN 510362218001 Current
SW 4715 SN 510471518001 Current
SW 4815 SN 510481518001 Current
Issued April 2016
1630 2430
2420 2422 3620 3622
3115 3215 4715 4815

Table of Contents

Questions and Answers

  • S
    Samantha HarrisAug 13, 2025
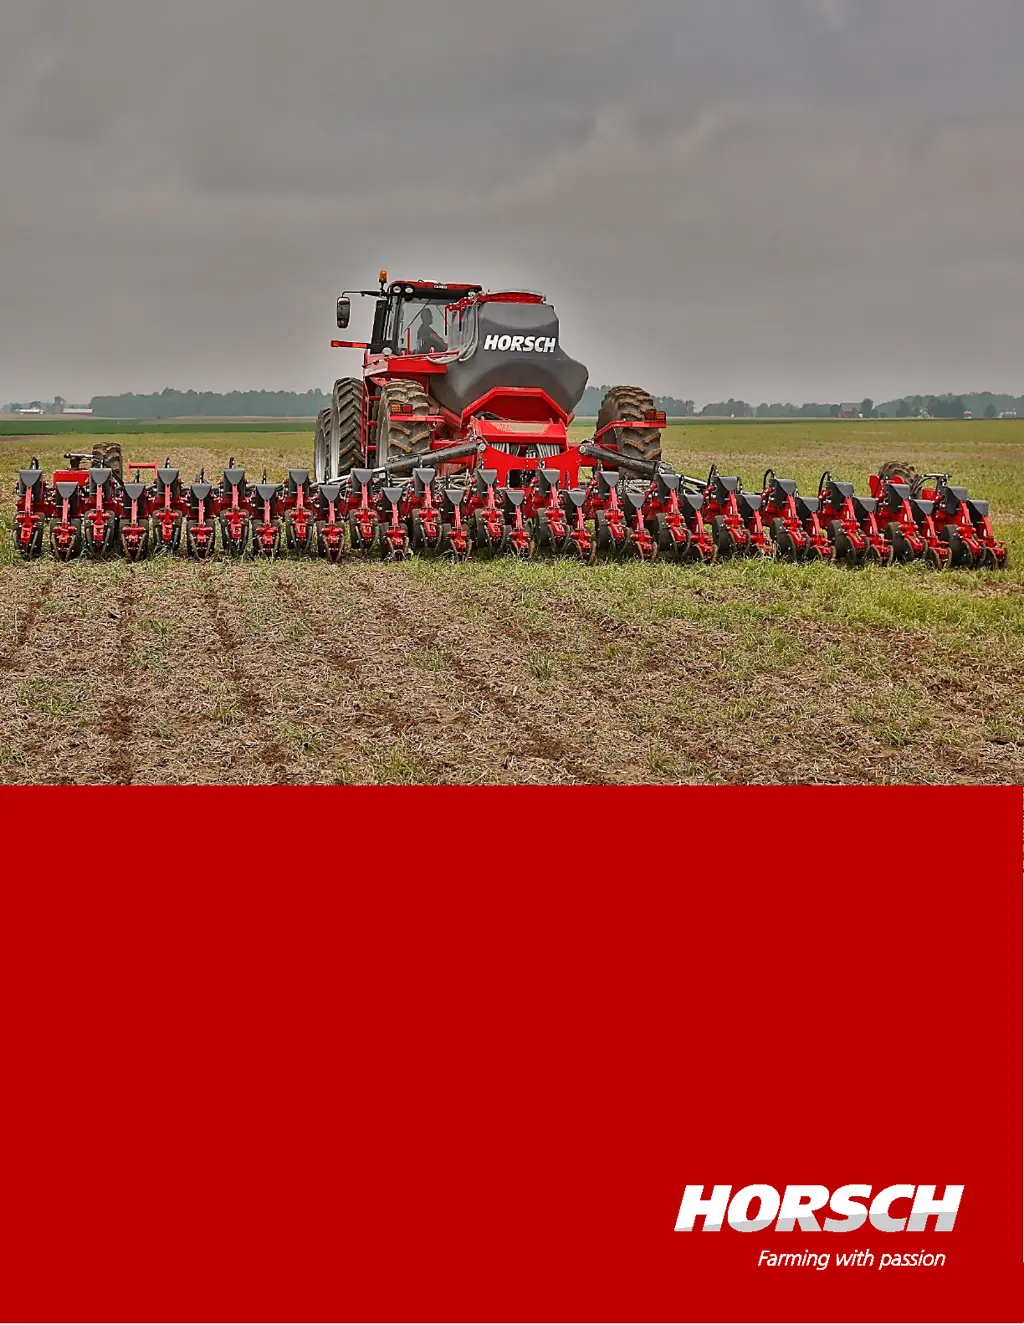
    Why is there mud/dirt building up on the idlers/mid-rollers of my horsch Maestro SW 1630?
    • N
      Nathan WilsonAug 13, 2025
      Mud or dirt buildup on the idlers or mid-rollers is caused by operation in muddy, wet, or sticky soil types. Clean the mud and dirt regularly to prevent track damage.
  • V
    villegasnicoleAug 16, 2025
    What to do if I notice uneven tread wear on my horsch Tractor Accessories?
    • K
      Katelyn HodgesAug 16, 2025
      If you observe uneven tread wear, it may be due to a high amount of roading. Try swapping the tracks from side to side.
  • W
    wsmithAug 21, 2025
    What to do if the temperature of the idler or roller axle hub is high in my horsch Maestro SW 1630?
    • M
      Mary MorrisAug 21, 2025
      A high temperature in the idler or roller axle hub can be caused by bearing failure or a lack of lubricant. Replace the damaged bearing or check the oil level in the reservoir.
  • M
    Michelle BryantAug 25, 2025
    What to do if I hear noise from the idler or roller axle hub of my horsch Maestro SW 1630 Tractor Accessories?
    • L
      Lori GardnerAug 25, 2025
      Noise from the idler or roller axle hub is likely due to bearing failure. Replace the damaged bearing.
  • D
    darrell83Aug 28, 2025
    What to do if splits/opening appear on the side or top of tread of horsch Maestro SW 1630 Tractor Accessories?
    • L
      Lisa JacksonAug 28, 2025
      Splits or openings on the side or top of the tread can be caused by a high amount of roading or overheating of the tread. Try swapping the tracks from side to side, and replace the tracks if necessary.
  • K
    Kelly BryantSep 1, 2025
    What to do if I see chunking on guide lug sides of horsch Maestro SW 1630 Tractor Accessories?
    • D
      Dillon HodgesSep 1, 2025
      Chunking on the guide lug sides can occur if the track is not aligned properly, due to improper break-in, or side slope operation. * Align the track. * Operate in dry dusty conditions.
  • E
    etownsendSep 5, 2025
    What to do if there is breakaway of track guide lugs in horsch Maestro SW 1630 Tractor Accessories?
    • A
      Anne HarmonSep 5, 2025
      If there is breakaway of track guide lugs due to debris or material ingestion into the track system, clean the material off of the drive wheel.
  • L
    lwrightSep 8, 2025
    What to do if system dog tracking or problems with track alignment occur in horsch Maestro SW 1630 Tractor Accessories?
    • A
      Aaron FosterSep 8, 2025
      System dog tracking or problems with track alignment can occur if the alignment adjustment is incorrect or the undercarriages parallelism is out of tolerance. Adjust alignment per procedures.

Summary

Section 1 - General Information

Introduction & Guidelines

General advice on operating, safety, and manual usage.

Machine Registration (Important Notice to Dealer;Owner!)

Process and importance of machine registration for warranty claims.

Warranty Guidelines

Details on warranty period, claims submission, and repair procedures.

Machine Registration Form: Customer’s Copy

Form for customer to register their machine for warranty purposes.

Machine Registration Form: Dealer’s Copy

Form for dealer to register the machine for warranty purposes.

Machine Registration Form: HORSCH’s Copy

Form for HORSCH to record machine registration for warranty.

Delivery Form: DEALERS’s Copy

Checklist for dealer to ensure proper delivery and customer information.

Product Specification

Information on machine model, serial number, and purchase details.

In These Operating Instructions

Explains warning and safety instruction symbols used in the manual.

Authorized Operators

Criteria and responsibilities for operating the machine.

Machine Installation to Service

Procedure for initial machine setup and release for operation.

Section 2 - Safety

Safety Symbols on the Machine

Explains various safety symbols and their meanings displayed on the machine.

Operational Safety

Safety precautions during machine operation, including general and specific risks.

Wear Protective Clothing

Recommended protective clothing for safe operation and maintenance.

Road Traffic Safety

Guidelines for safe transport of the machine on public roads.

Hitching; Unhitching Safety

Safety procedures and hazards associated with hitching and unhitching the machine.

Service and Maintenance Precautions

Safety measures to be taken before and during maintenance work.

Hydraulic Function Precautions

Safety measures related to the machine's hydraulic system and potential hazards.

Section 3 - Specifications

Technical Data

Detailed specifications, dimensions, and performance data for various machine models.

Design - Overview (Machine)

Labeled diagram identifying major components of the machine.

Design - Overview (Row Unit)

Labeled diagram identifying components of a single row unit.

Tire Information

Recommended tire inflation pressures and wheel lug torque specifications.

Section 4 - Hydraulics

Connecting the Hydraulic System

Steps and safety warnings for connecting hydraulic lines to the tractor.

Hydraulic Connections

Important considerations and safety warnings for hydraulic connections.

Pressure Accumulator

Information on the pressure accumulator and safety when working with it.

Section 5 - Operation

In Operation

General safety checks and procedures before starting machine operation.

Transport;Installation

Guidelines and safety for transporting and initially installing the machine.

Hitching; Unhitching the Machine

Critical safety warnings and steps for hitching/unhitching the machine.

Folding;Unfolding

Procedures and safety precautions for folding and unfolding the machine.

Seed on Demand (SOD) System

Explanation of the Seed on Demand system and its operation.

Liquid Fertilizer System

Overview of the liquid fertilizer system components and function.

Section Control

Explanation of the section control valves and their operation via E-Manager.

Row Unit

Description of the row unit assembly and its impact on seed placement.

Metering Unit

Detailed information on the metering unit, its parts, and maintenance.

Section 6 - Optional Equipment

Trailed Track System

Introduction to the trailed track system and its benefits.

Track System Components

Identification and description of track system components.

Transport Limitations

Recommended speed and duration limits for transporting the machine on tracks.

Track System Installation

Steps and safety for installing the track system.

Section 7 - Maintenance & Service

Maintenance and Servicing

General overview of maintenance and servicing importance.

Maintenance Schedule - Maestro SW

A comprehensive schedule of maintenance tasks by frequency.

Lubrication Points

Visual guide to lubrication points on the machine.

Troubleshooting Maestro

Common problems, their causes, and solutions for the Maestro machine.

Bolt Tightening Torques - Metric Bolts

Torque specifications for metric bolts used on the machine.

Bolt Tightening Torques - Imperial Bolts

Torque specifications for imperial bolts used on the machine.

horsch Maestro SW 1630 Specifications

General IconGeneral
Brandhorsch
ModelMaestro SW 1630
CategoryTractor Accessories
LanguageEnglish

Related product manuals