Do you have a question about the Hotpoint Ariston LKF 710 and is the answer not in the manual?
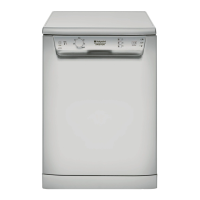
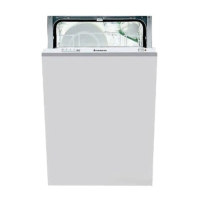
Place the dishwasher on a level, sturdy floor and adjust feet for stability and to prevent vibration.
Qualified technician must connect water & electricity. Ensure proper grounding and voltage compatibility.
Connect to cold or hot water supply (max 60°C). Ensure hose is not bent or compressed.
Appliance has a system to block water supply in case of leaks. Some models have 'New Acqua Stop'.
Connect outlet hose to drain duct (min 4cm diameter) or sink. Ensure free end is not immersed.
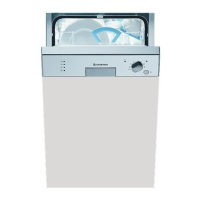
Stick adhesive strip under wooden shelf to protect from condensation after installation.
Fill salt dispenser with water before first wash, then add salt. Check water hardness setting.
Details on dimensions, capacity, water pressure, voltage, power, and certifications.
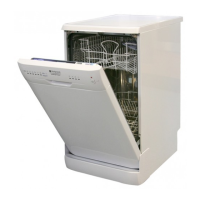
Diagram identifying key components of the dishwasher, including racks, spray arms, and filters.
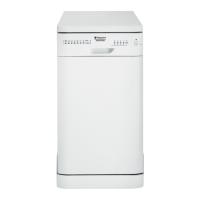
Explanation of buttons, indicator lights, and knobs on the dishwasher's control panel.
Guidance on placing pans, lids, plates, and cutlery in the lower rack for optimal washing.
Instructions for arranging cutlery in the basket, including placement of sharp items.
Instructions for loading delicate items like glasses and cups into the upper rack.
Step-by-step guide to turning on, loading, selecting cycles, and starting the dishwasher.
Guidance on using the correct amount of detergent for effective washing and environmental care.
Information on setting and using available wash options like Half Load or Delayed Start.
Using the Half Load option to save water, electricity, and detergent for smaller loads.
How to program a delayed start for the wash cycle by 3, 6, or 9 hours.
Optimizing wash and drying results when using multi-functional tablets.
Instructions for selecting appropriate wash cycles based on crockery soil level and type.
How to fill the rinse aid dispenser and adjust the dosage for optimal drying.
Adjusting the dishwasher's water softener setting based on local water hardness.
Instructions for filling the salt dispenser to prevent limescale buildup.
Steps to safely disconnect the appliance before cleaning or maintenance.
Guidance on cleaning external surfaces, control panel, and interior using recommended methods.
Tips for keeping the dishwasher fresh, like leaving the door ajar and cleaning seals.
Instructions for cleaning spray arms and the filter assembly for efficient operation.
Procedure for safely leaving the appliance unused for extended periods.
Important safety information regarding domestic use, installation, and operation.
Information on proper disposal of the appliance and packaging materials according to regulations.
Tips for saving water and energy, and using environmentally friendly detergents.
Steps to take before calling for technical support, including troubleshooting.
Solutions for when the dishwasher fails to start, checking power, door closure, and settings.
Troubleshooting causes for no water draining, such as blocked drains or clogged filters.
Identifying causes of excessive noise, like rattling dishes or excessive foam.
Resolving issues with white film or limescale on dishes due to salt level or water hardness.
Solutions for dishes not drying properly or not being clean, checking rinse aid and overloading.
Troubleshooting alarms related to water intake, solenoid valve, or blocked inlet filter.
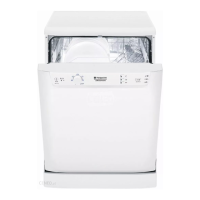
| Type | Freestanding |
|---|---|
| Washing Performance | A |
| Drying Performance | A |
| Number of Programs | 7 |
| Noise Level | 49 dB |
| Delay Start | Yes |
| Half Load Option | Yes |
| Dimensions (H x W x D) | 85 x 60 x 60 cm |