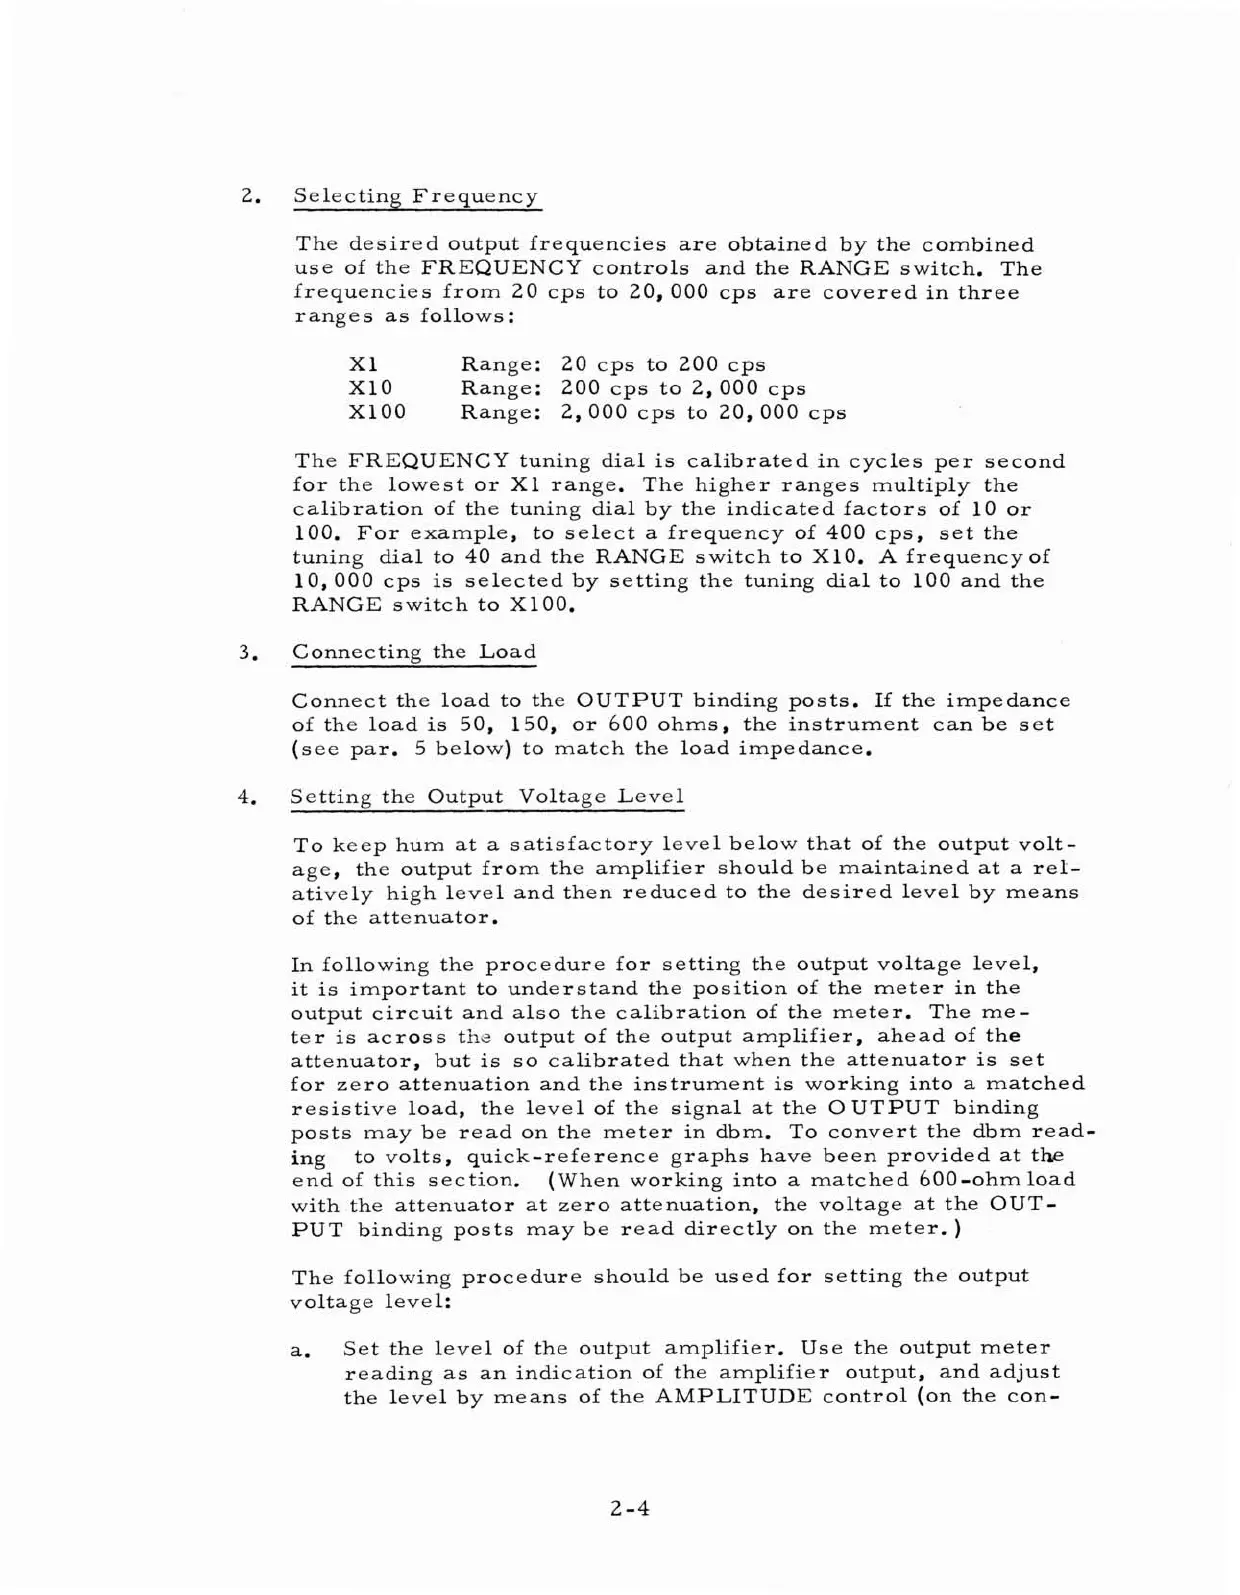
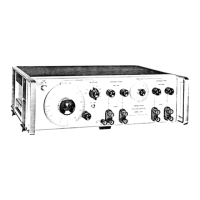
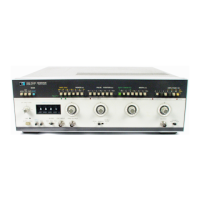
2. Selecting Frequency
The desired output frequencies are obtained by the combined
use of the FREQUENCY controls and the RANGE switch. The
frequencies from 20 cps to 20,000 cps are covered in three
ranges as follows:
X1 Range: 20 cps to 200 cps
X10 Range: 200 cps to 2,000 cps
XlOO Range: 2,000 cps to 20,000 cps
The FREQUENCY tuning dial is calibrated in cycles per second
for the
lowest or
XI
range. The higher ranges multiply the
calibration of the tuning dial by the indicated factors of 10 or
100. For example, to select
a
frequency of 400 cps, set the
tuning dial to 40 and the RANGE switch to
X10.
A
frequencyof
10,000 cps is selected by setting the tuning dial to 100 and the
RANGE switch to
X100.
3.
Connecting the Load
Connect the load to the OUTPUT binding posts. If the impedance
of the load is 50, 150, or 600 ohms, the instrument can be set
(see par.
5
below) to match the load impedance.
4.
Setting the Output Voltage Level
To keep hum at a satisfactory level below that of the output volt-
age, the output from the amplifier should be maintained at a rel-
atively high level and then reduced to the desired level by means
of the attenuator.
In following the procedure for setting the output voltage level,
it is important to understand the position of the meter in the
output circuit and also the calibration of the meter. The me-
ter is across the output of the output amplifier, ahead of the
attenuator, but is so calibrated that when the attenuator
is
set
for zero attenuation and the instrument is working into a matched
resistive load, the level of the signal at the
0
UTPUT binding
posts may be read on the meter in dbm.
To convert the dbm read-
ing
to volts, quick-reference graphs have been provided at the
end of this section.
(When working into a matched 600-ohm load
with the attenuator at zero attenuation, the voltage at the OUT-
PUT binding posts may be read directly on the meter.
)
The following procedure should be used for setting the output
voltage level:
a.
Set the level of the output amplifier.
Use the output meter
reading as an indication of the amplifier output, and adjust
the level by means of the AMPLITUDE control (on the
con-