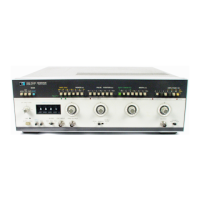
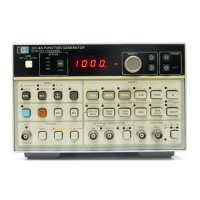
Adjustments
ADJUSTMENTS
3.
Select
.1
JJ.
- 1
JJ.
WIDTH
range and set vernier
to
2
(200
nsl . Set
Amplitude
to
100 V
with
internal load switched
off.
4.
Adjust
A 1 R436 and A 1
R408
for
fastest risetime.
5.
Adjust
A 1
R41
9
for
minimum
overshoot before
amplitude
decreases.
6.
Check
that
risetime
is
< 15 ns and over
shoot
and ringing
is
< 5 %.
If
necessa
ry
readjust A 1
R41
9, A 1 R436 and A 1 R408.
7. Select 10 - 30
V amplitude range, switch internal load on, and set
amplitude
to
30
V.
8.
Adjust
A 1 C501
for
overshoot = ringing.
9.
Adjust
A 1
R487
and A 1 R421
for
flat
pu
Ise
top.
10.
Adjust
R506
for
minimum
ringing.
11
.
Adjust
A 1 C504
for
overshoot
"'"
ri
ng
ing.
12. Check riseti me, overshoot and ringing
for
specifications and,
if
necessary,
opti
mi
ze
pulse via C501, C504, R421 and R487.
13. Switch internal load
off
, check pulse specifications, and
optimize
adjus
tment
if
necessary.
14. Recheck risetime, overshoot and ringing
at
100 V
amplitude
with
and
without
internal load.
15. Select .3 - 1
V
amplitude
range, set
amplitude
for
1 V and adjust
A2C514
for
minimum
ringing.
16. Select the
.1
JJ.
- 1
JJ.
period range and press
DUTY
CYCL
E
pushbutton.
17. Set the Sampling Oscilloscope
so
that
exactly
one period
is
displayed.
18.
Adjust
A2R197
for
8 %
duty
cycle at 50 %
of
amplitude
.
5-12
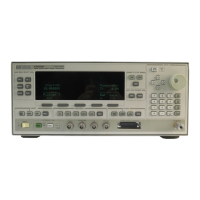
Model
2148
Scans by ArtekMedia => 2009