4. Turn the computer right side up, with the front toward you.
5. Open the computer.
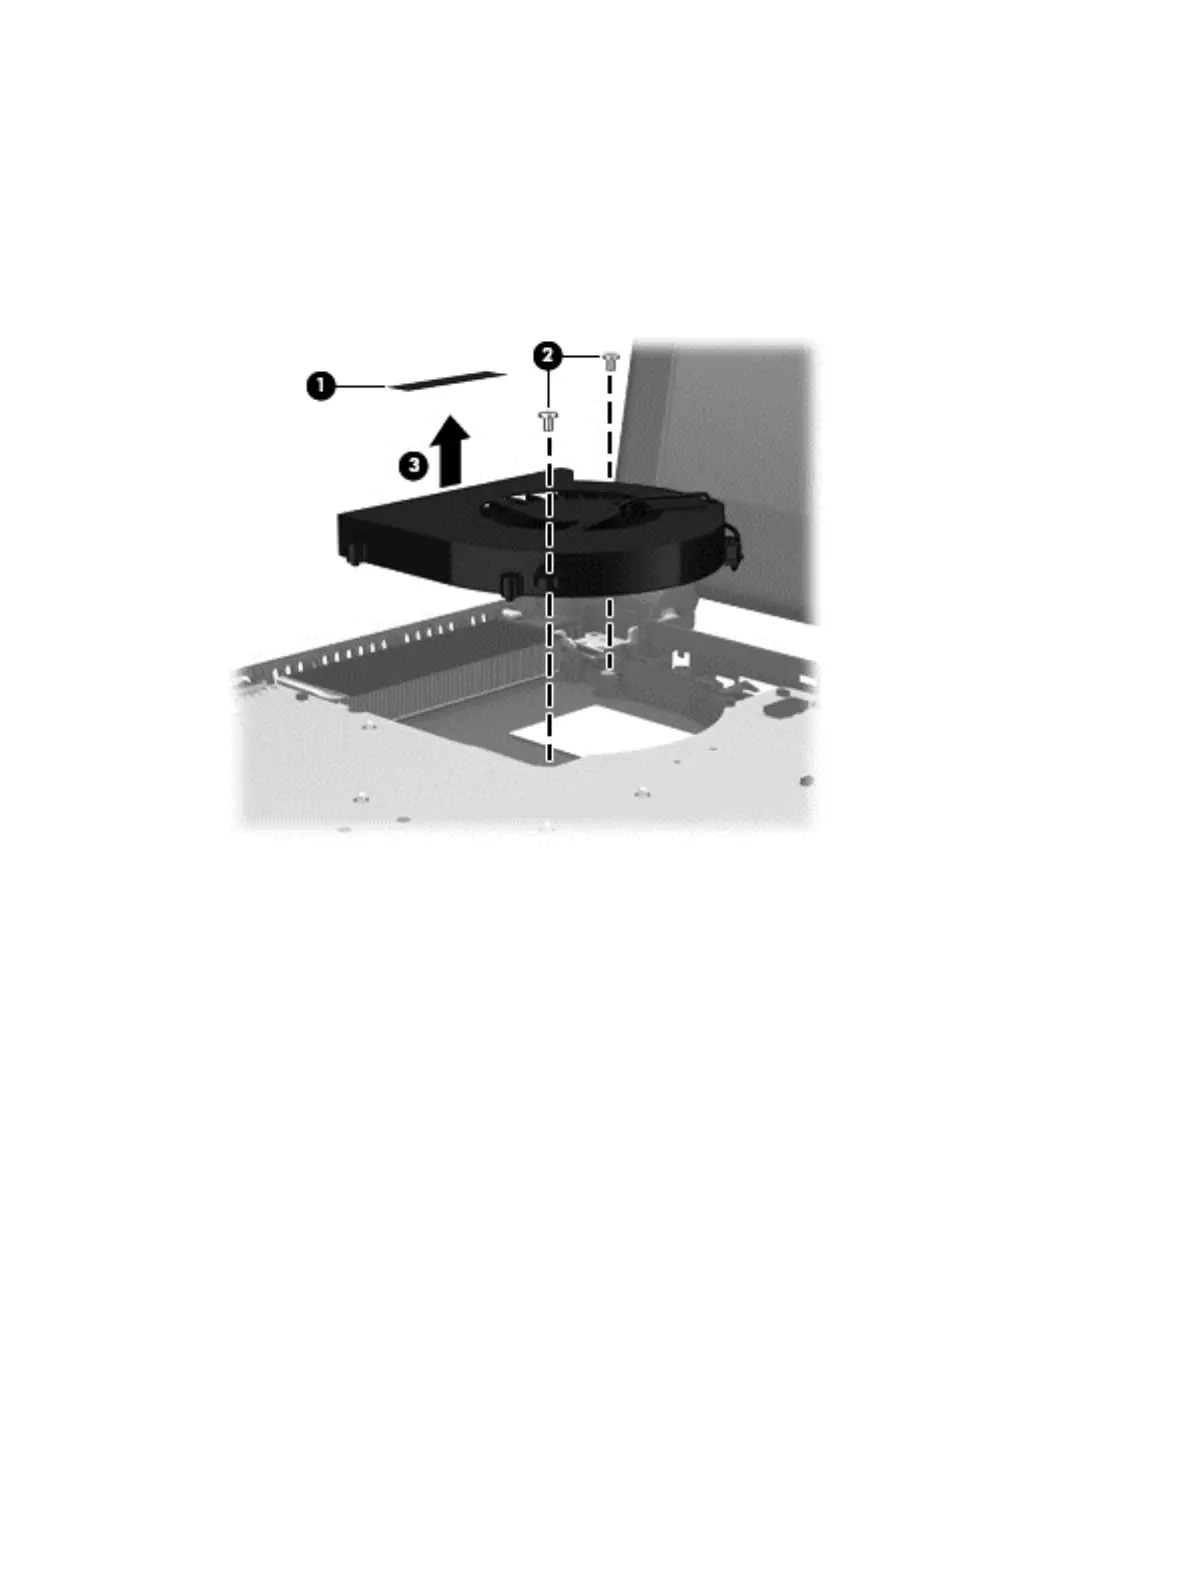
6. Remove the tape (1) that attaches the fan to the heat sink.
7. Remove the two Phillips PM2.0×4.5 screws (2) that secure the fan to the base enclosure.
8. Remove the fan (3) from the base enclosure.
Reverse this procedure to install the fan.
58 Chapter 6 Removal and replacement procedures for Authorized Service Provider parts

 Loading...