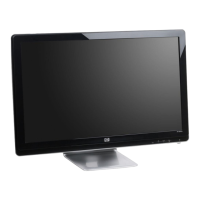
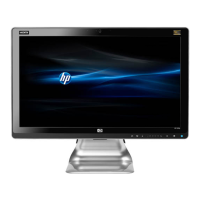
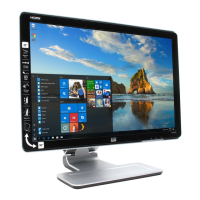
Setting Up the Monitor
3–4 Features may vary by model. User’s Guide
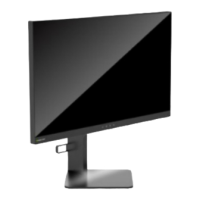
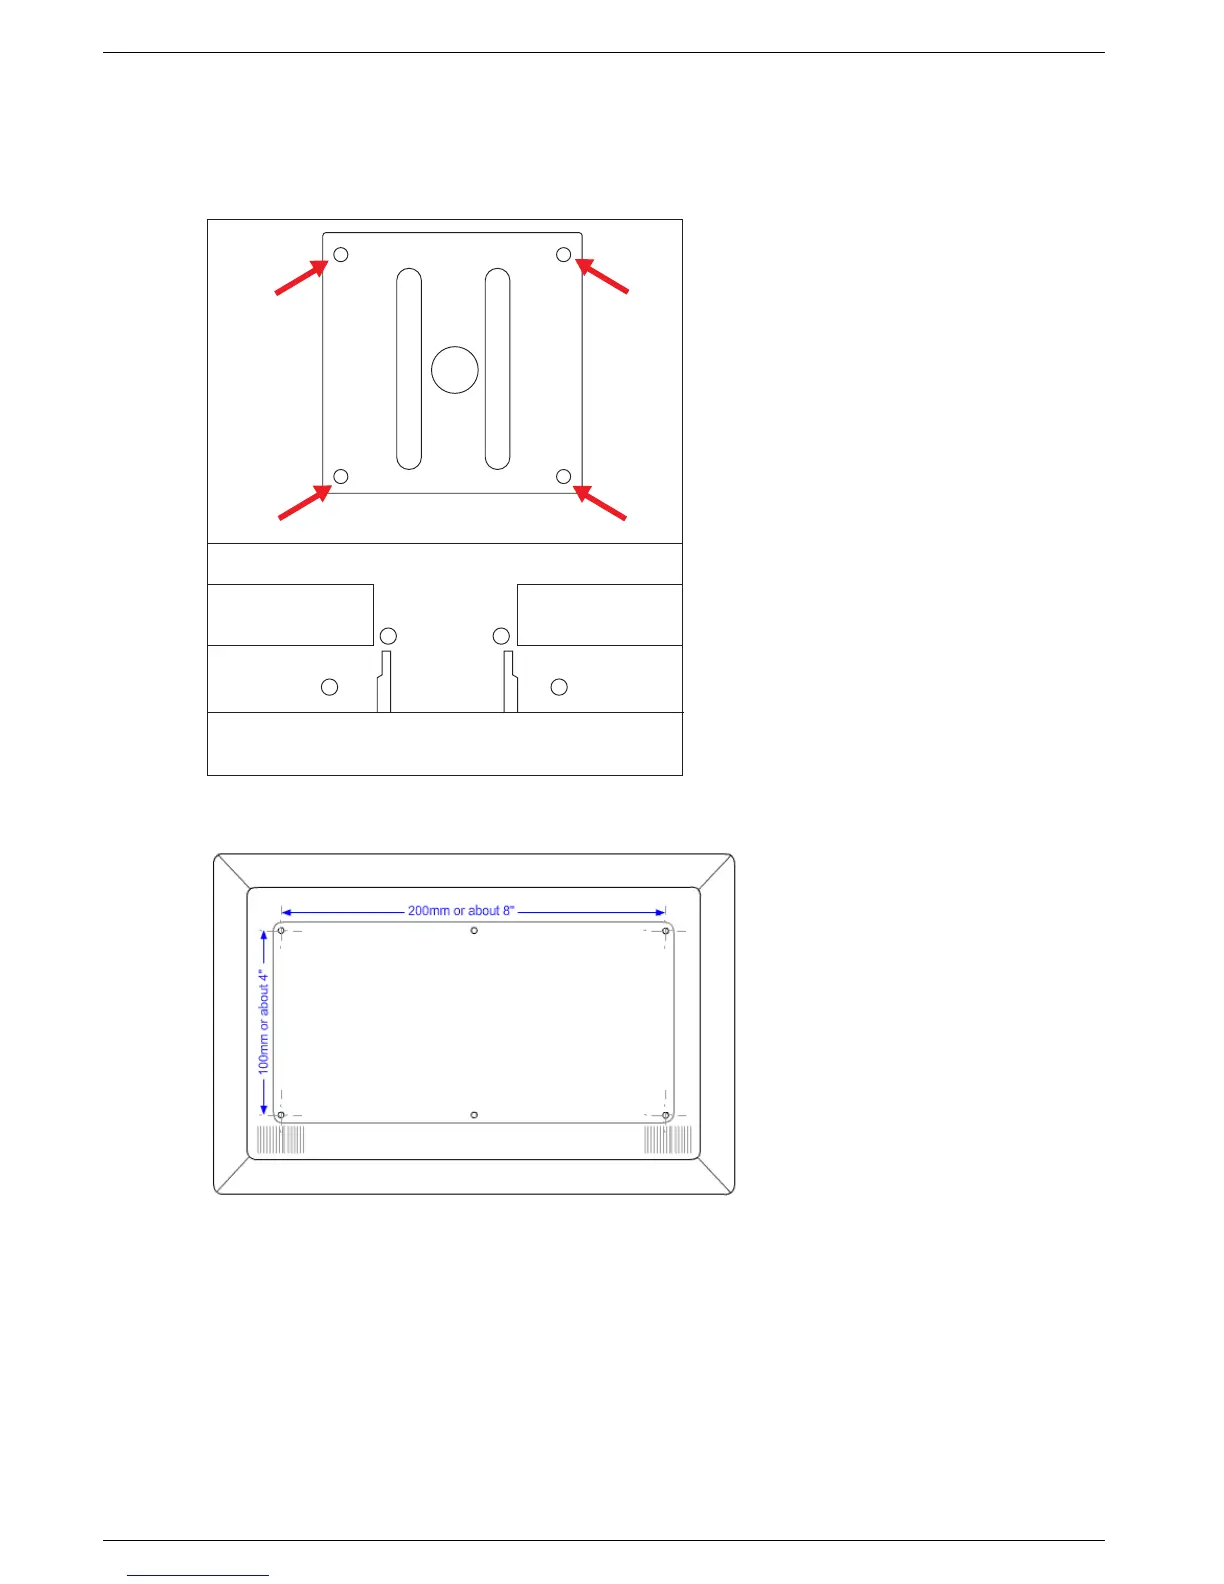
Four or six threaded holes are exposed (depending on your model). These holes are for screws to attach the
swing arm or other mounting fixture to the back of the monitor. Some models will include mounting screws in the
mounting holes. You will need to remove the screws, position the mounting device, then re-install the screws.
100 x 100mm Threaded holes for attaching wall mount
100 x 200mm Threaded holes for attaching wall mount
6. Follow the instructions included with the mounting fixture to ensure that the monitor is safely attached. The
threaded holes that are on the back of the panel are compliant with the VESA standard for mounting flat-panel
monitors.
7. Attach a swing arm or other mounting fixture.
 Loading...