ENWW Circuit Boards 279
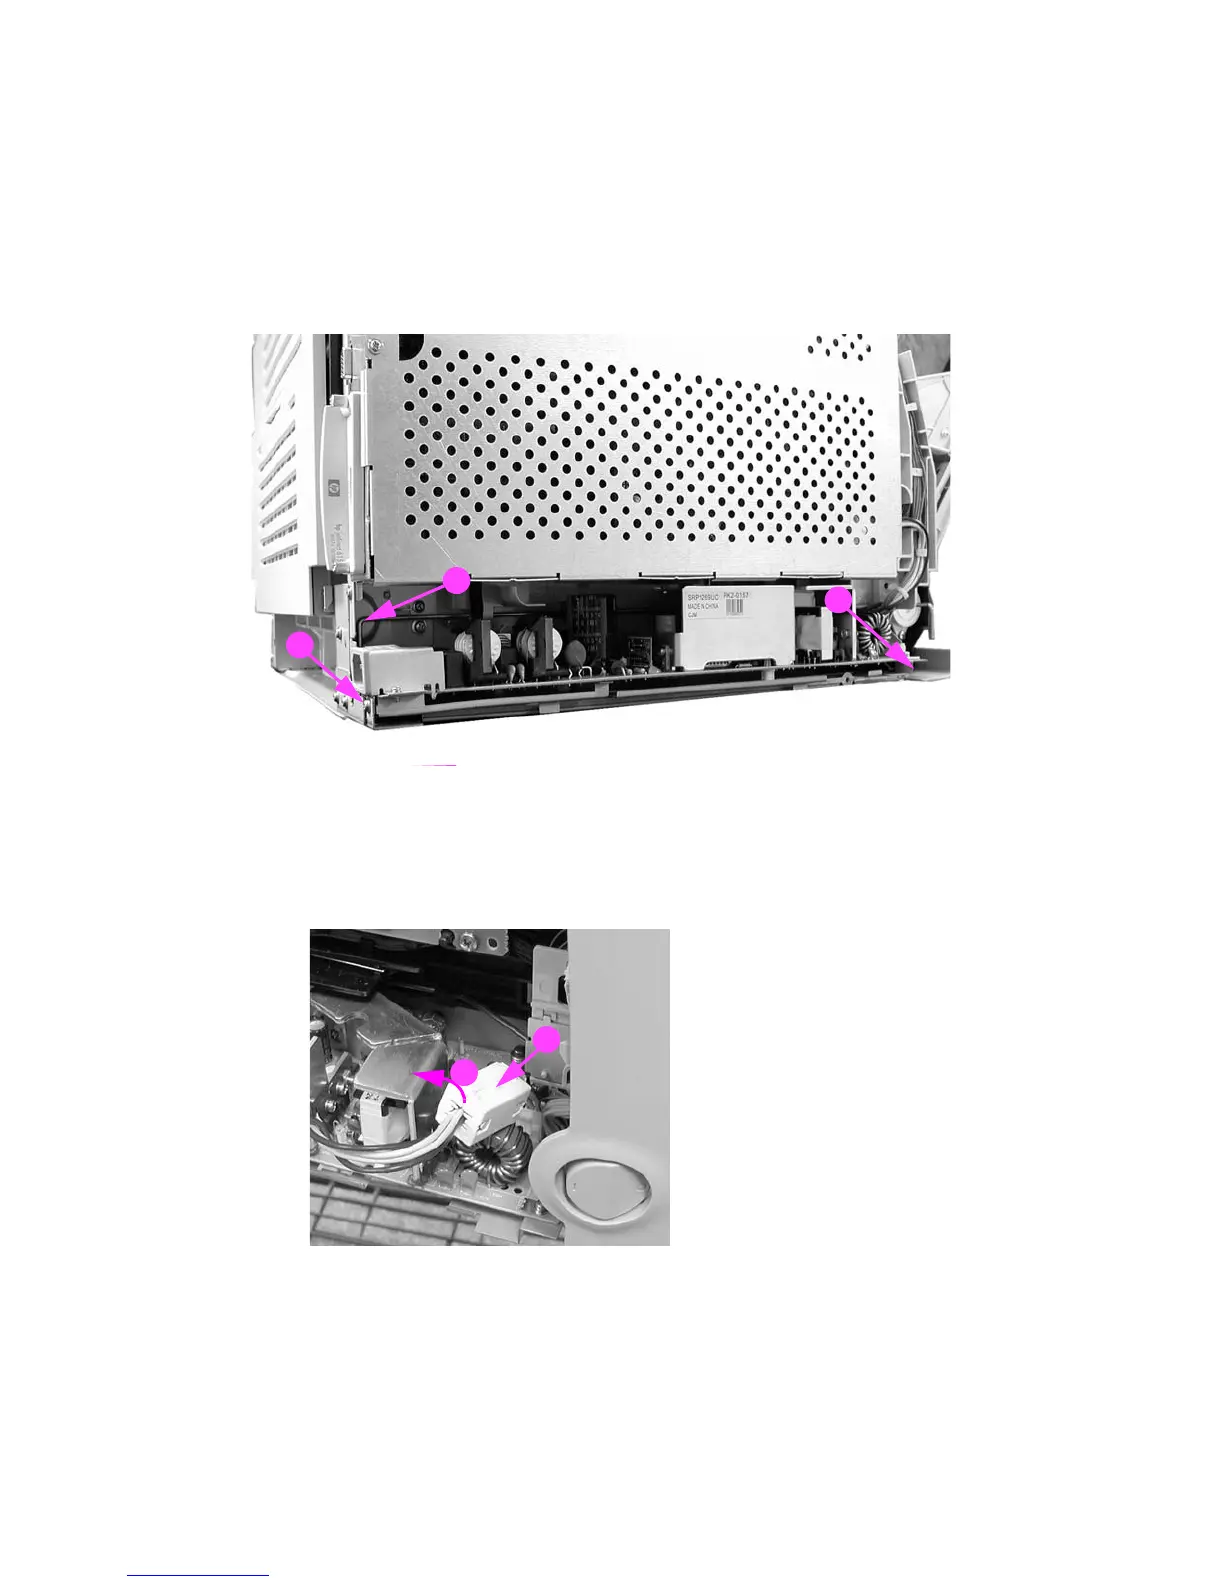
Low-voltage power supply PCB removal
1 Remove the formatter. See Formatter PCB removal.
2 Remove two screws (1).
3 Pull the low-voltage power supply PCB toward you about two inches. Disconnect the switch
rod (2) from the power switch on the PCB as you pull it out.
Reassembly note: Remember to put the switch rod back into the power switch when
reassembling the power supply unit.
Figure 6-126 Low voltage power supply PCB removal (1 of 2)
If necessary, you may need to remove the torroid from the cable to allow better access to
the area at the front of the PCB. To remove the torroid, lift up on the strip (1) and swing the
top (2) open and then remove the torroid from the wires.
Figure 6-127 Left front cover removal (2 of 4)
1
1
2
1
2
 Loading...