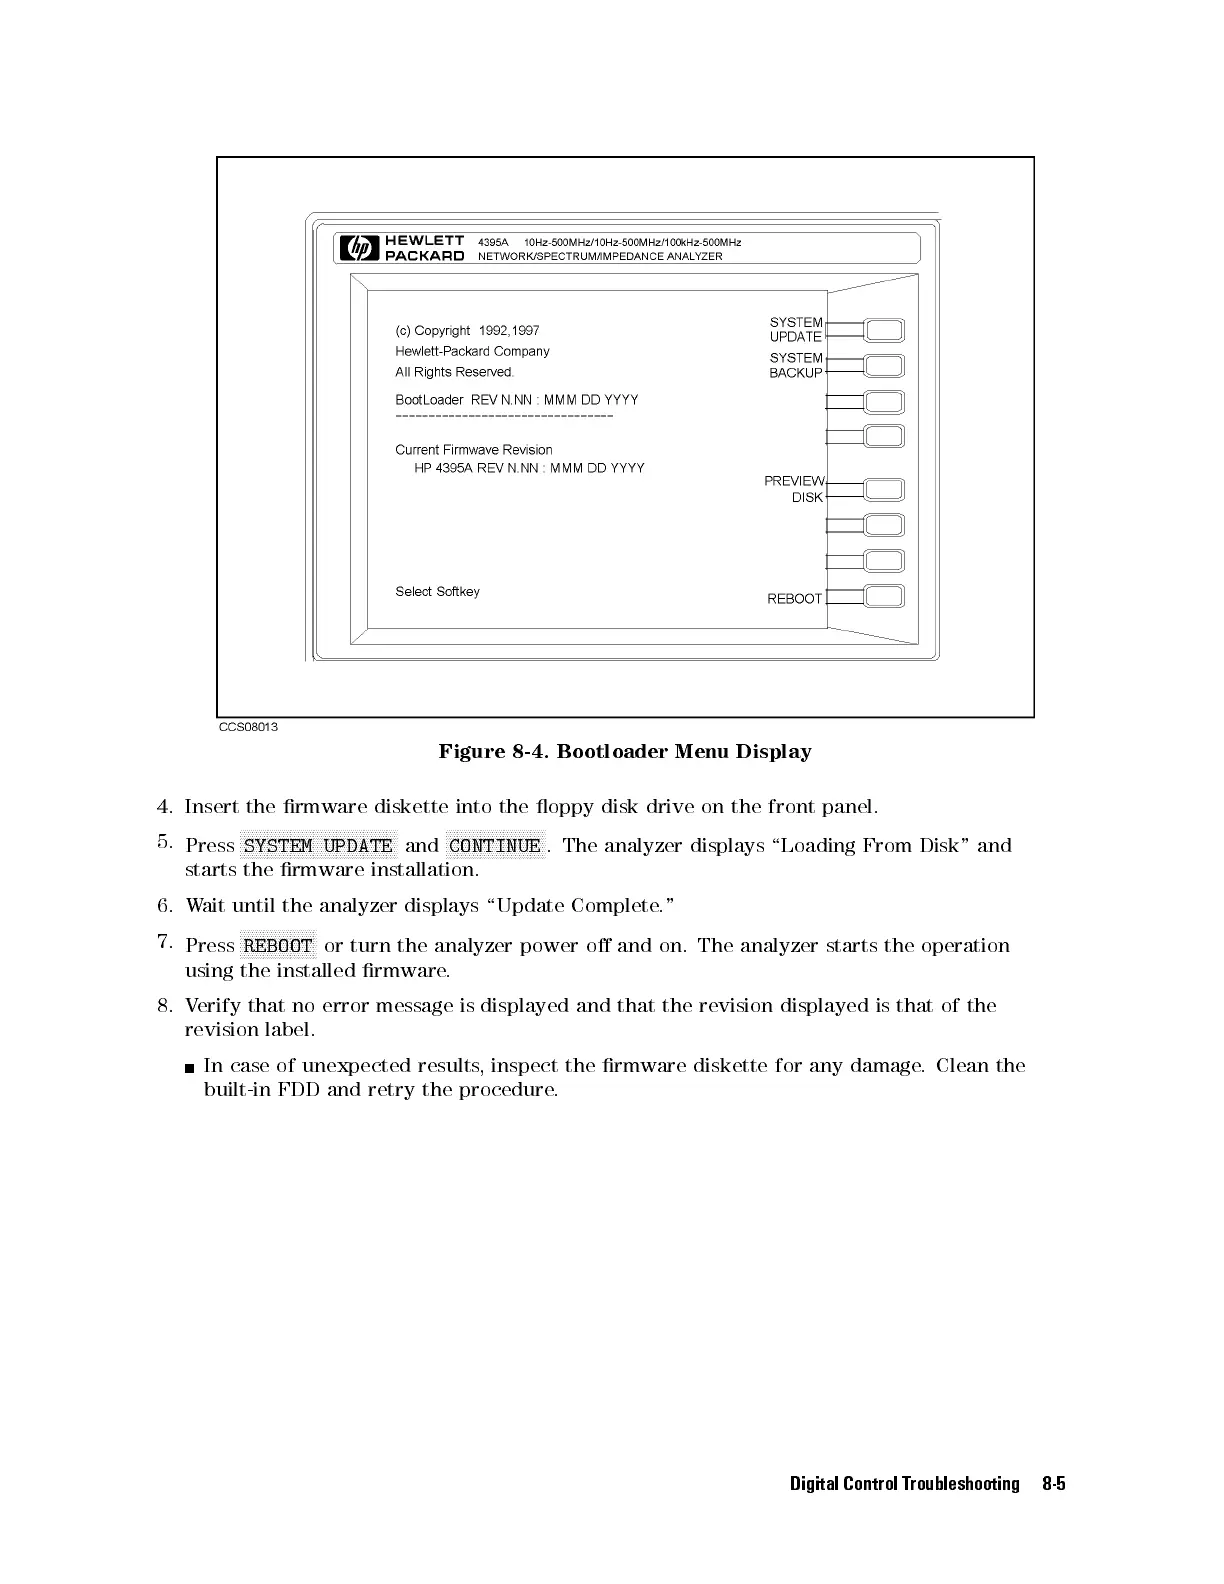
Figure 8-4. Bootloader Menu Display
4. Insert the rmware diskette into the oppy disk drive on the front panel.
5.
Press
NNNNNNNNNNNNNNNNNNNNNNNNNNNNNNNNNNNNNNNNN
SYSTEM UPDATE
and
NNNNNNNNNNNNNNNNNNNNNNNNNN
CONTINUE
. The analyzer displays \Loading From Disk" and
starts the rmware installation.
6. Wait until the analyzer displays \Update Complete."
7.
Press
NNNNNNNNNNNNNNNNNNNN
REBOOT
or turn the analyzer power o and on. The analyzer starts the operation
using the installed rmware.
8. Verify that no error message is displayed and that the revision displayed is that of the
revision label.
In case of unexpected results, inspect the rmware diskette for any damage. Clean the
built-in FDD and retry the procedure.
Digital Control Troubleshooting 8-5
 Loading...