64
Ignore the warning and click Enter.
The first Advanced setting screen allows you to leave on or turn off the firewall.
Click the no button disabling the firewall and then enter.
The Virtual Server screen appears which you disregard.
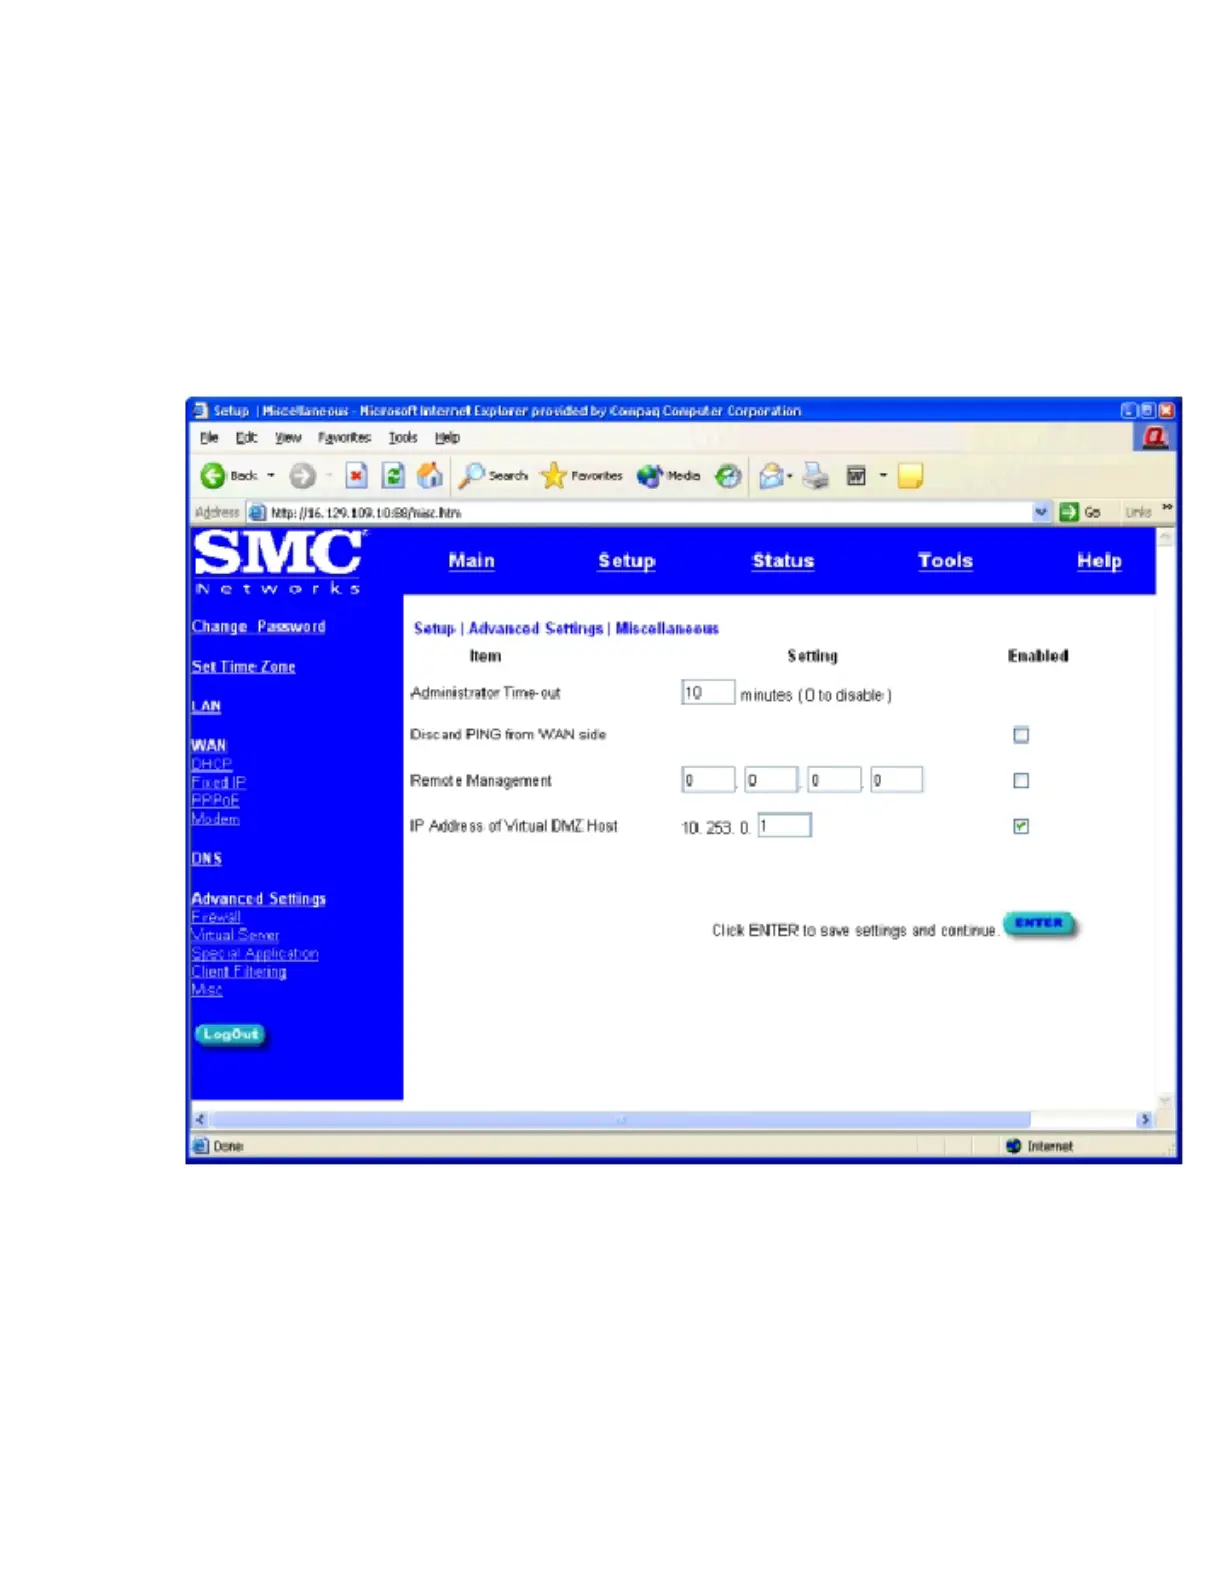
On the left side of the screen click on Misc and the following screen appears.
The virtual DMZ host needs to be enabled and its address set to 10.253.0.1.
Place a 1 in the input box setting up the IP Address of the Virtual DMZ host
Click the Enable checkbox next to this field and then click Enter.
The NAT box setup is now complete.
Use the second BX25G-xx cable to connect the NAT box’s WAN connection to
the HUB set up for the multi-server LAN, or to a drop on the corporate LAN.