Printhead Assembly Removal
June 1999 Removal/Replacement Procedures 7-23
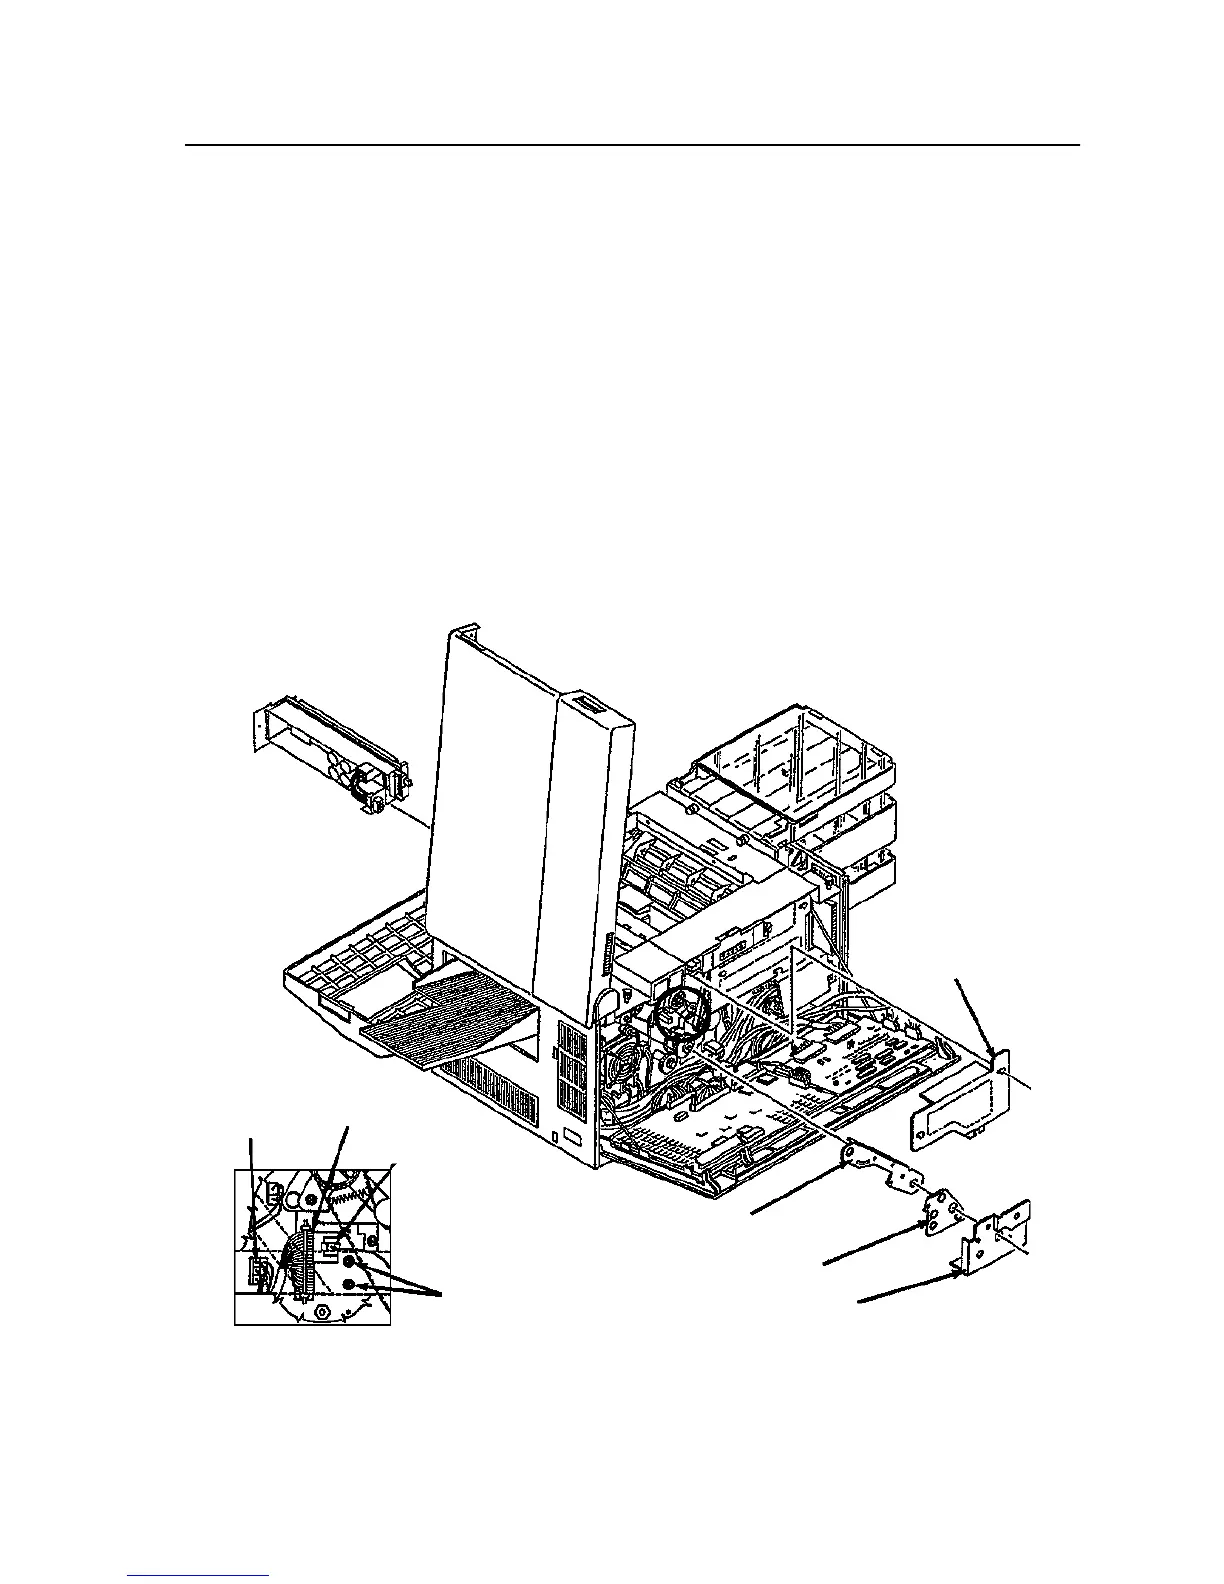
Printhead Assembly Removal
To remove the printhead assembly:
1 Open the front, top, and back covers.
2 Remove the photoconductor unit and place in its protective packaging.
3 Remove the cleaner unit.
4 Remove the fuser drive cover (three screws).
5 Remove the main drive cover (one screw).
6 Remove the gear stay cover (one screw).
7 Remove the gear stay (three screws).
8 Disconnect connectors CN27, CN30, and CN96 (see back detail).
9 Remove the two back screws holding the printhead assembly in place.
Fuser Drive
Cover
Gear Stay
Gear Stay Cover
Main Drive Cover
Mounting Screws
Back Detail
CN27
CN30
CN96