Photoconductor Seam Sensor Removal
June 1999 Removal/Replacement Procedures 7-33
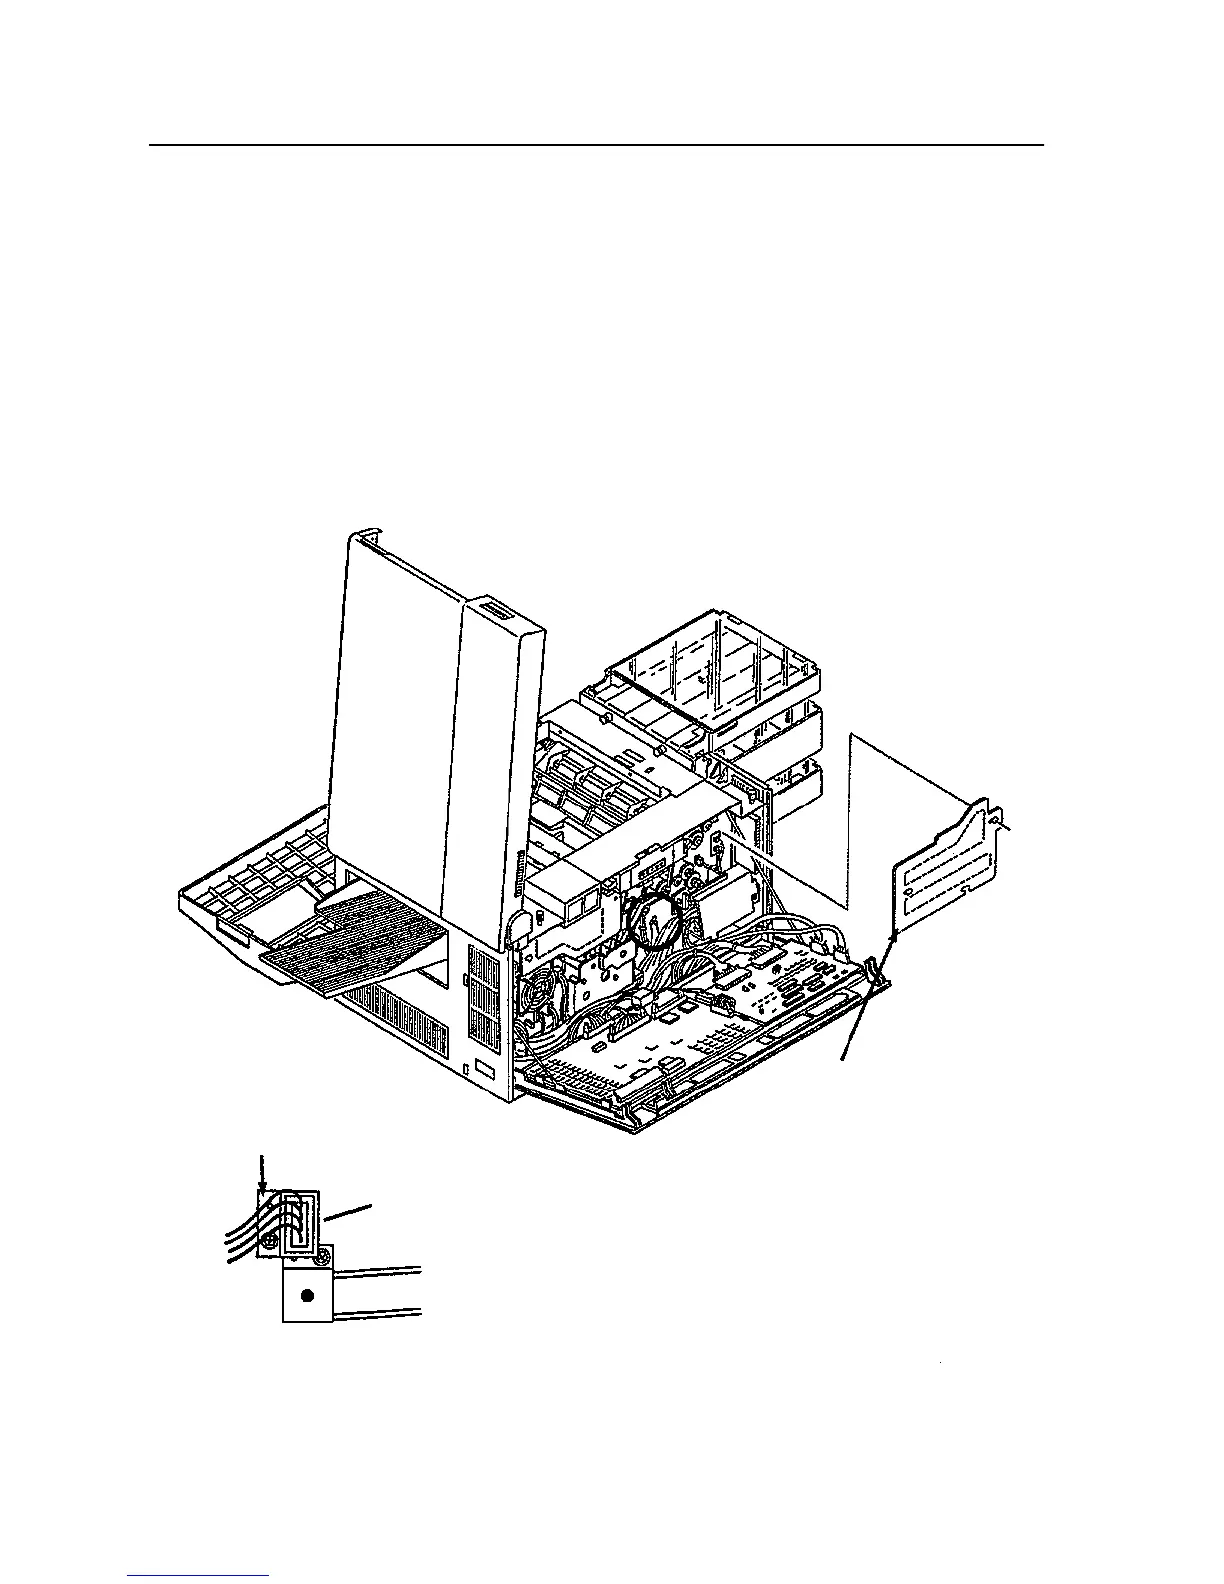
Photoconductor Seam Sensor Removal
To remove the photoconductor seam sensor:
1 Open the front, back, and top covers.
2 Remove the photoconductor and place in its protective packaging.
3 Remove the developer unit.
4 Remove the paper feed drive cover (three screws).
5 Remove the bracket holding CN64 in place (one screw).
6 Remove the screw holding the seam sensor bracket in place. It is situated under the
bracket for CN64.
Paper Feed Drive Cover
CN64 Bracket
Mounting Screw
(under CN64 bracket)
Back Detail