1
. Check that the paper type you have loaded corresponds to the paper type selected in the front panel
and in your software. See users guide.
2
. Check that you are using appropriate print-quality settings for your purposes (see users guide). In some
cases, you can overcome a print-quality problem merely by selecting a higher print-quality level. For
instance, if you have set the Print Quality slider to
Speed, try setting it to Quality. If you change the
print-quality settings, you may wish to reprint your job at this point in case the problem has been
solved.
3
. Print the Image Diagnostics Print. See
The Image Diagnostics Print on page 91.
4.
If the printhead is working correctly, go to the front panel and press , then , then
Image
quality maintenance
> Calibration status to see the paper advance calibration status. If the status is
DEFAULT, try performing paper advance calibration: see
Recalibrate the paper advance on page 78.
In case you are using rolls with 3-in core adaptors:
1
. Check that the roll core is not damaged.
2
. Make sure that the 3-in adaptor is correctly attached to the spindle.
3
. Print using Roll 1 for better performance.
4
. Print in a higher quality/slower mode.
5
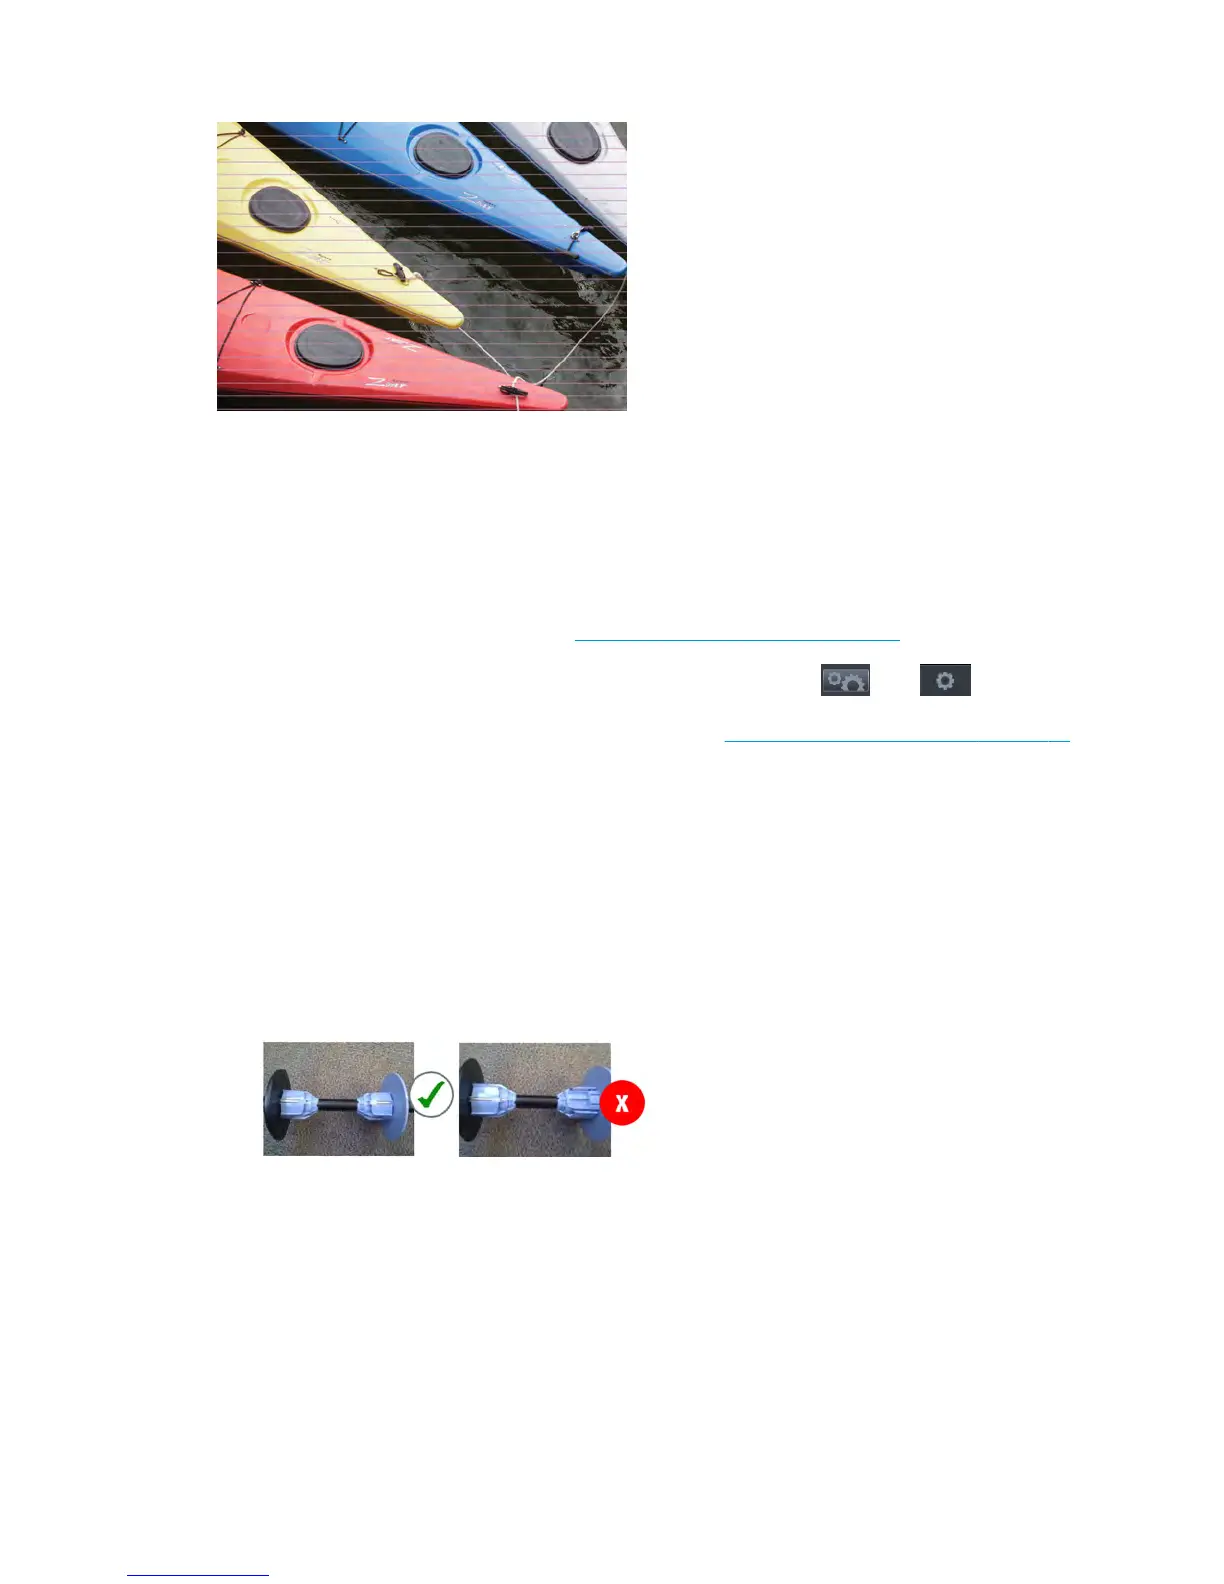
. If horizontal banding is only showing in the laterals of the media, check that the 3-in. adaptors are
positioned so that the spring of the black hub and the blue hub are aligned:
If the problem persists despite all the above actions, contact your customer service representative for
further support.
ENWW Print-quality problems 81
 Loading...
