To remove the formatter case
1. Remove the rear cover. See Rear cover.
2. Remove the top cover. See
Top cover.
3. Remove the rear top cover. See
Rear top cover.
4. Remove the left cover. See
Left cover.
5. Remove the DC controller shield. See
DC controller shield.
6. Remove the right cover. See
Right cover.
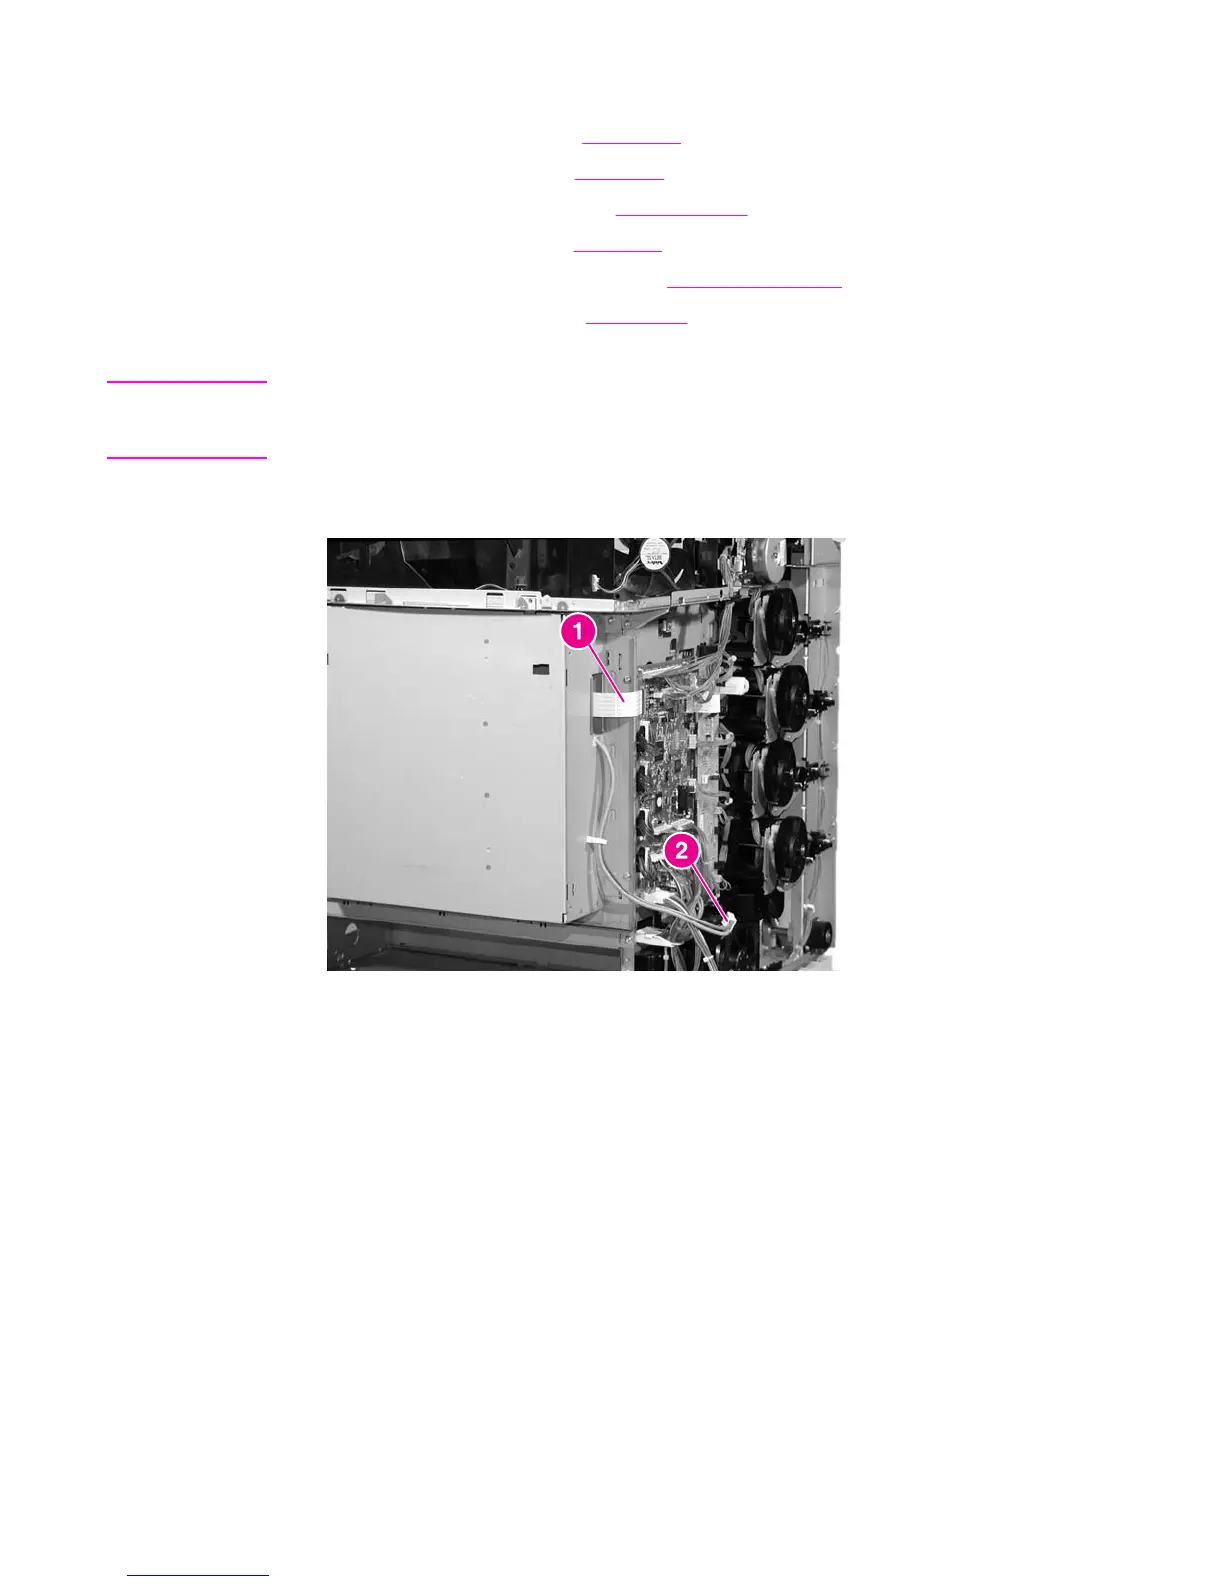
7. Disconnect the formatter ribbon cable shown in callout 1.
CAUTION
When removing the formatter ribbon cable, be careful not to tear it. Use a flat-blade
screwdriver to release the brown tab over the connection. Do not pull on the ribbon cable
without releasing this tab.
8. If you have not already removed the low-voltage power supply unit, disconnect the
connector shown in callout 2.
Figure 6-56.
Removing and replacing the formatter case (1 of 2)
9. At the rear of the printer, remove the screws shown in callout 3.
226 Chapter 6 Removal and replacement ENWW
 Loading...