Formatter fan
Use the following steps to to remove and replace the formatter fan.
Removing/Replacing the formatter fan
Note
The formatter fan is the horizontal, rear-most fan.
1. Remove the rear cover. See
Rear cover.
2. Remove the top cover. See
Top cover.
3. Remove the rear top cover. See
Rear top cover.
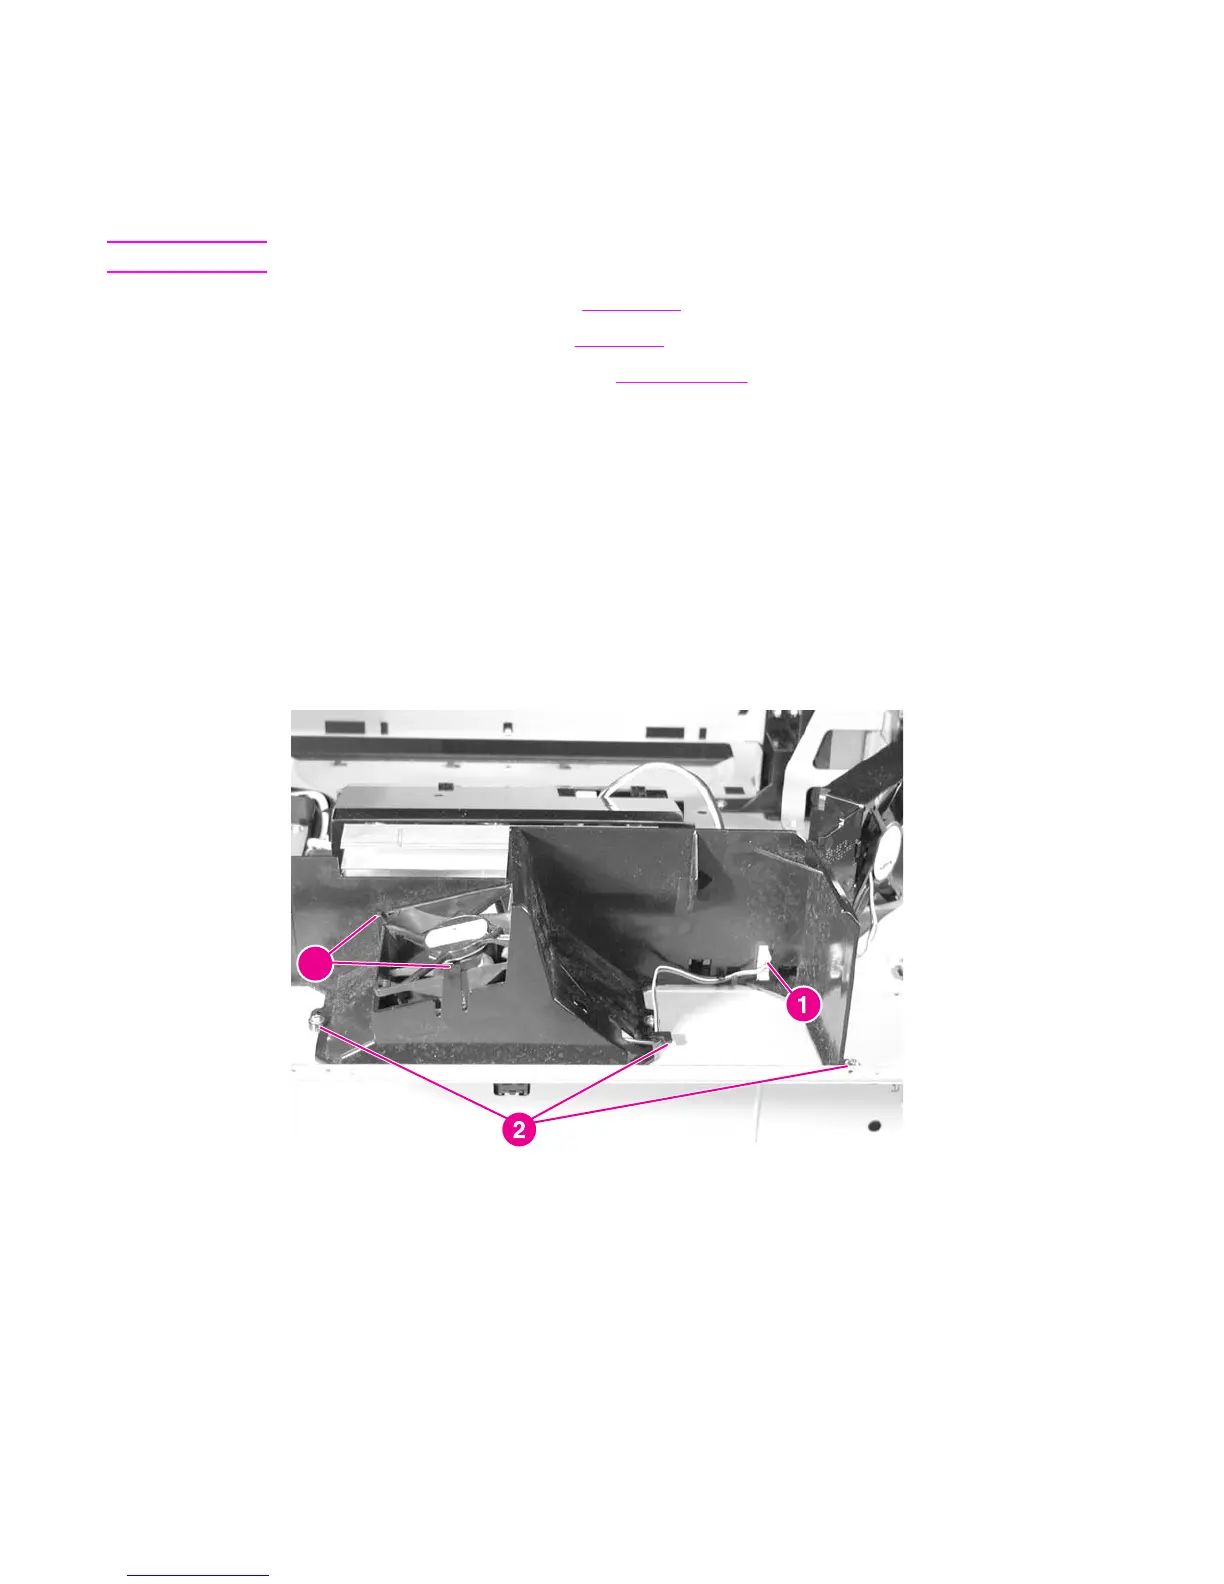
4. Disconnect the connector shown in callout 1.
5. Remove the three screws shown in callout 2.
6. Unhook the two tabs shown in callout 3.
7. Remove the fan holder and the fan from the printer.
8. Remove the fan from the fan holder.
Reinstallation tip
When reinstalling the formatter fan, be sure that the arrow marked on the fan holder and the
arrow marked on the fan are pointing in the same direction.
3
Figure 6-84.
Removing and replacing the formatter fan
Cartridge fan
Use the following steps to remove and replace the cartridge fan.
ENWW Internal components (top) 247
 Loading...