Scanning Documents to Your
Computer
These procedures describe scanning a document and sending the
image to your computer, which is the first step to faxing, filing, and using
the OCR software.
To scan a document
1 Raise the paper tray and paper supports.
2 Place the document face forward and top down in the paper tray, and
adjust the paper edge guides by sliding them to the edges of the
document.
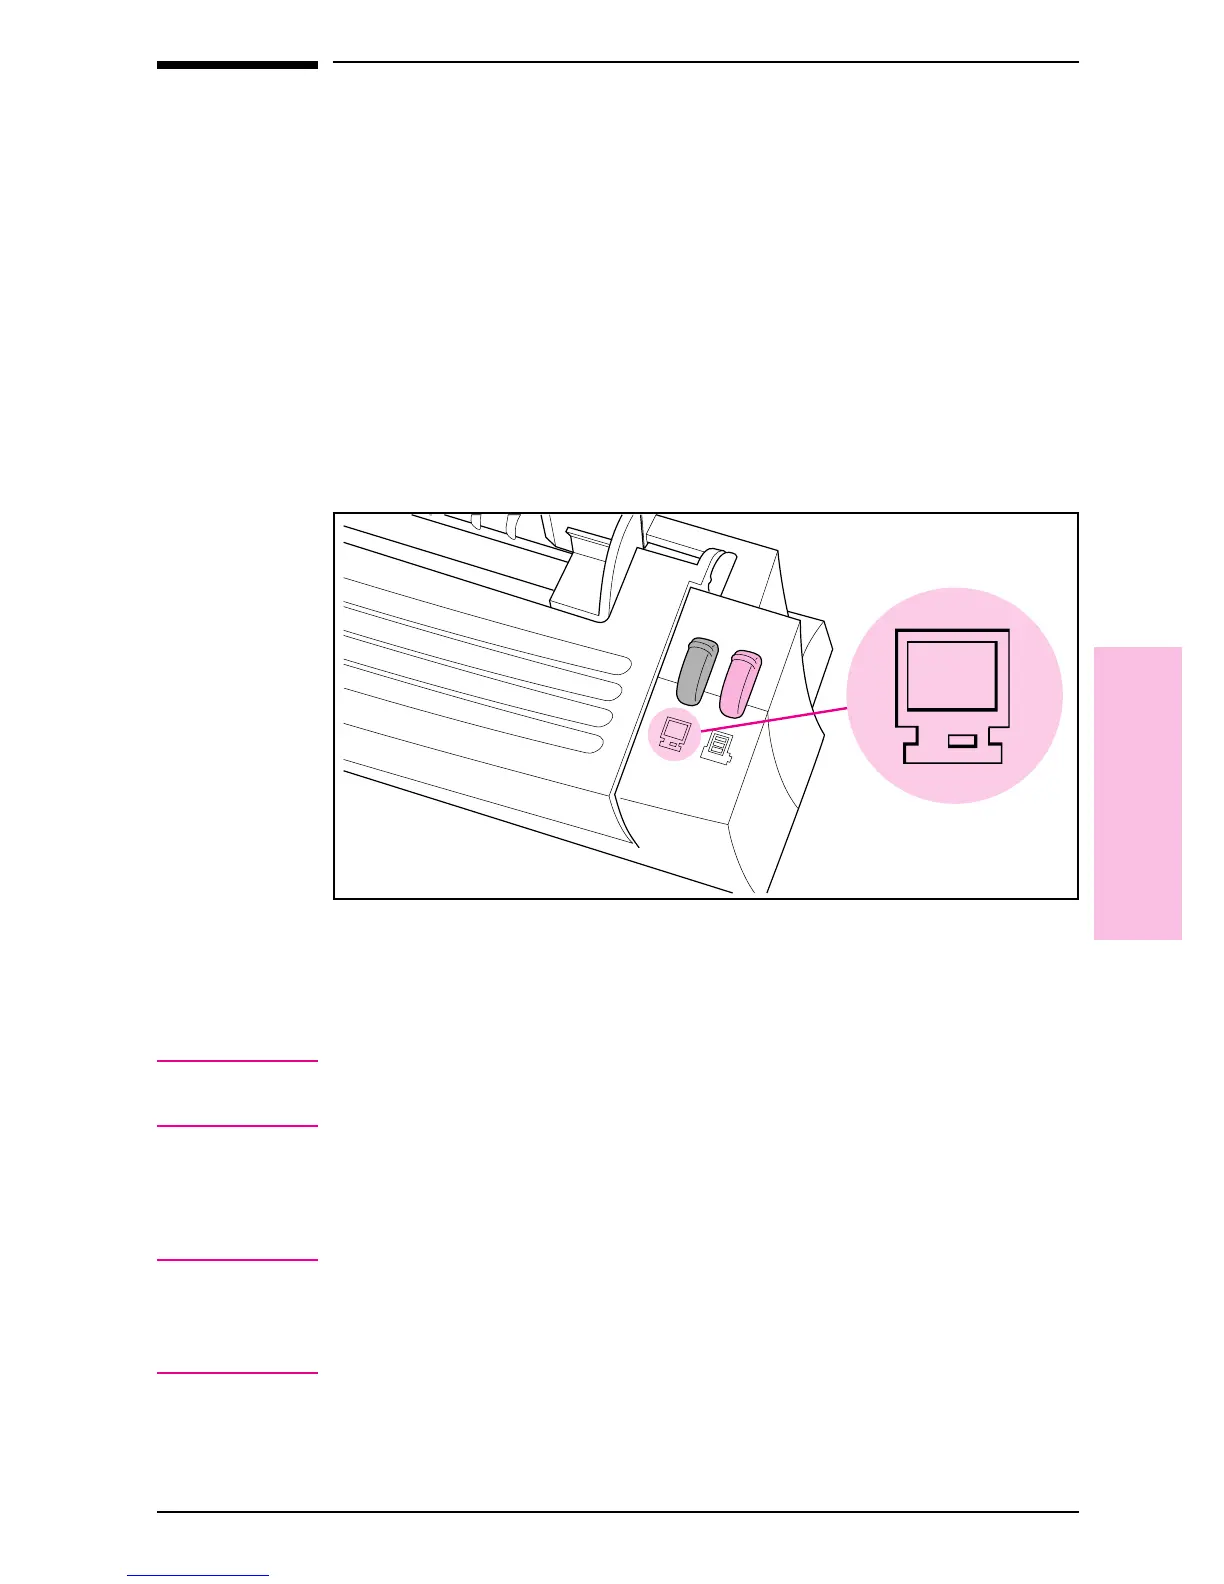
3 Press [To[PC] on the HP LaserJet Companion.
The scan will begin and a thumbnail image of the page appears as the
document is being scanned. When the scan is complete, the thumbnail
image will disappear and the PaperPort software will automatically
display the scanned image in Desktop View.
Note
For information on how to give an item a new title, see “Giving Titles to
Items” in chapter 4.
If you need to stop the scan, press [To[PC] again. To remove the
document, see “Clearing Paper Jams from the HP LaserJet Companion”
in chapter 5.
Tip
If you press [To[PC] and there is no paper in the HP LaserJet
Companion, the PaperPort software will start. For more information on
the PaperPort software, see chapter 4, “Working in the PaperPort
Software.”
Figure 3-4
3
Using the
Companion
EN Using the HP LaserJet Companion 3-7
 Loading...