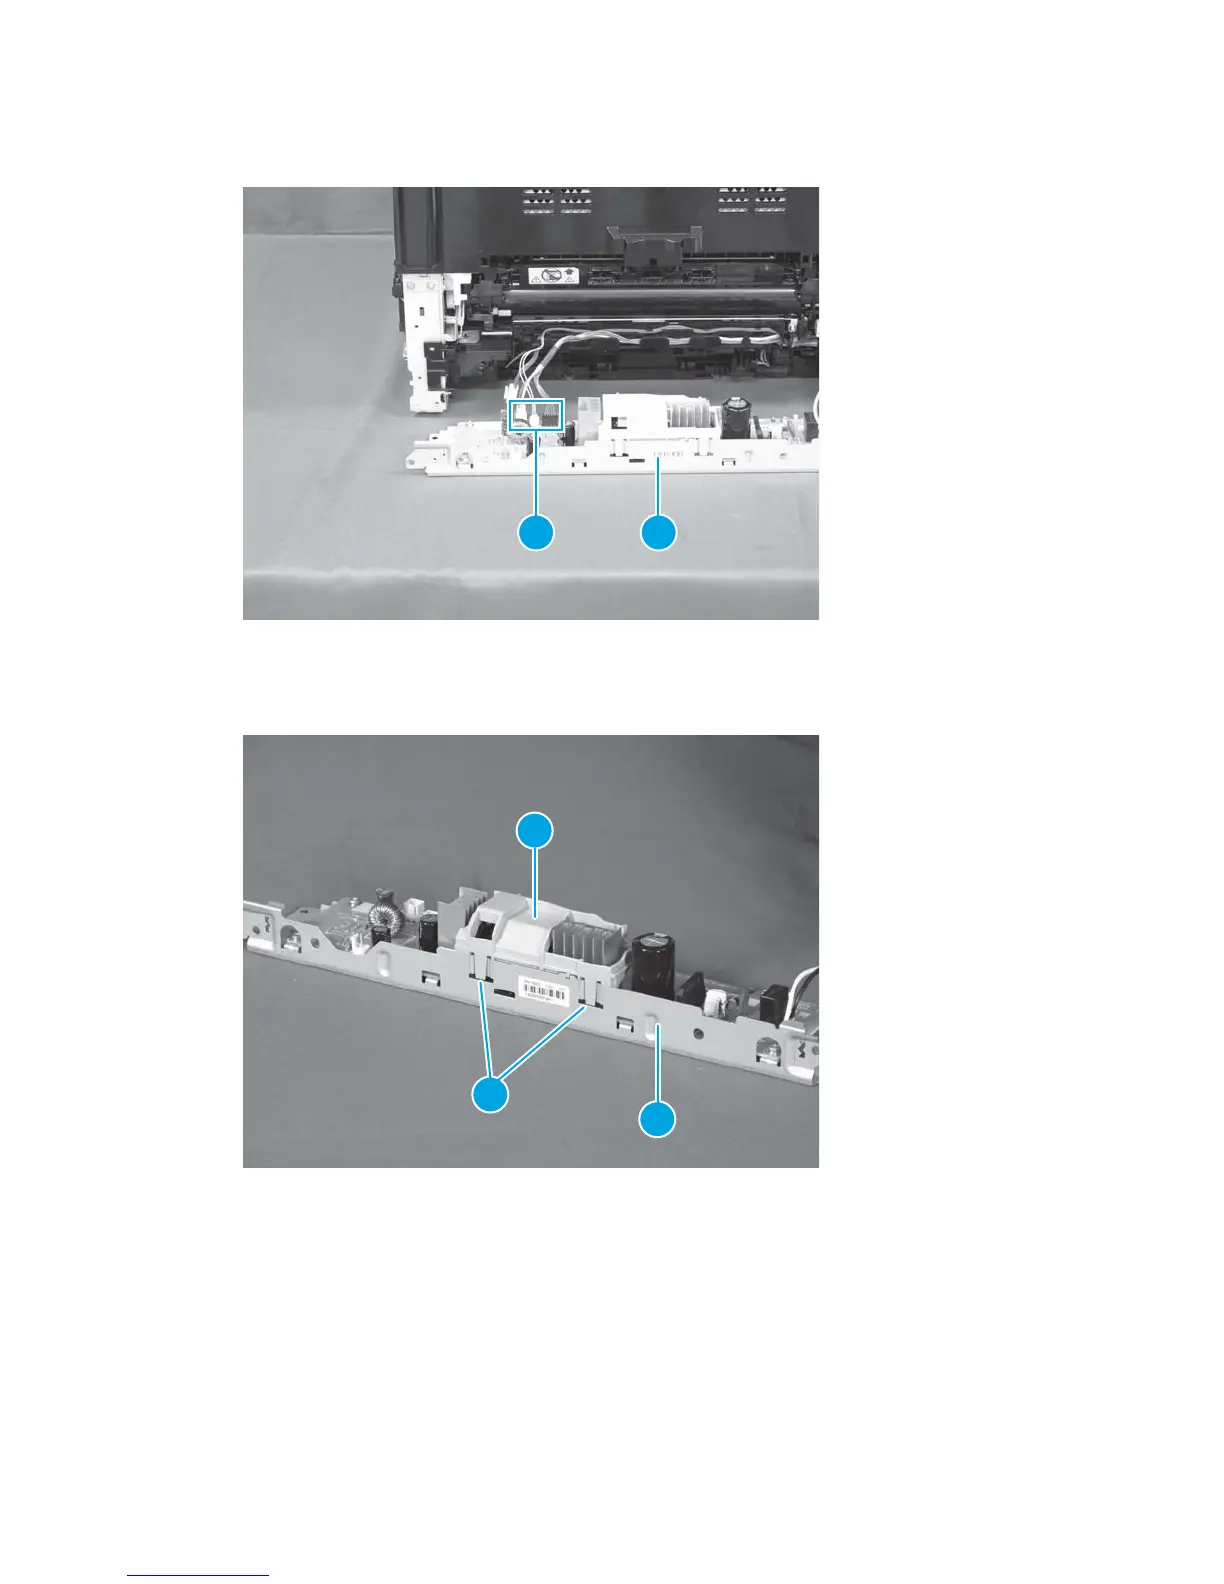
10. Disconnect three connectors (callout 1) and remove the low-voltage power supply (callout 2).
Figure 1-110 Remove the low-voltage power supply assembly and support frame (8 of 10)
1 2
11. Gently release two tabs (callout 1) and remove the support frame (callout 3) from the low-voltage
power supply (callout 2).
Figure 1-111 Remove the low-voltage power supply assembly and support frame (9 of 10)
1
2
3
76 Chapter 1 Removal and replacement ENWW
 Loading...