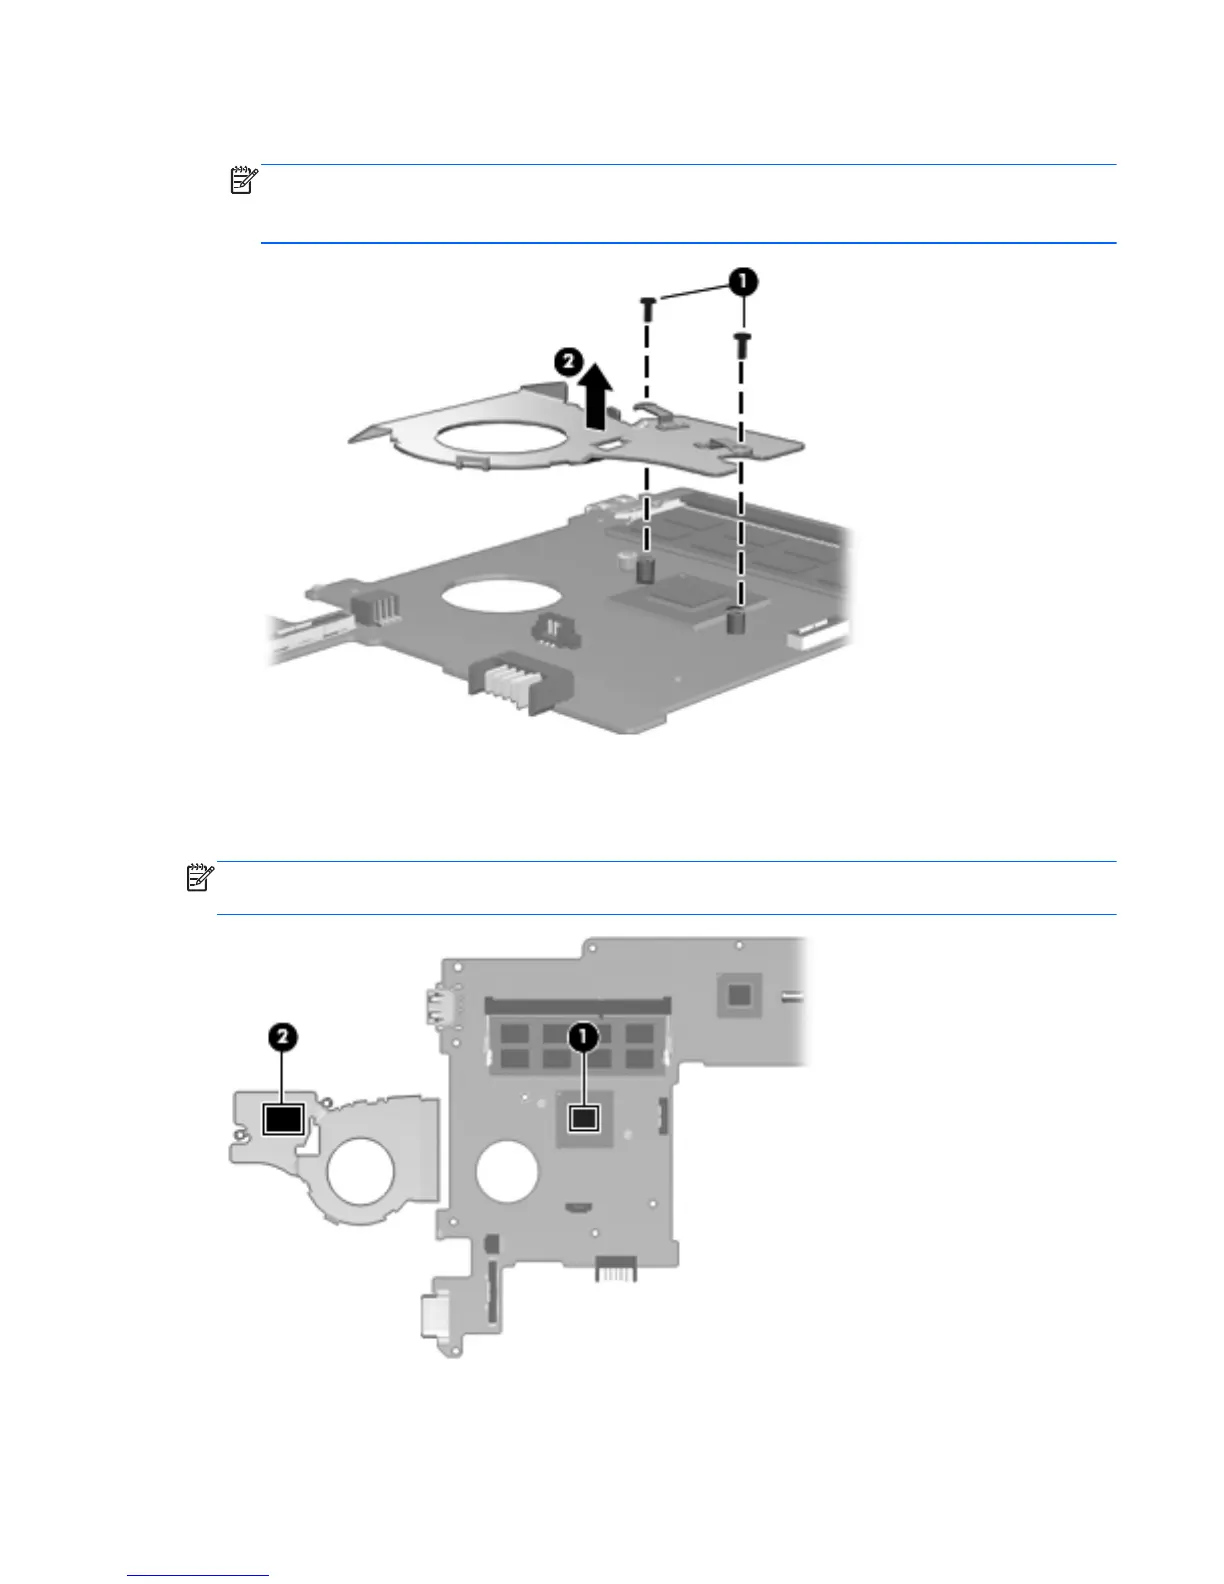
2.
Remove the heat sink (2).
NOTE: Due to the adhesive quality of the thermal material located between the heat sink and
system board components, it may be necessary to move the heat sink from side to side to
detach it.
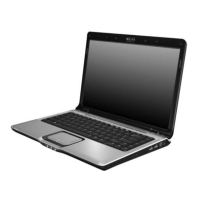
The thermal material must be thoroughly cleaned from the surfaces of the heat sink and the
system board components each time the heat sink is removed. Replacement thermal material is included
with the heat sink and system board spare part kits.
NOTE: The following illustration shows the replacement thermal material locations. Thermal paste is
used on the processor (1) and the heat sink section (2) that services it.
Reverse this procedure to install the heat sink.
Component replacement procedures
61