Type the Network Addresses settings and click Next.
For Management and Discovery:
• Management IP address and subnet mask
• iSCSI discovery IP address and subnet mask
• Default gateway IP address
Note: If you chose two dedicated networks as your network topology, the GUI
requires you to specify different subnets for management and iSCSI discovery.
For Data:
• Port type – Not congured, Data only, or Management + Data
• Data IP address and subnet mask
• Maximum Transmission Unit (MTU) – Standard, Jumbo, or Other
• Frame size in bytes – User specied value
Ensure that your network switches support the selected MTU size. The data port
IP addresses are assigned to interface pairs, such as eth5 on controller A and
eth5 on controller B. If one controller fails, the corresponding port on the remaining
controller still has data access. At least one interface pair must be congured.
However, a minimum of two is recommended.
Congure the array with the GUI.
See the Nimble Storage Administration Guide.
1
2
4
7
Copyright © 2015 by Hewlett Packard Enterprise Development LP. All Rights Reserved. PN: 960-0030-004 (04/15/15)
Type the support information and click Finish.
• From Address ‒ Identies the array as the sender of email notication messages.
• To Address ‒ Recipients of the email notication messages.
• SMTP Server ‒ Hostname of the SMTP (mail) server.
• Send AutoSupport data ‒ Array automatically periodically sends a health and
performance report to Nimble Storage Support. Strongly recommended.
• HTTP Proxy Server ‒ For networks using an HTTP proxy server for secure Internet
connections, type the appropriate information.
Where to go next:
See the Nimble Storage Administration Guide or the online help to learn more about
managing the array.
For the latest release notes, go to HPE InfoSight: https://infosight.hpe.com/.
6
Specify the time zone, type the NTP (time) server details, and click
Next.
• Select the time zone from the drop-down menu.
• Type the hostname or IP address of the NTP server.
Type the domain and DNS information and click Next.
• Domain name ‒ Enables the network to resolve IP addresses.
• DNS servers ‒ One per line, up to ve.
3
Read the Setup Complete message and click Continue.
Make sure you have the necessary ports open.
The Nimble GUI home screen appears.
8
5
Set up the array.
a. In the Windows Start menu, click Nimble Storage > Nimble Setup Manager.
b. Open the browser and select the array from the Nimble Setup Manager list.
Note: If the array is not visible in Nimble Setup Manager, verify that the array is on
the same subnet as the Windows host.
c. In the Information dialog box, click OK.
Note: Clicking OK closes the Nimble Setup Manager, and continues the setup on
the array through your web browser.
d. You may see a warning similar to “There is a problem with this website’s security
certicate.” It is safe to ignore this warning and click Continue.
NOTE:
This equipment has been tested and found to comply with the limits for a Class A digital device, pursuant to Part 15 of the FCC Rules. These limits are designed to provide reasonable protection against harmful
interference when the equipment is operated in a commercial environment. This equipment generates, uses, and can radiate radio frequency energy and, if not installed and used in accordance with the instruction
manual, may cause harmful interference to radio communications. Operation of this equipment in a residential area is likely to cause harmful interference in which case the user will be required to correct the
interference at his own expense.
Warning:
This is a Class A product. In a domestic environment this product may cause radio interference in which case the user may be required to take adequate measures.
Install the Nimble Windows Toolkit on the Windows host.
a. Download the Nimble Windows Toolkit (NWT) from Nimble InfoSight™ at
https://infosight.nimblestorage.com/
Type your email address and password, and click Login.
If you do not have a password, click New user? Enroll now.
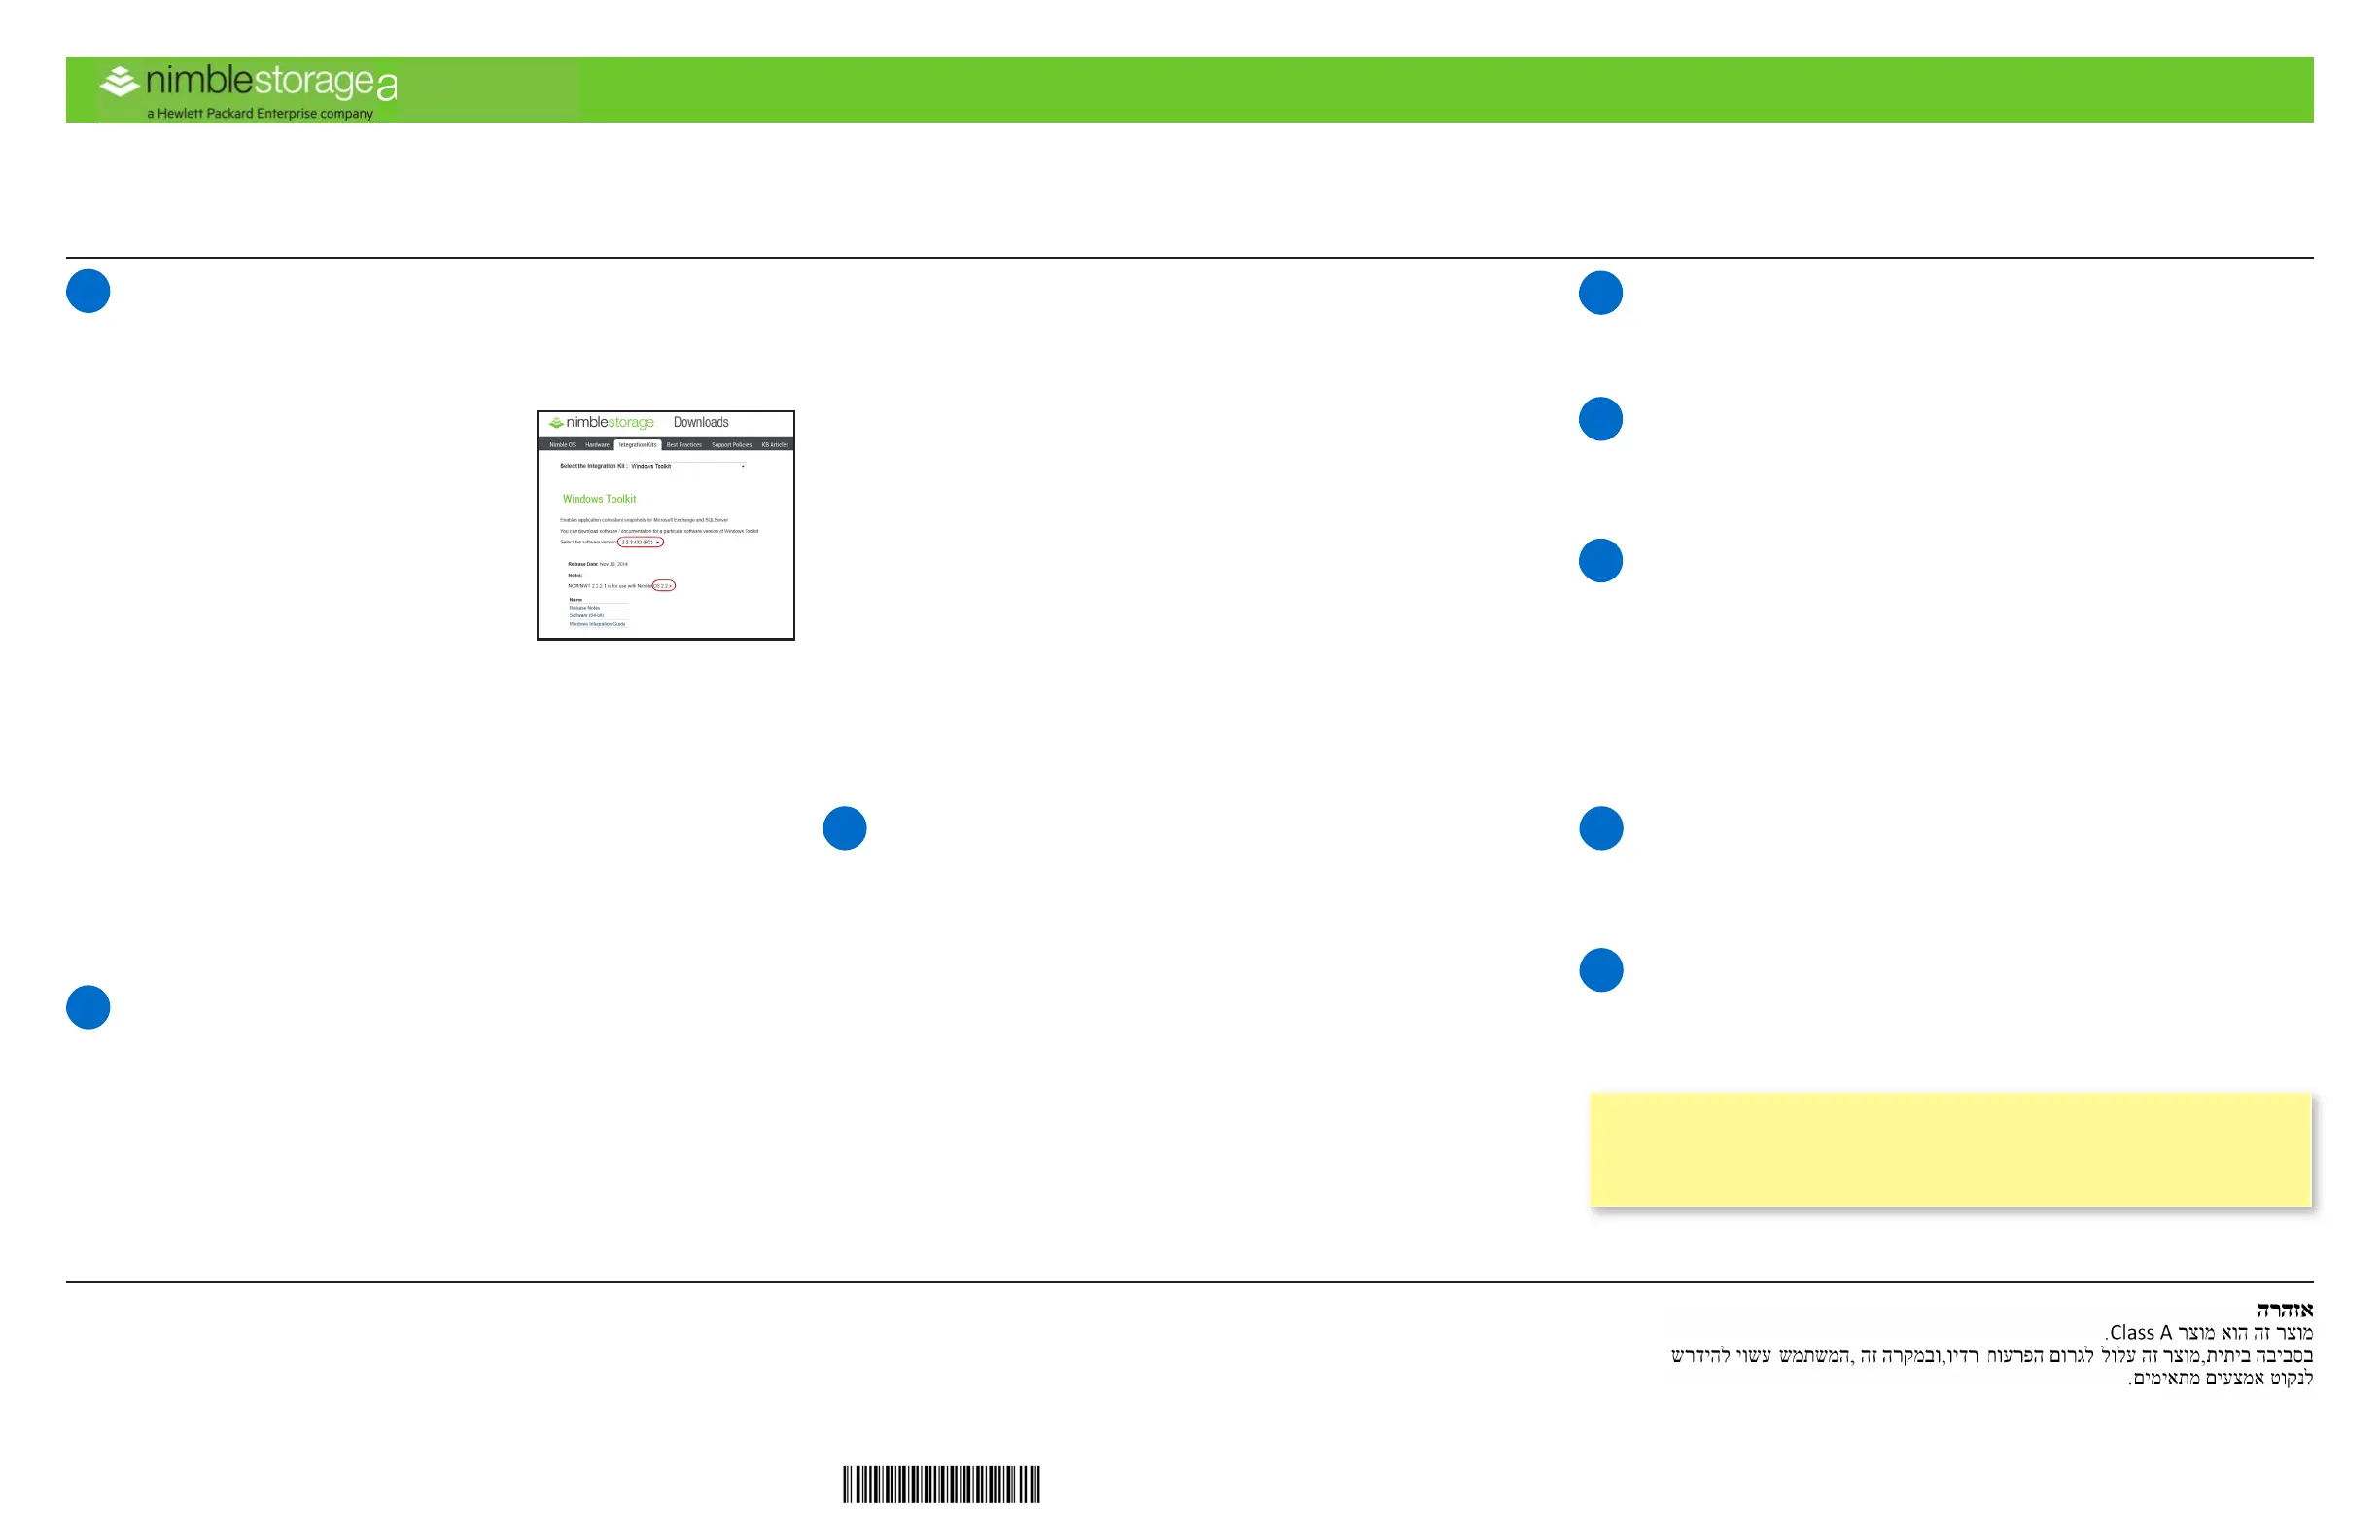
b. From Downloads, click the Integration Kits tab.
c. From the Select the integration kit menu,
select Windows Toolkit. Then from the
Select the software version menu, select
the latest version of the NWT. Note: The
Windows host must be on the same subnet as
that of the array to be set up.
Important!
Make sure that the NWT version is compatible
with the Nimble OS version on your array.
d. Click the Software link. (For 2.2.x or later, only
64-bit is available.) Save the NWT installation package to a convenient place on
your Windows host.
The installation package has a name like Setup-NimbleNWT-x64-x.x.x.x.exe.
Where x64 is the supported microprocessor and x.x.x.x is the version number.
e. Download the Nimble Windows Toolkit Release Notes.
Review the list of Windows Server hotxes.
f. On the Windows host, right-click the installer le and choose
Run as administrator.
g. Follow the prompts.
You must accept the end user license agreement to install the NWT.
Choose Complete Installation and Yes to modify the Registry Keys.
h. Click Yes to restart the Windows host.
CS200 and CS400 Series Array Conguration
What you need on the Windows host
• Internet connection to Nimble InfoSight™
•
.NET Framework 4.5.2
• Adobe Flash Player
If prompted, you can also download and accept the certicate. Or create your own.
See the cert command in the Nimble Storage Command Line Reference.
Note: If Internet Explorer displays a blank page, clear the browser’s cache. The
page should be visible after refreshing the browser.
e. In the Nimble Storage License Agreement, read the agreement, scroll to the
bottom, check the acknowledgment box, and then click Proceed.
f. In the Array Setup screen, choose the appropriate group option and click Next.
• If you create a new group, you must provide additional information. Later, you
can add other arrays to this group.
• If you join an existing group, choose its Group Name.
If you chose to join an existing group, your browser automatically redirects to the
login screen of the group leader array.
g. Provide or change initial management settings and click Finish. (Optional. Type
the Group password and click Log In. The Add Array to Group dialog box opens.)
h. In the Successfully Initialized dialog box, click Continue. Your browser
automatically redirects to the Management IP address of the array.
Note: If the array does not initialize, check the cabling to the network switch and
check the subnet mask.
i. In the login screen, type the password you set and click Log In.
From this point forward, you are in the Nimble OS GUI.
ARRAY QUICK START GUIDE
경고: 이 기기는 업무용(A급) 전자파 적합기기로서 판매자 또는 사용자는 이 점을 주의하시기 바라며, 가정외의 지역에서 사용하는 것을 목적으로 합니다.
警告: 警告使用者:這是甲類的資訊產品,在居住的環境中使用時,可能會造成射頻干擾,在這種情況下,使用者會被要求採取某 些適當的對策
Important!
Nimble Setup Manager (NSM) is only required for array setup. If performing these steps from a laptop
running Windows 7 or later no other components can be installed.
 Loading...