2-18 Removal and Replacement HP Omnibook 6000/6100
Reassembly Notes
• Tighten screws around the CPU as denoted on the heatsink assembly.
• When installing a new heatsink, use the thin heatsink when the bottom case has a circular vent. Use
the thick heatsink with all other bottom cases.
• If the power supply PCA has a metal cover on it, ensure that there is not a spacer pad in the same
location on the heatsink. If both are present, remove the spacer pad.
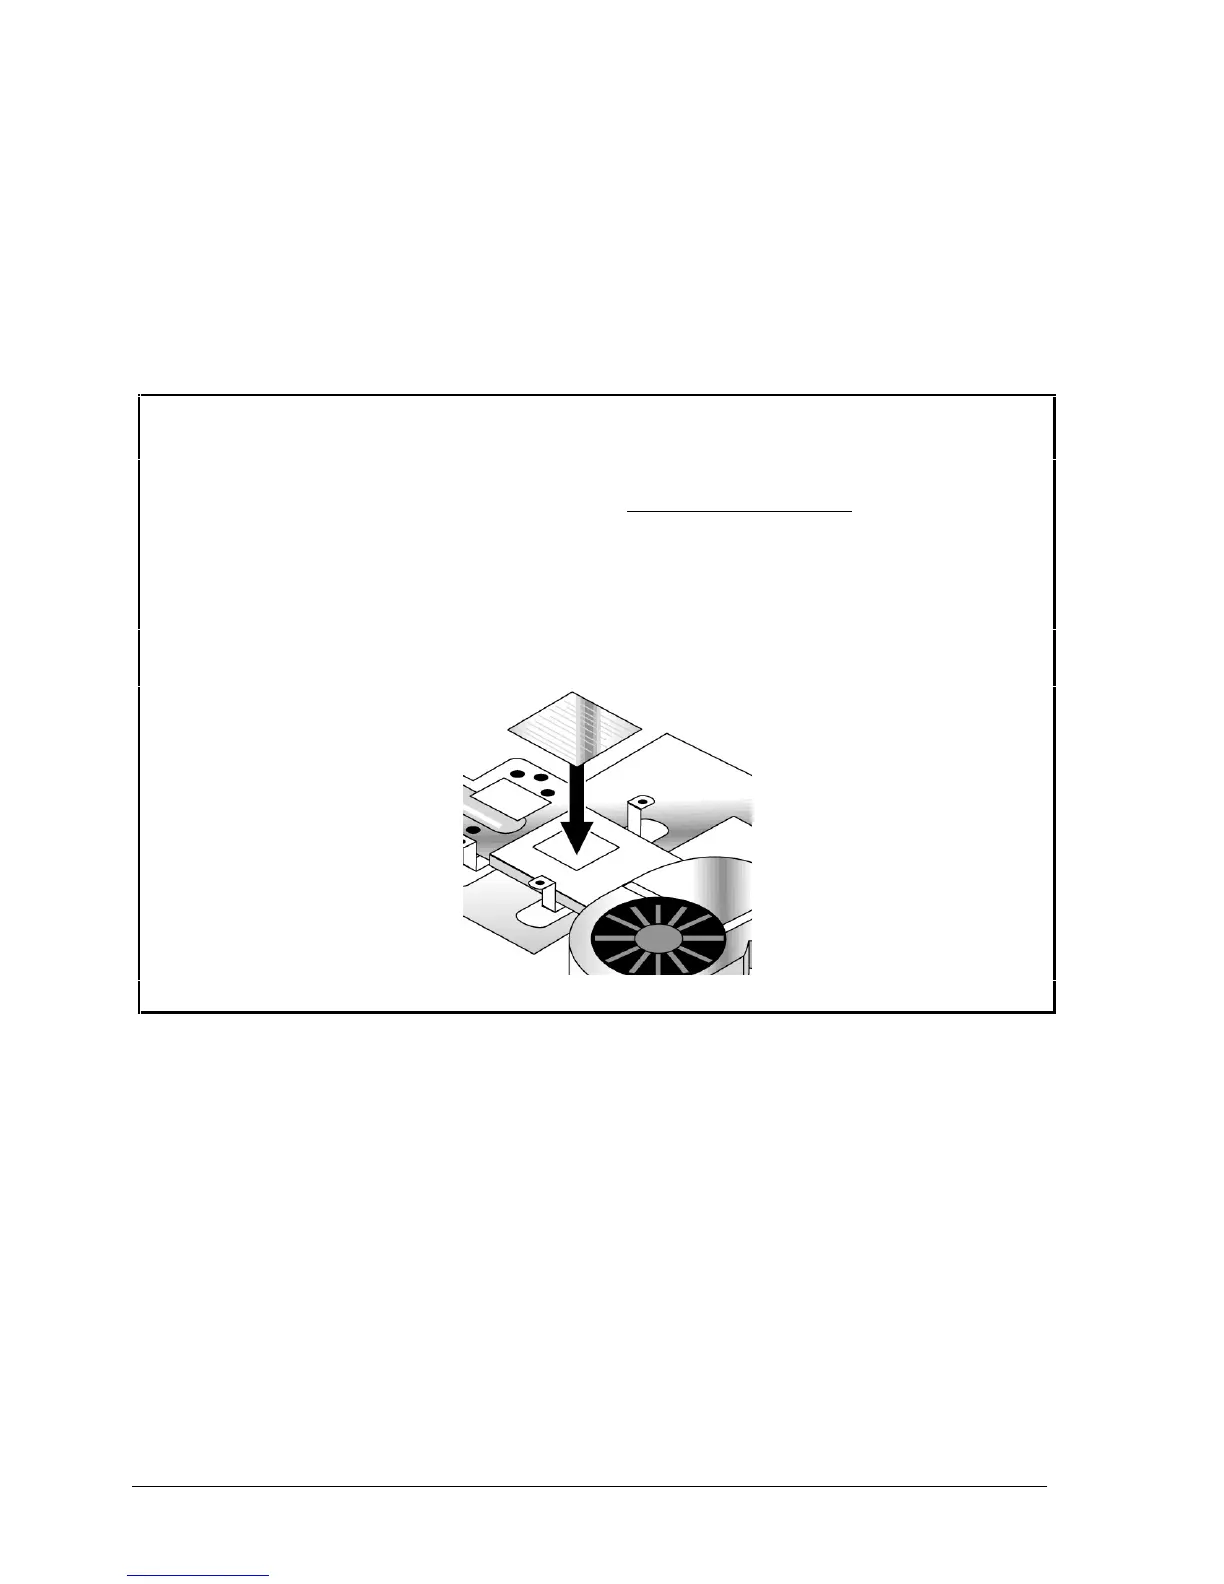
Caution
Restore proper thermal contact when installing the heatsink. Otherwise, performance can be
significantly degraded.
Carefully clean the heatsink and CPU surfaces and install a new thermal pad on the heatsink in
these situations:
• Required whenever you install a new CPU for any model.
• Required whenever you remove the heatsink from an Omnibook 6000 with an 800-MHz or
faster CPU.
• Recommended whenever you remove the heatsink from any other model.
 Loading...