StSt
StSt
St
ee
ee
e
p 1: Sp 1: S
p 1: Sp 1: S
p 1: S
et uet u
et uet u
et u
p tp t
p tp t
p t
hh
hh
h
e pe p
e pe p
e p
hh
hh
h
oo
oo
o
tt
tt
t
o po p
o po p
o p
rr
rr
r
ii
ii
i
nn
nn
n
tt
tt
t
ee
ee
e
rr
rr
r
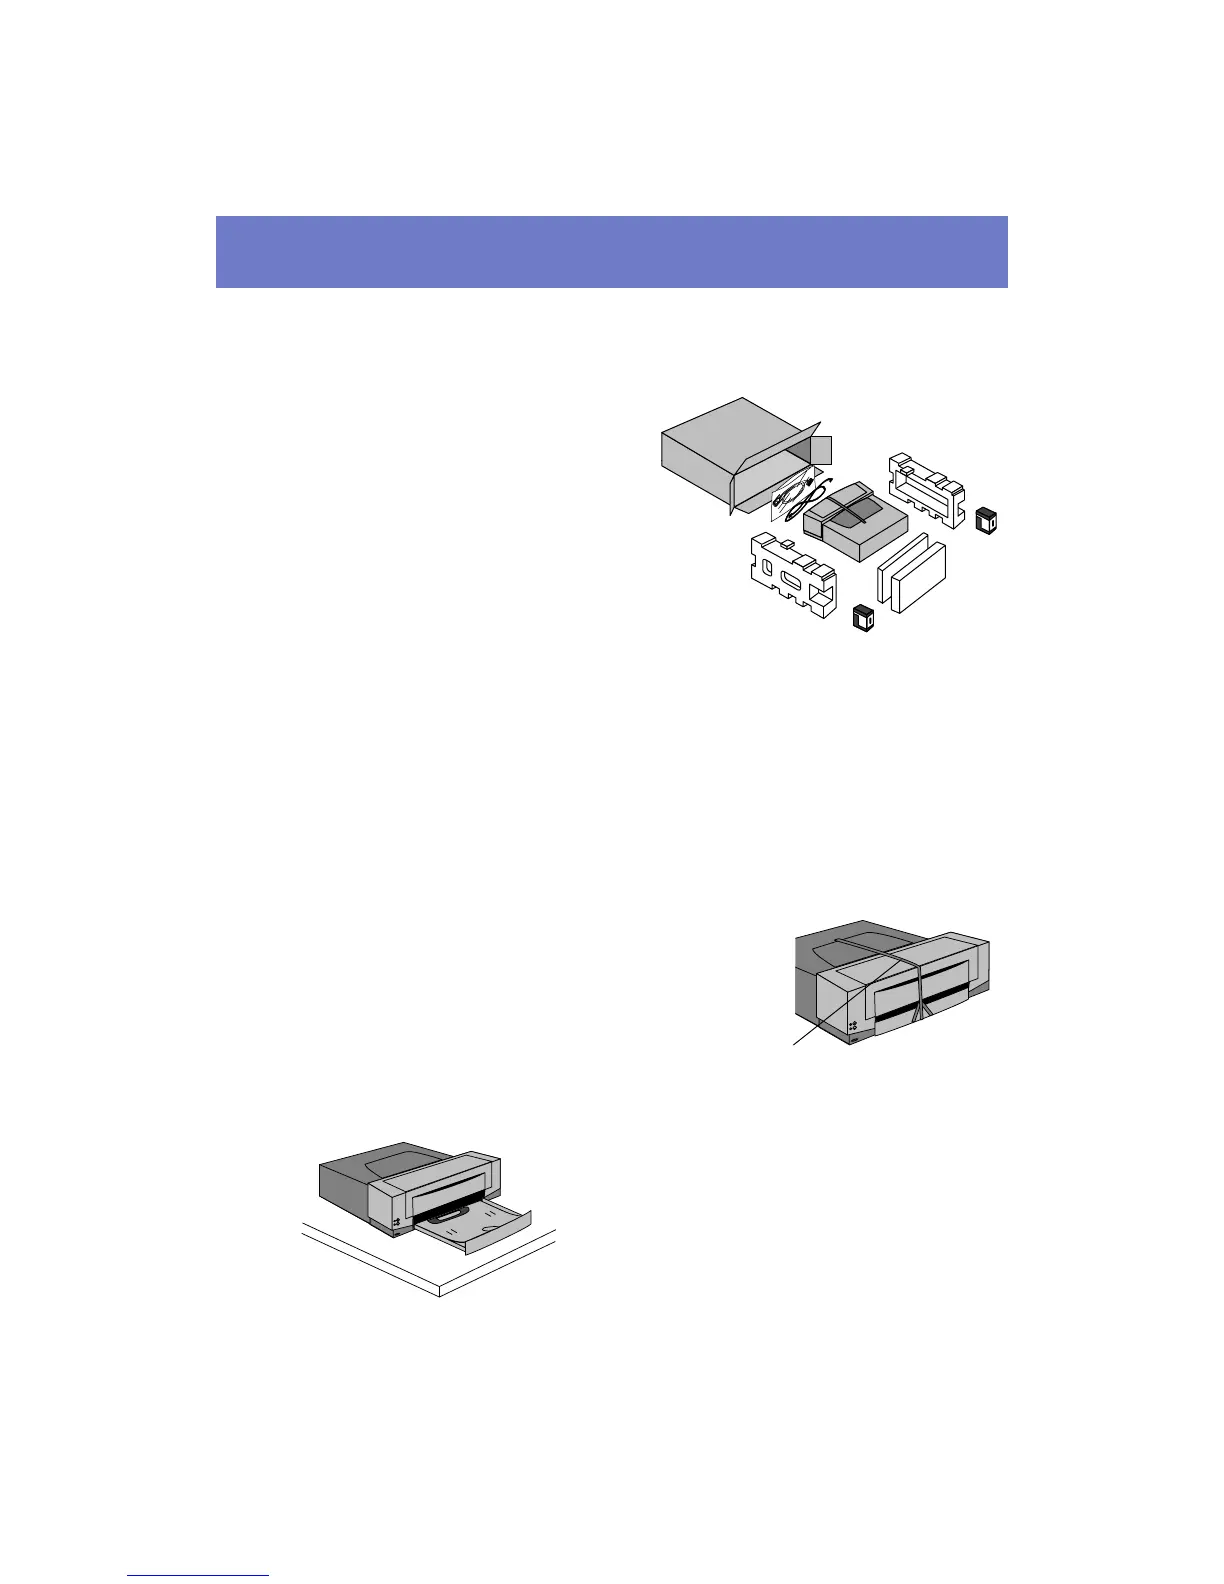
u Remove the photo printer from the package
ü Remove all items from the box.
ü Carefully detach the packaging. Save the
packaging, in case you ever want to transport
or store your photo printer.
ü Check to be sure you have the following:
HP PhotoSmart photo printer.
Printer cable - This bi-directional parallel cable is required for the photo printer.
Power cord - This cord will connect the photo printer to its power source.
Photo cartridges (2) - These are packed in the ends of the styrofoam pieces.
Accessories - This box contains the HP PhotoSmart Photo Printer CD, the User’s
Guide, and software you can use to create your photo projects.
HP Photo Printing Sampler Kit - This kit contains samples of the HP PhotoSmart
papers available for your photo projects.
v Remove the tape from the top
of the photo printer
w Decide where to put the photo printer
ü Find a level, sturdy surface such as a
desk or table.
ü Select a location that is within 3 feet
of your computer and a grounded
electrical outlet.
Note: Don’t plug in the photo printer yet.
Tape
 Loading...