StSt
StSt
St
ee
ee
e
p 2: Ip 2: I
p 2: Ip 2: I
p 2: I
nsns
nsns
ns
tt
tt
t
alal
alal
al
l tl t
l tl t
l t
hh
hh
h
e pe p
e pe p
e p
hh
hh
h
oo
oo
o
tt
tt
t
o co c
o co c
o c
aa
aa
a
rr
rr
r
tt
tt
t
rr
rr
r
idgidg
idgidg
idg
eses
eses
es
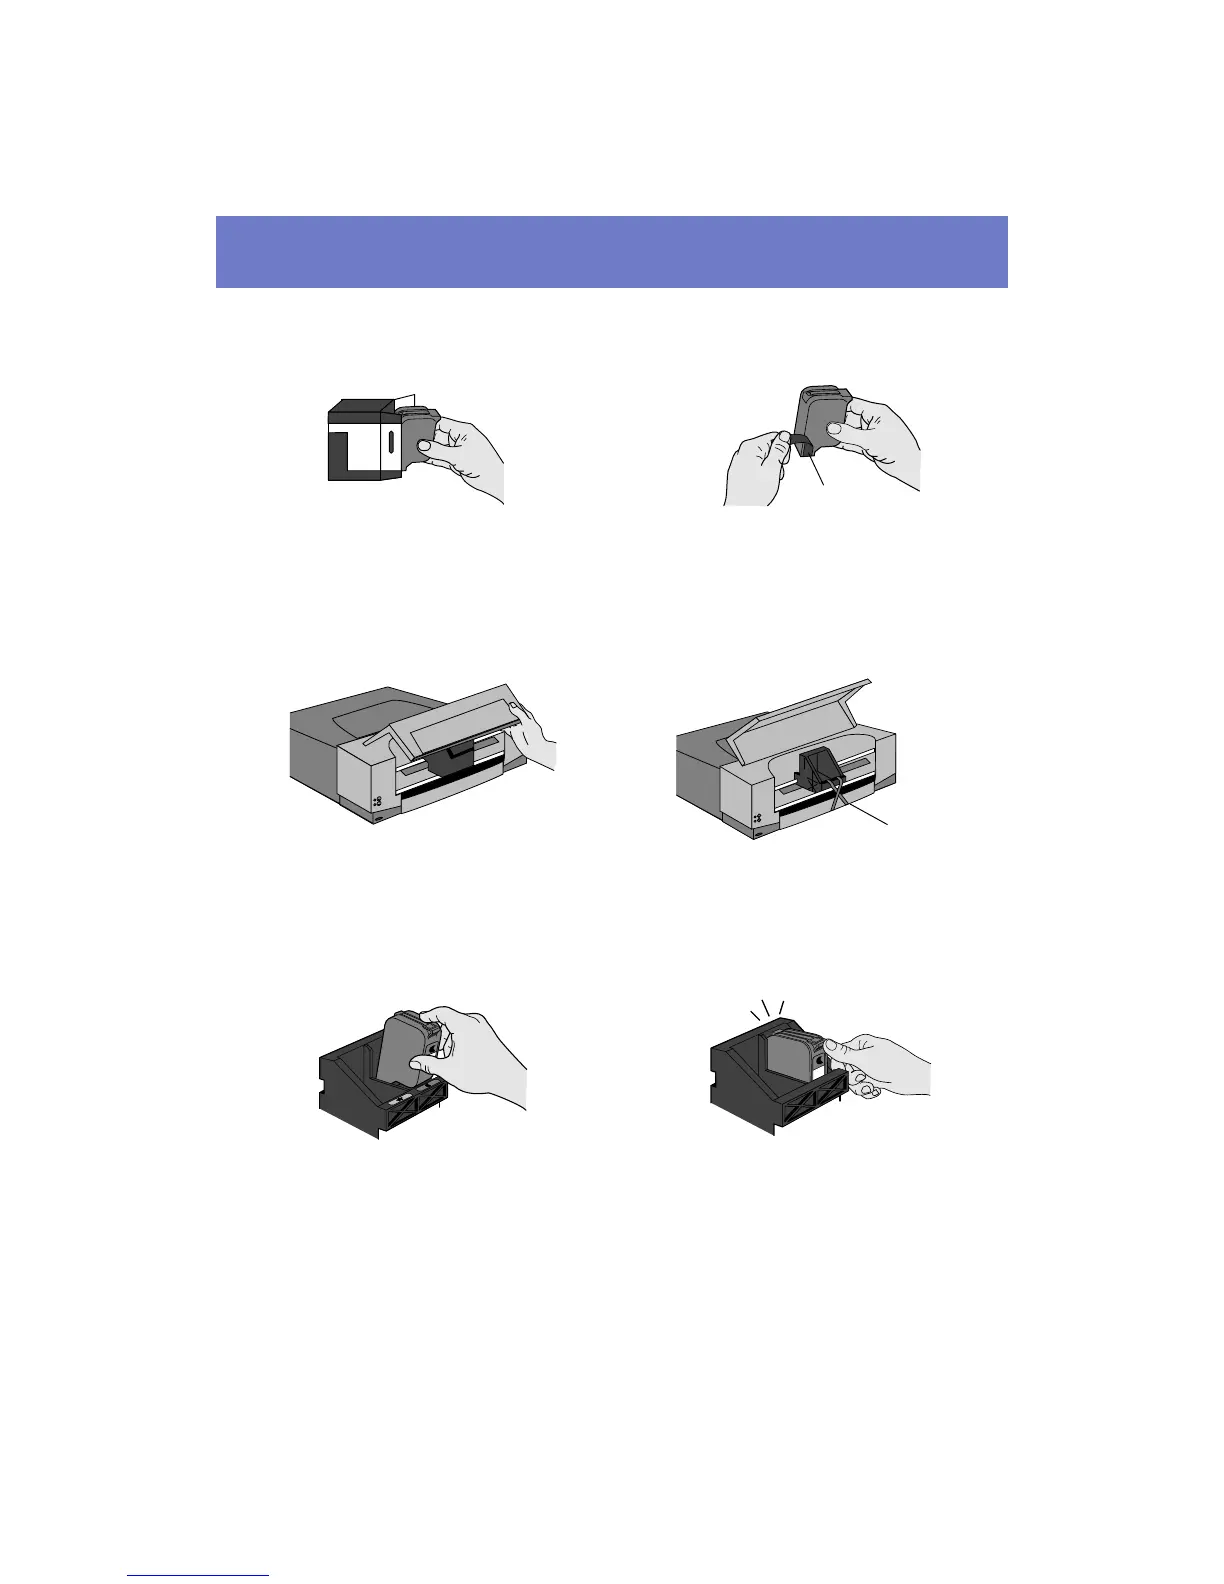
u Remove the tape from the photo cartridges
ü Take each photo cartridge out of its
package.
v Remove the tape from the cartridge holder
ü Open the photo cartridge door.
w Insert each photo cartridge
ü Insert the photo cartridge into the
holder, matching the symbol (star or
moon) and color on the cartridge with
the symbol and color on the holder.
x Close the photo cartridge door
ü Press the cartridge down into its
holder, then push the cartridge toward
the back of the printer until you feel it
snap into position.
ü Grasp the green tab and peel off the
blue tape.
Tape
ü Remove the tape.
Tape
 Loading...