2-7
Installing the Switch
Installation Procedures
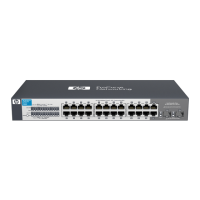
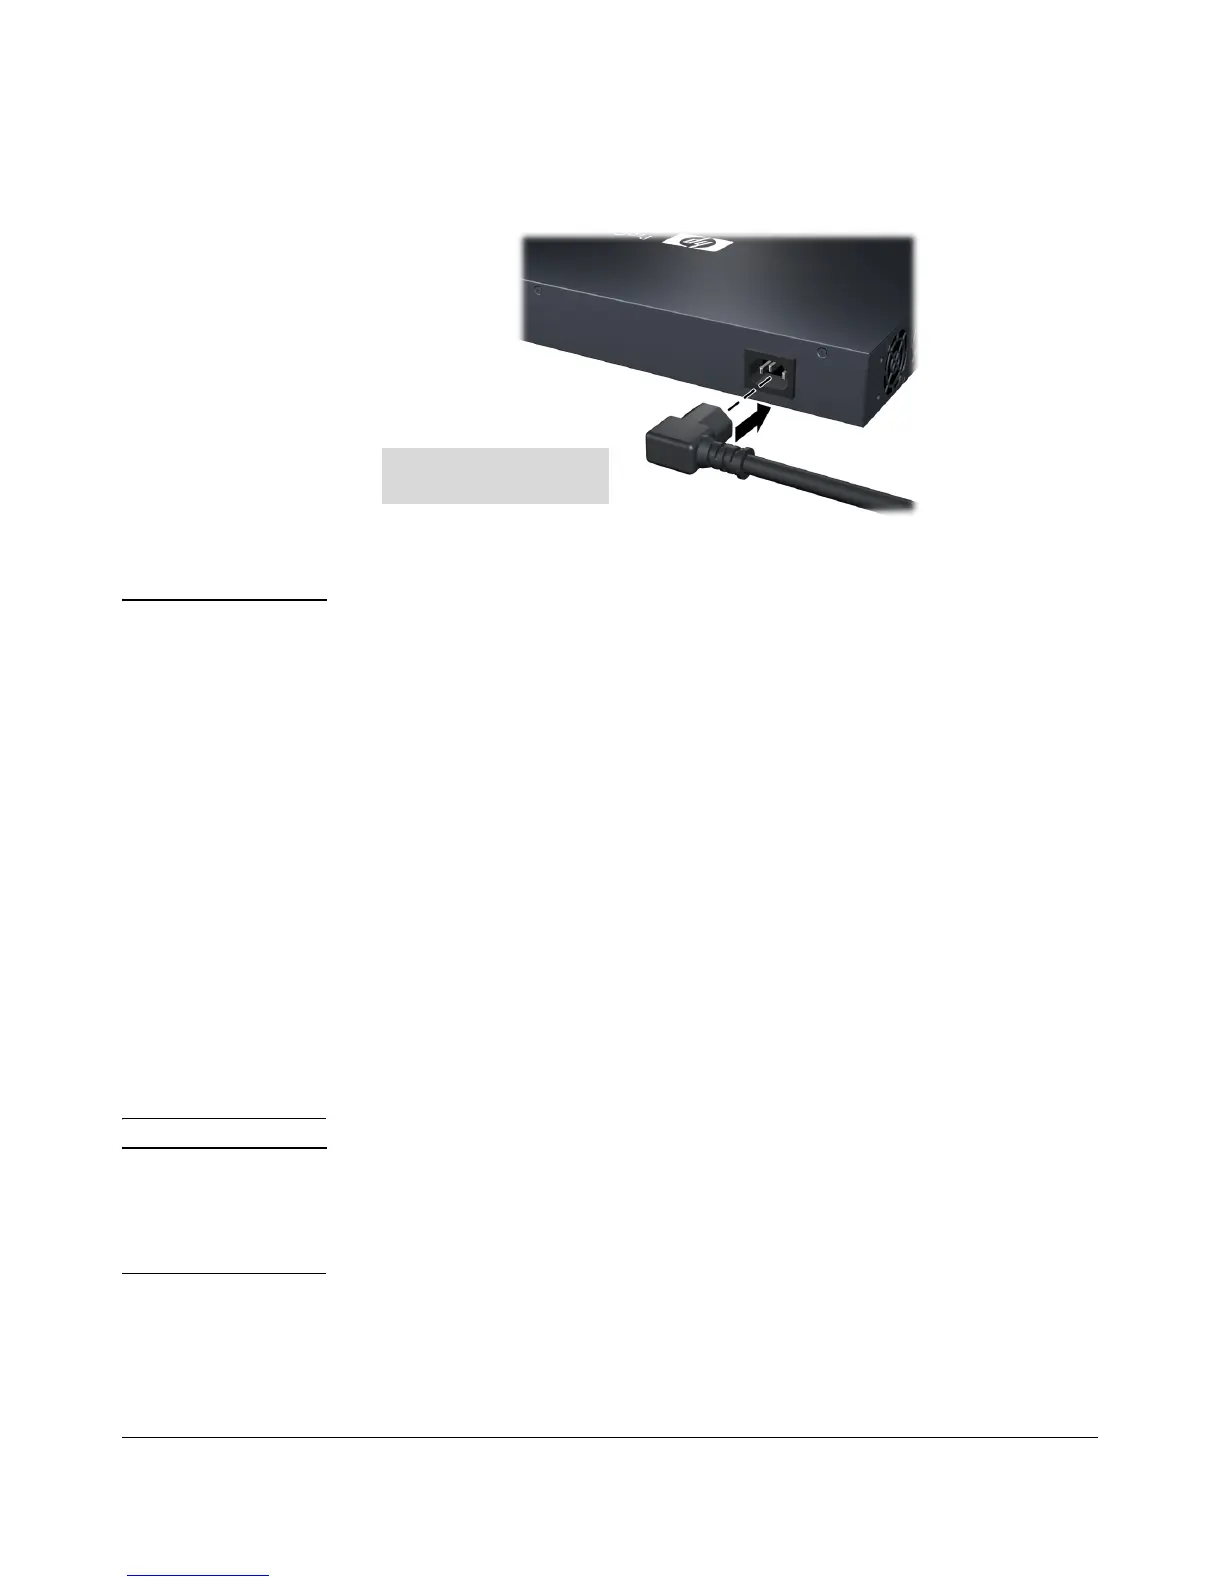
Figure 2-2. Connecting the 1410-24G Switch power cord
Note The 1410-8G Switch and 1410-16G Switch do not have a power switch. They
are powered on when the external AC/DC power adapter is connected to the
switch and the adapter power cord to a power source. The external AC/DC
power adapter automatically adjusts to any voltage between 100-240 volts and
either 50 or 60 Hz.
The 1410-24G Switch also does not have a power switch. It is powered on when
the power cord is connected to the switch and to a power source. For safety,
the power outlet should be located near the switch installation. The switch
automatically adjusts to any voltage between 100-127 or 200-240 volts and
either 50 or 60 Hz. There are no voltage range settings required.
If your installation requires a different power cord than the one supplied with
the switch, be sure the cord is adequately sized for the switch’s current
requirements. In addition, be sure to use a power cord displaying the mark of
the safety agency that defines the regulations for power cords in your country.
The mark is your assurance that the power cord can be used safely with the
switch. If the supplied power cord does not fit, contact ProCurve Networking
support.
Caution Use only the AC/DC power adapter and power cord (if applicable), supplied
with the 1410-8G Switch and 1410-16G Switch. Use of other adapters or power
cords, including those that came with other ProCurve Networking products,
may result in damage to the equipment.
 Loading...