Removal and replacement procedures 46
To replace the component:
1. Firmly seat the FlexibleLOM in the slot, and then tighten the thumbscrew.
2. Install the PCIe riser cage ("Remove the primary PCIe riser cage" on page 35).
3. Install the access panel ("Access panel" on page 32).
4. Slide the server into the rack.
5. Connect the LAN segment cables.
6. Connect each power cord to the server.
7. Connect each power cord to the power source.
8. Power up the server.
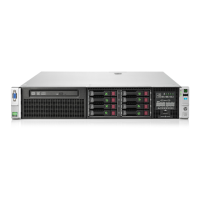
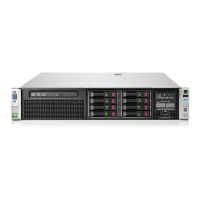
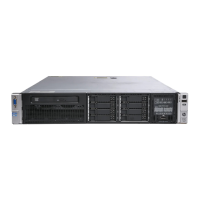
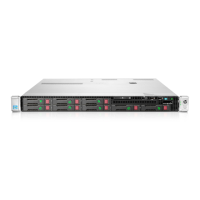
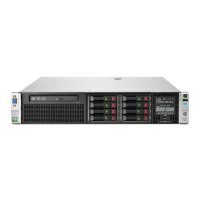
SFF hard drive cage
To remove the component:
1. Power down the server (on page 26).
2. Remove all power:
a. Disconnect each power cord from the power source.
b. Disconnect each power cord from the server.
3. Extend ("Extend the server from the rack" on page 27) or remove ("Remove the server from the rack" on
page 28) the server from the rack.
4. Remove the access panel ("Access panel" on page 32).
5. Remove all hot-plug hard drives ("Hot-plug drive" on page 38).
6. Remove the air baffle ("Air baffle" on page 33).
7. Remove the fan cage ("Fan cage" on page 44).
8. Disconnect all cables from the hard drive backplane.
 Loading...