Removal and replacement procedures 34
o
Extend the server from the rack (on page 26).
3. Remove the access panel ("Access panel" on page 29).
4. Remove the rack bezel (rack servers only) ("Rack bezel" on page 29).
5. Disconnect the power and data cables.
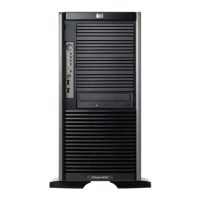
6. Remove the four T-15 screws and slide the hard drive cage out of the chassis.
7. Remove all hard drives.
To replace the components, reverse the removal procedure.
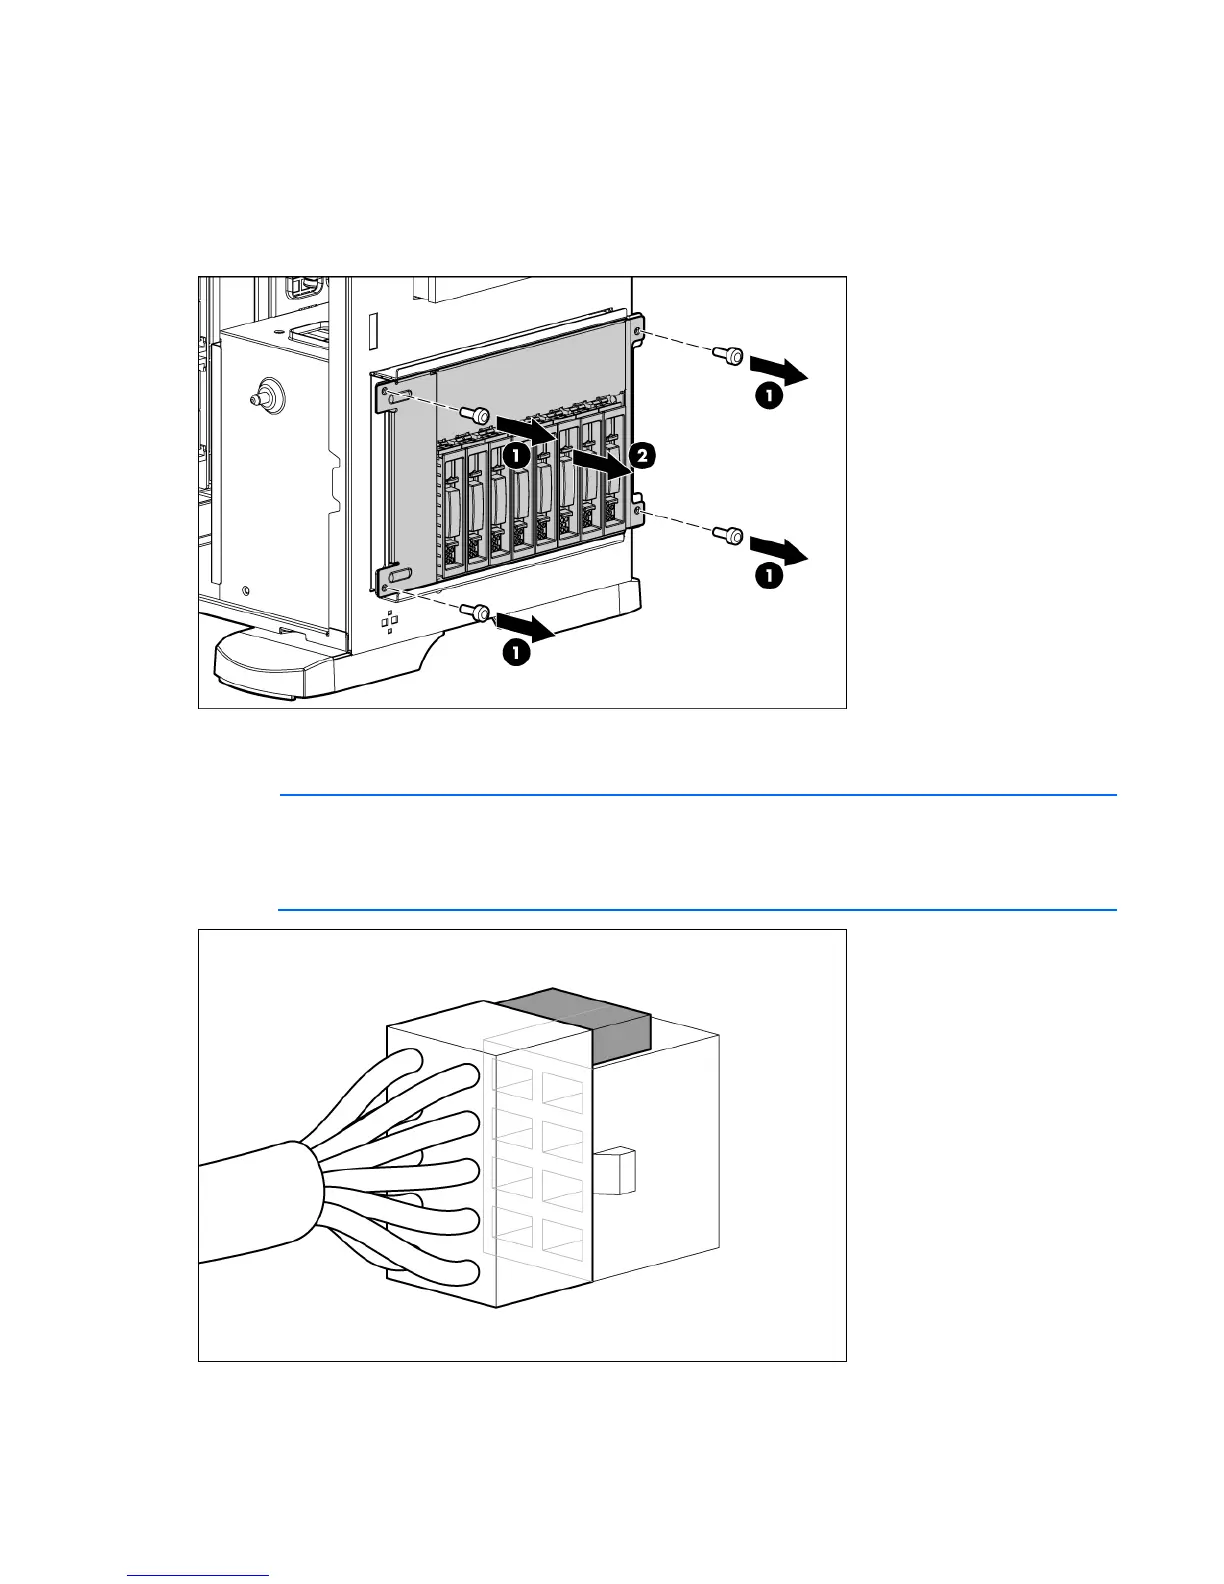
NOTE: When replacing or installing a 6-bay hard drive cage, connect the 10-pin power cable
from the power backplane to the 8-pin power connector on the hard drive cage backplane.
When seated properly, the connectors have a two-pin overlap. The overlap is cosmetic only and
causes no functional side effects.
 Loading...