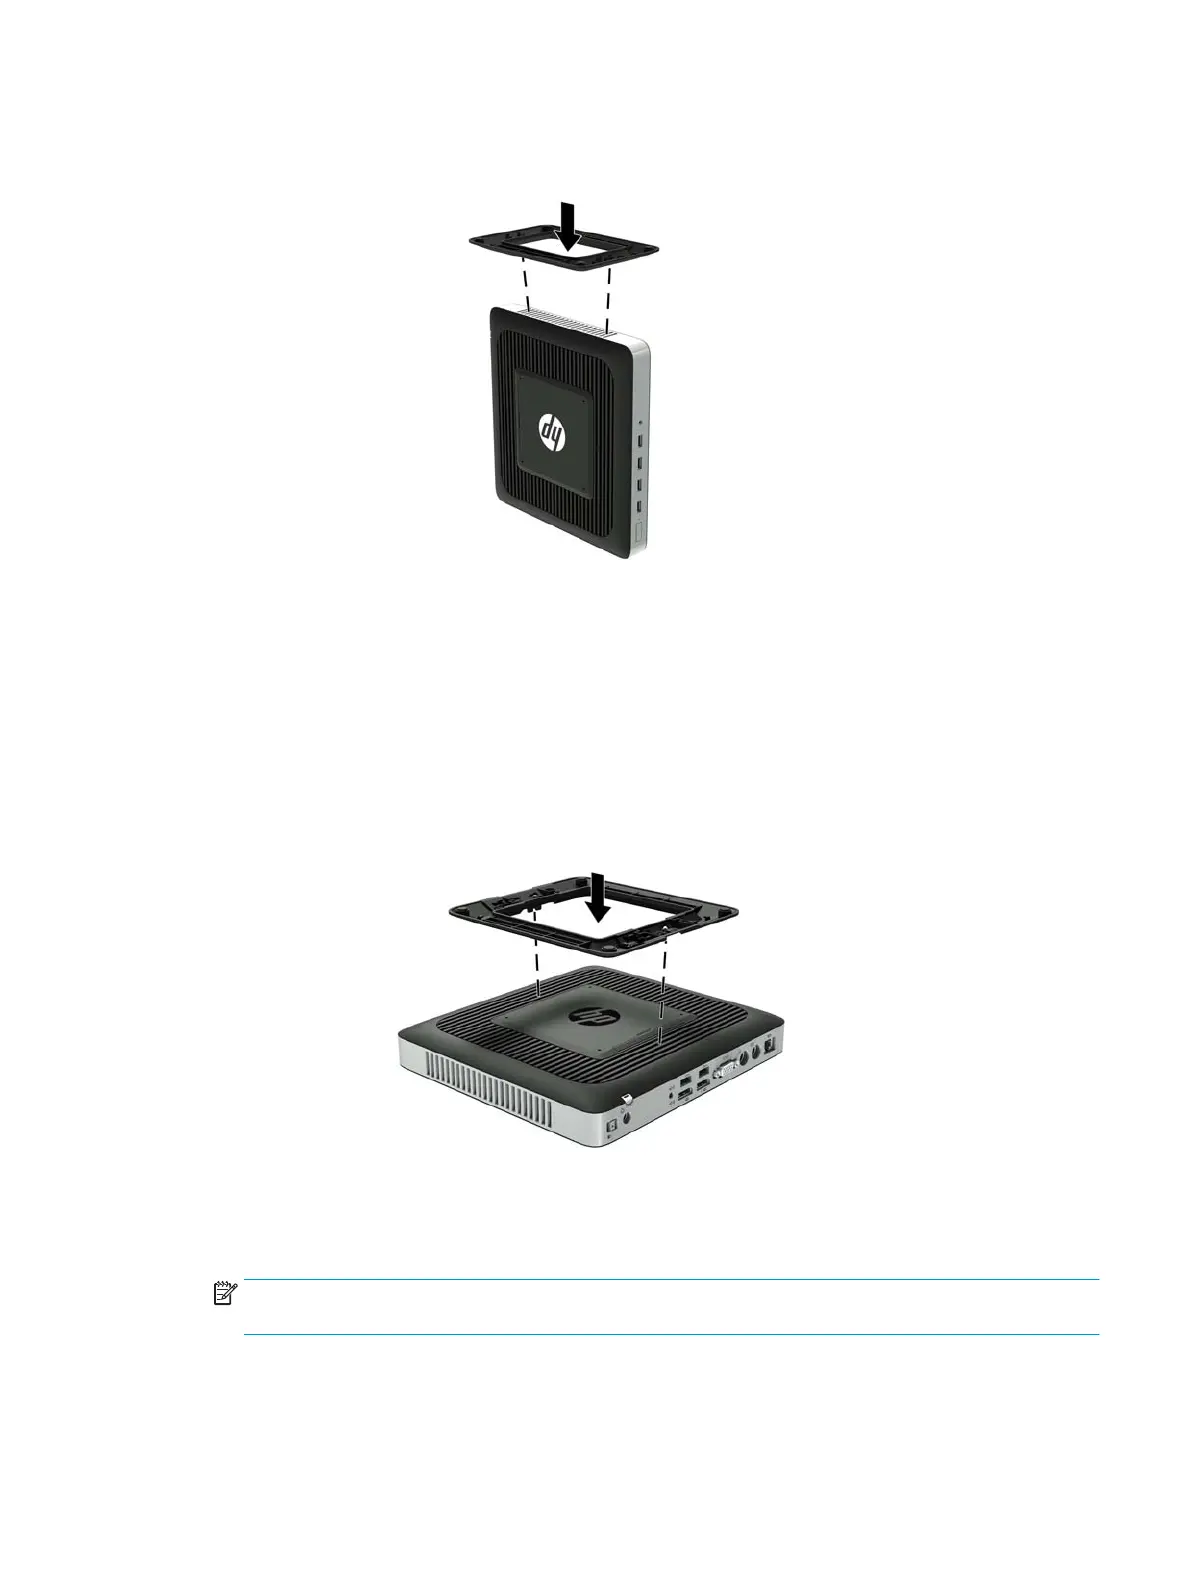
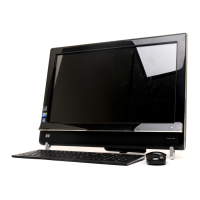
b. Position the stand over the bottom of the thin client and line up the captive screws in the
stand with the screw holes in the thin client.
c. Tighten the captive screws securely.
●
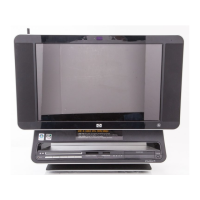
Attach the stand to the right side of the thin client to use it in the horizontal orientation.
a. Lay the thin client down with the right side up and locate the two screw holes in the grid on
the right side of the thin client.
b. Position the stand over the side of the thin client and line up the captive screws in the stand
with the screw holes in the thin client.
c. Tighten the captive screws securely.
7. Reconnect the AC power cord and then turn the thin client on.
NOTE: Be sure that at least 10.2 centimeters (4 inches) of space on all sides of the thin client remain
clear and free of obstructions.
8. Lock any security devices that were disengaged when the thin client cover or access panel was removed.
Attaching the stand 7