2-2
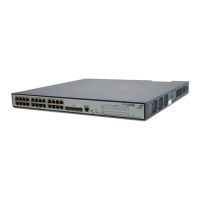
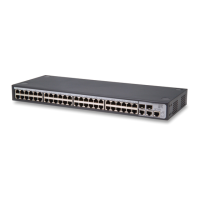
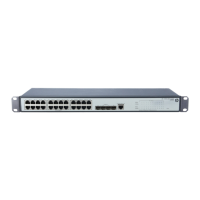
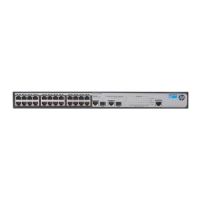
Installing the Switch
Installation Procedure
Japan Power Cord
Warning
Installation Procedure
1. Prepare the installation site (page 2-3). Please see below for some
installation precautions.
2. Verify the switch passes self test (page 2-4).
3. Mount the switch (page 2-6).
4. Connect power to the switch (page 2-10).
5. Connect the network cables (page 2-10).
Installation Precautions
Follow these precautions when installing the switch.
WARNING
■ The rack or cabinet should be adequately secured to prevent it
from becoming unstable and/or falling over.
Devices installed in a rack or cabinet should be mounted as low
as possible, with the heaviest devices at the bottom and progres-
sively lighter devices installed above.
■ If the switch is to be shipped in a rack, install the switch into a 4-
post rack (such as an HP 10000 series rack) using the HP X410 1U
Universal 4-Post Rack Mounting Kit (J9583A).
■ When wall mounting, to meet national and international safety
requirements, wall mount with the network ports facing up. The
side vents cannot be placed up or downward.
 Loading...