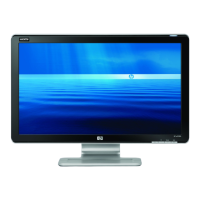
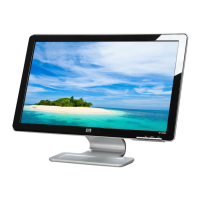
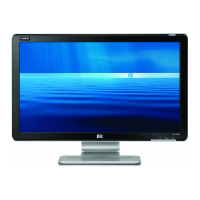
Setting Up the Monitor
3–6 User’s Guide
Preparing the column-base monitor for wall-mounting
1. Disconnect the power cable and any other cables from the monitor.
2. With the monitor screen face-down on a flat, soft surface, remove the monitor base. Refer to “Removing the
Monitor Base.”
3. Remove the hinge cover and set it aside. Three screws and the hinge are exposed.
4. Holding the pedestal so that it cannot fall, remove the single screw that is close to the hinge, and then remove the
other two screws. If necessary, move the pedestal, so that all three screws are accessible.
5. Slide the pedestal off the monitor panel.
6. Save the removed items (screws, hinge cover, pedestal, and base) for future use.
7. Follow the instructions that are included with the mounting fixture to ensure that the monitor is safely attached.
The four-threaded mounting holes that are on the back of the panel are compliant with the VESA standard for
mounting flat-panel monitors. The vp15 monitor uses the 75 mm spacing standard, while the other models use the
100 mm spacing standard.
Use the four holes to attach a swing arm or other mounting fixture.
Reinstalling the desktop pedestal and base for the monitor
1. Remove the mounting fixture.
2. Reverse the preceding instructions.