5
HPC LASER LTD – NEVER LEAVE YOUR MACHINE UNATTENDED WHEN WORKING
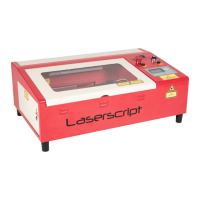
Section 1: Unpacking your engraver
Unpack the machine from the wooden crate using 14mm and 17mm spanner.
Wear protective gloves to avoid splinters.
Environmentally dispose of packaging safety.
Unload the machine and place on a level floor.
Remove DVD / software CD from the accessory pack and watch installation DVD fully.
Remove transit cable ties to all parts, including laser head, keys, and laser bed.
Unlock side doors using keys provided to allow laser tube removal.
Put keys into the on / off key switch.
Undo rear flap of engraver using keys, use “stay” to hold flap in upright position.
Open the left hand lower cabinet door, and remove the accessories.
Take the foam laser tube mounts and allen keys from the accessory pack, and use allen
key to unscrew the clamps which hold the laser tube.
Unpack laser tube from brown cardboard box, visually check tube for damage.
Check for damage prior to fitting.
Insert laser tube into holders with the metal end of the laser tube nearest to the mirror (to
the right of the machine)
Clamp in place (loosely) this allows the tube to be rotated to allow air bubble removal later
if required.
Connect rubber water pipe to each end of laser tube, insert laser tube with the metal end
approx 50mm from the mirror.
Tighten the tube clamps using allen key.
Push on the power connectors to the laser tube, black at the mirror end, red at the control
panel end, secure these in place with a blob of silicone (dow corning 732 multipurpose
sealant).
 Loading...