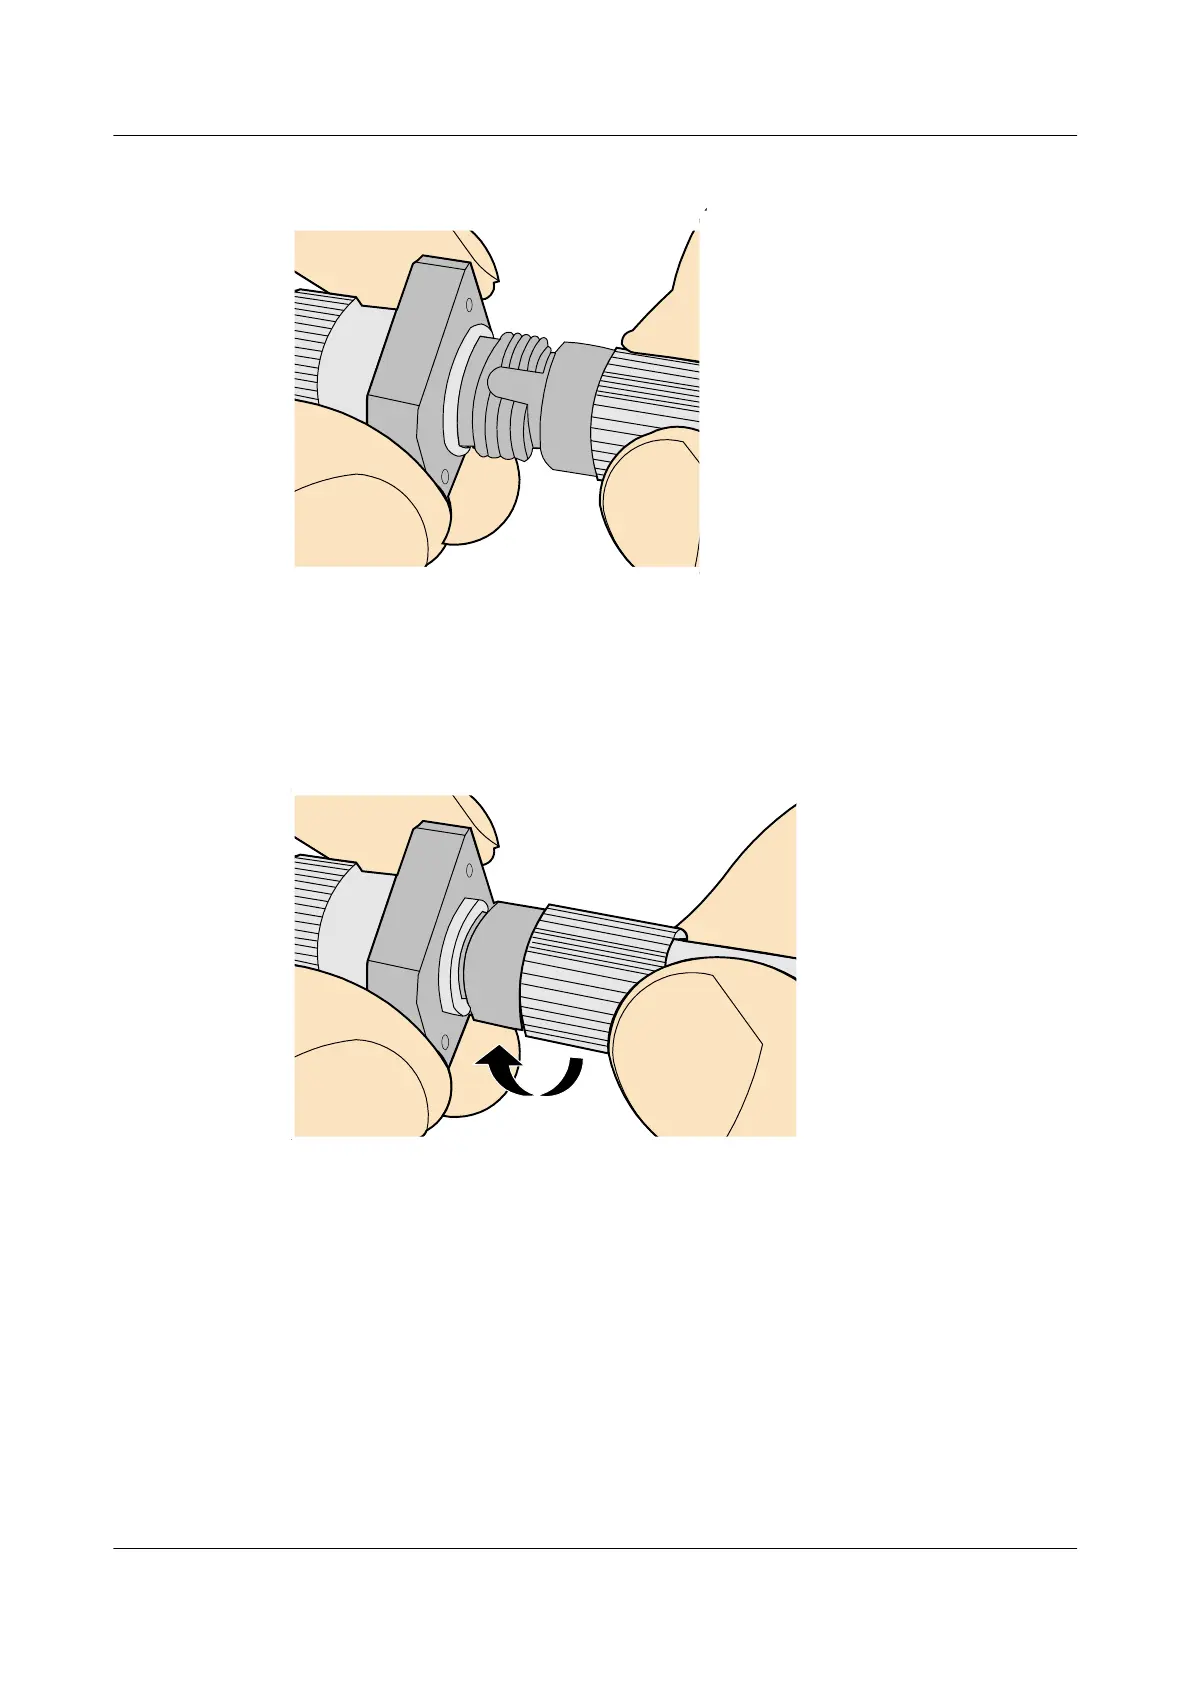
Figure 5-59 Feeding the male connector into the female connector
Step 4 Fasten the locking nut in the clockwise direction and ensure that the connector is securely
installed, as shown in Figure 5-60.
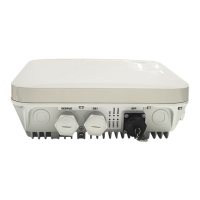
Figure 5-60 Fastening the locking nut
Step 5 To disassemble an FC fiber connector, loosen the locking nut counterclockwise, and gently pull
the male connector, as shown in Figure 5-61.
Huawei AP3x10xN&5x10xN&5x30xN&6x10xN&7x10xN
Hardware Installation and Maintenance Guide
5 Appendix
Issue 11 (2015-05-18) Huawei Proprietary and Confidential
Copyright © Huawei Technologies Co., Ltd.
72