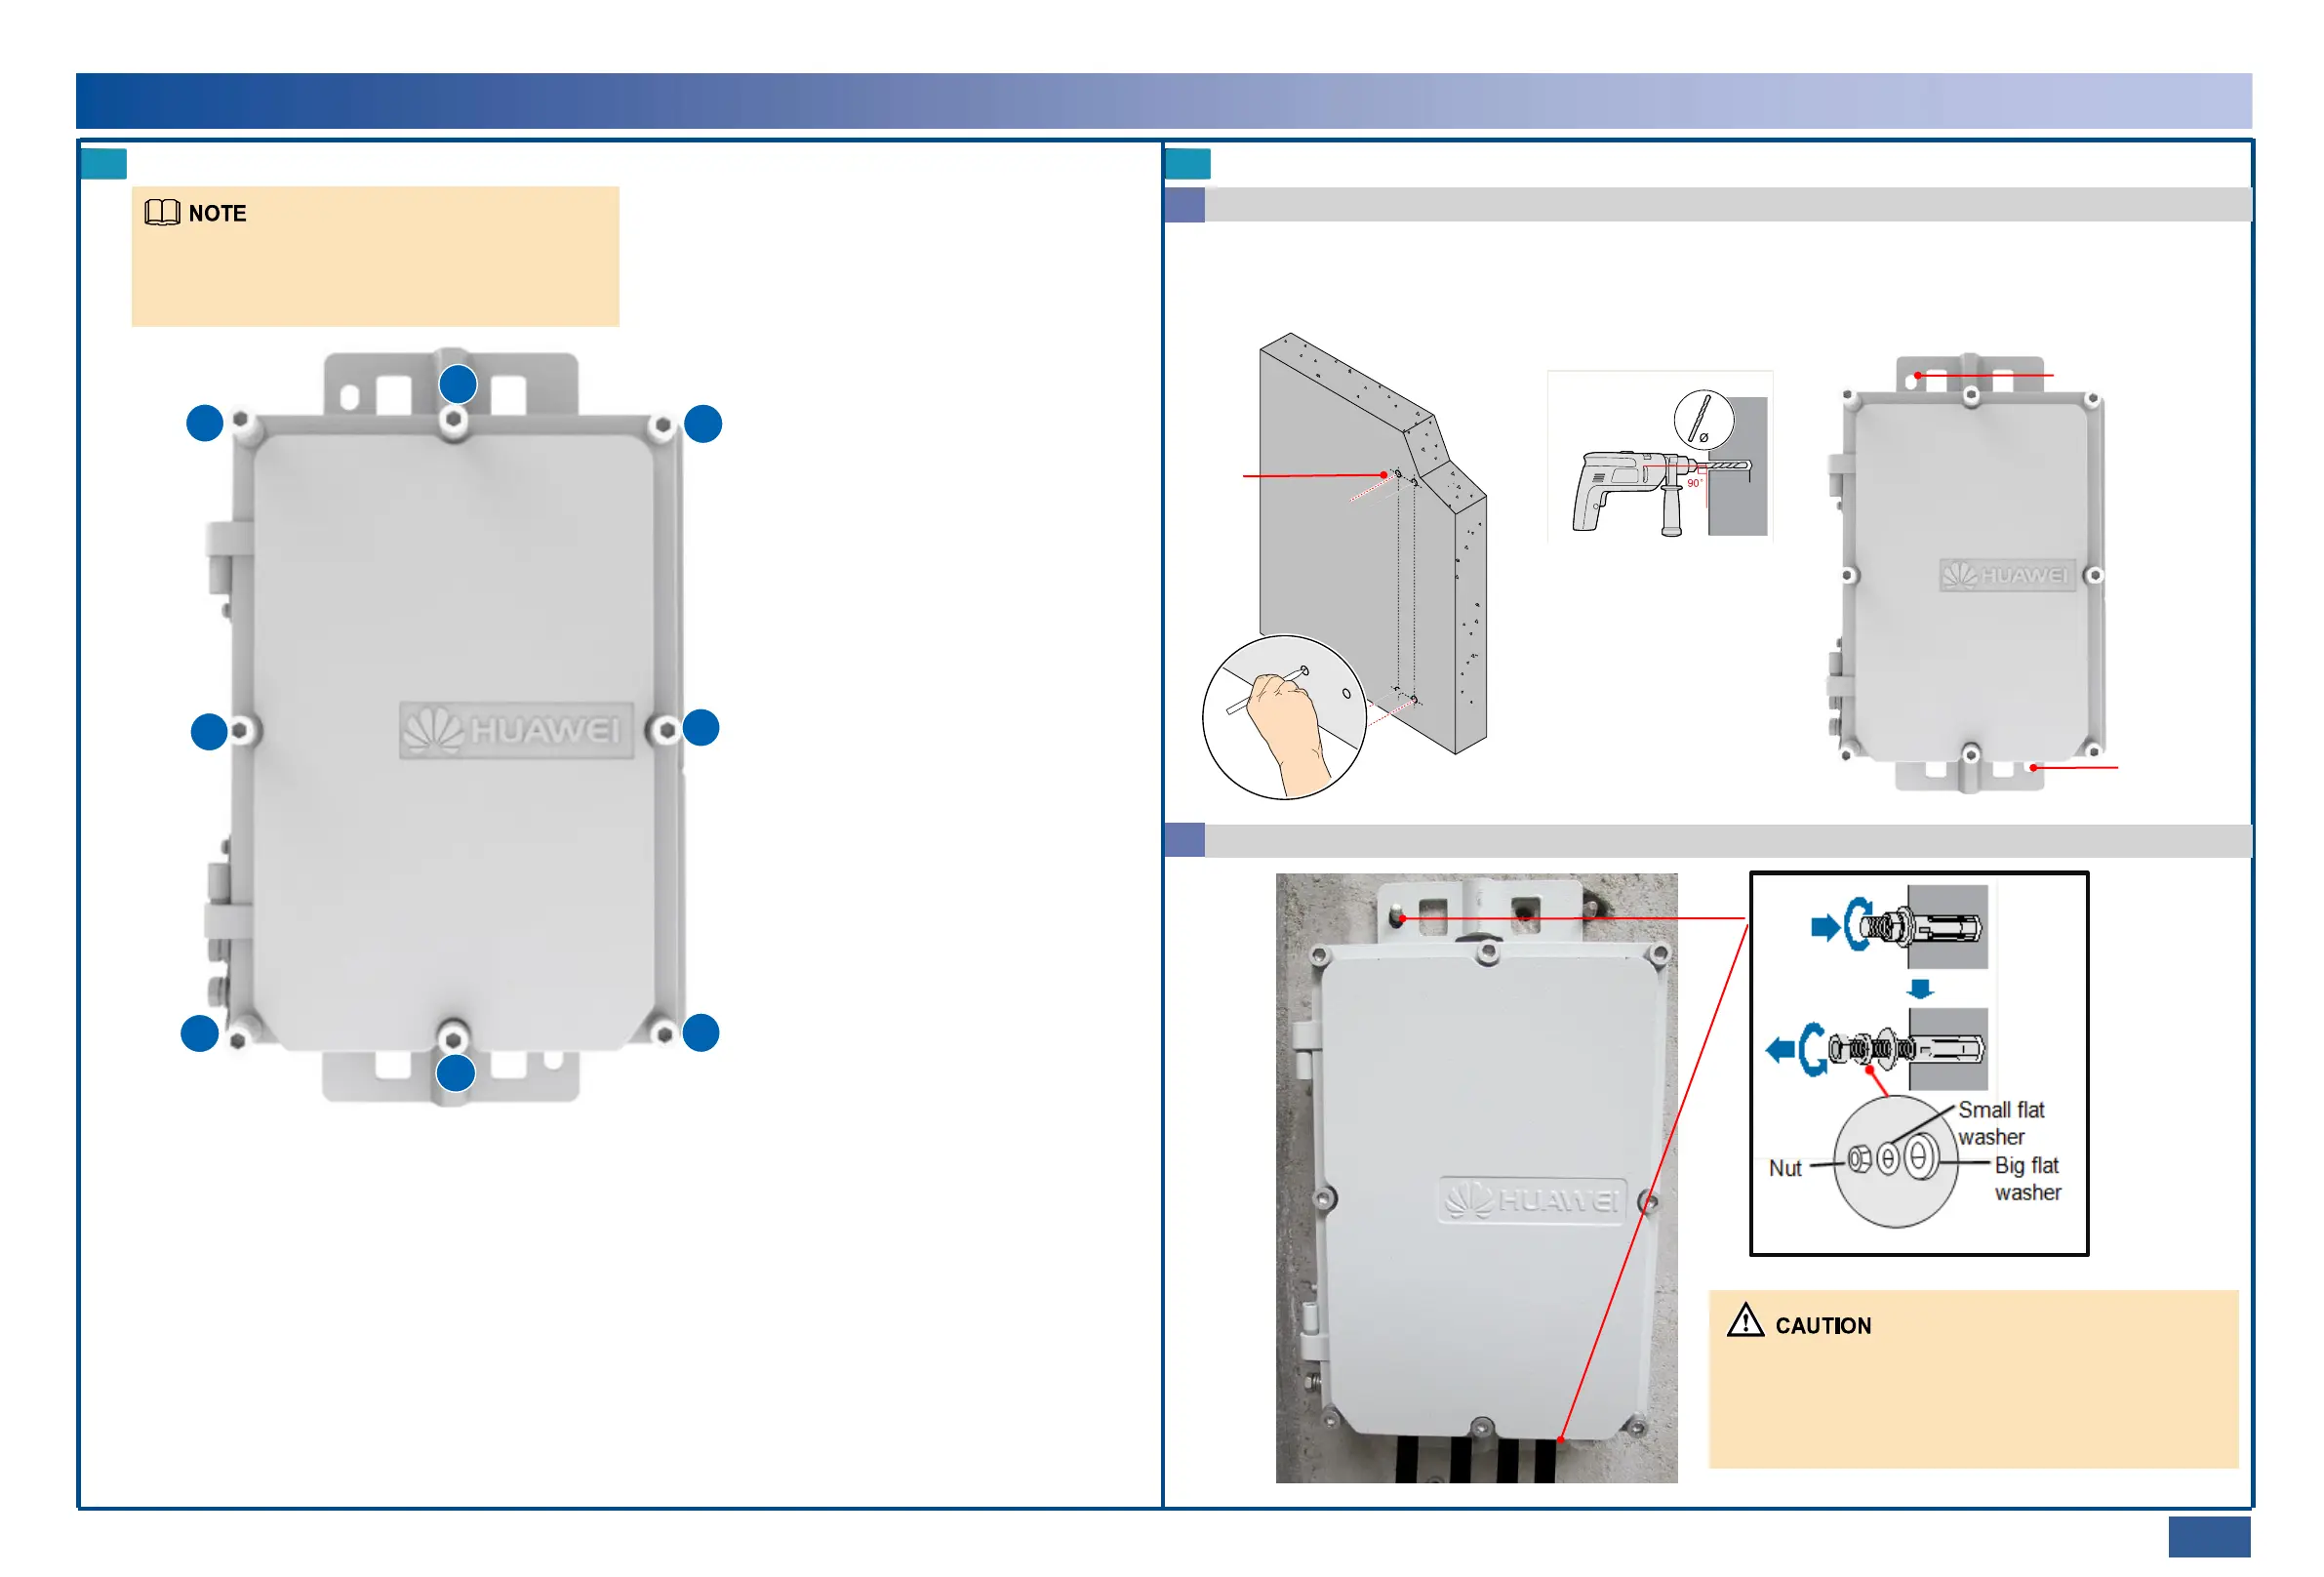
Close the cover of the PI and tighten all screws on the cover.
•Follow the order from 1 to 8 when you tighten the
screws.
•Tighten all screws on the cover (4.8±0.48 N·M).
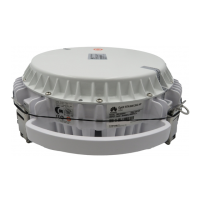
Optional: Install the PI on a wall.
Mark and drill holes in the wall.
a
Hold the PI up to the w all and mark the drilling positions. Drill the holes and insert the fixing bolts. If multiple PIs need to be installed, reserve a heat
dissipation space of at least 50 mm around each PI.
Drilling
positions
Drill Ф8 holes to a depth of 52 to 60 mm.
Mounting holes
Mounting holes
Install the PI on the wall.
b
•Hold the PI when you fix it on a wall. The PI will drop off without
enough support.
•Ensure that the service ports of the PI face downward before
you fix the PI.
04/05 >>
06
 Loading...