Huawei Proprietary and Confidential
Copyright © Huawei Technologies Co., Ltd.
2.5.3 Installing the Device on a Wall or Ceiling
Installing the Device on a wall or ceiling requires sheet metal mounting brackets (delivered
with screws), which need to be purchased separately. The procedure is as follows:
1. Determine the target area on a wall or ceiling, attach the sheet metal mounting bracket
against the wall, and mark positions of the mounting holes with a marker.
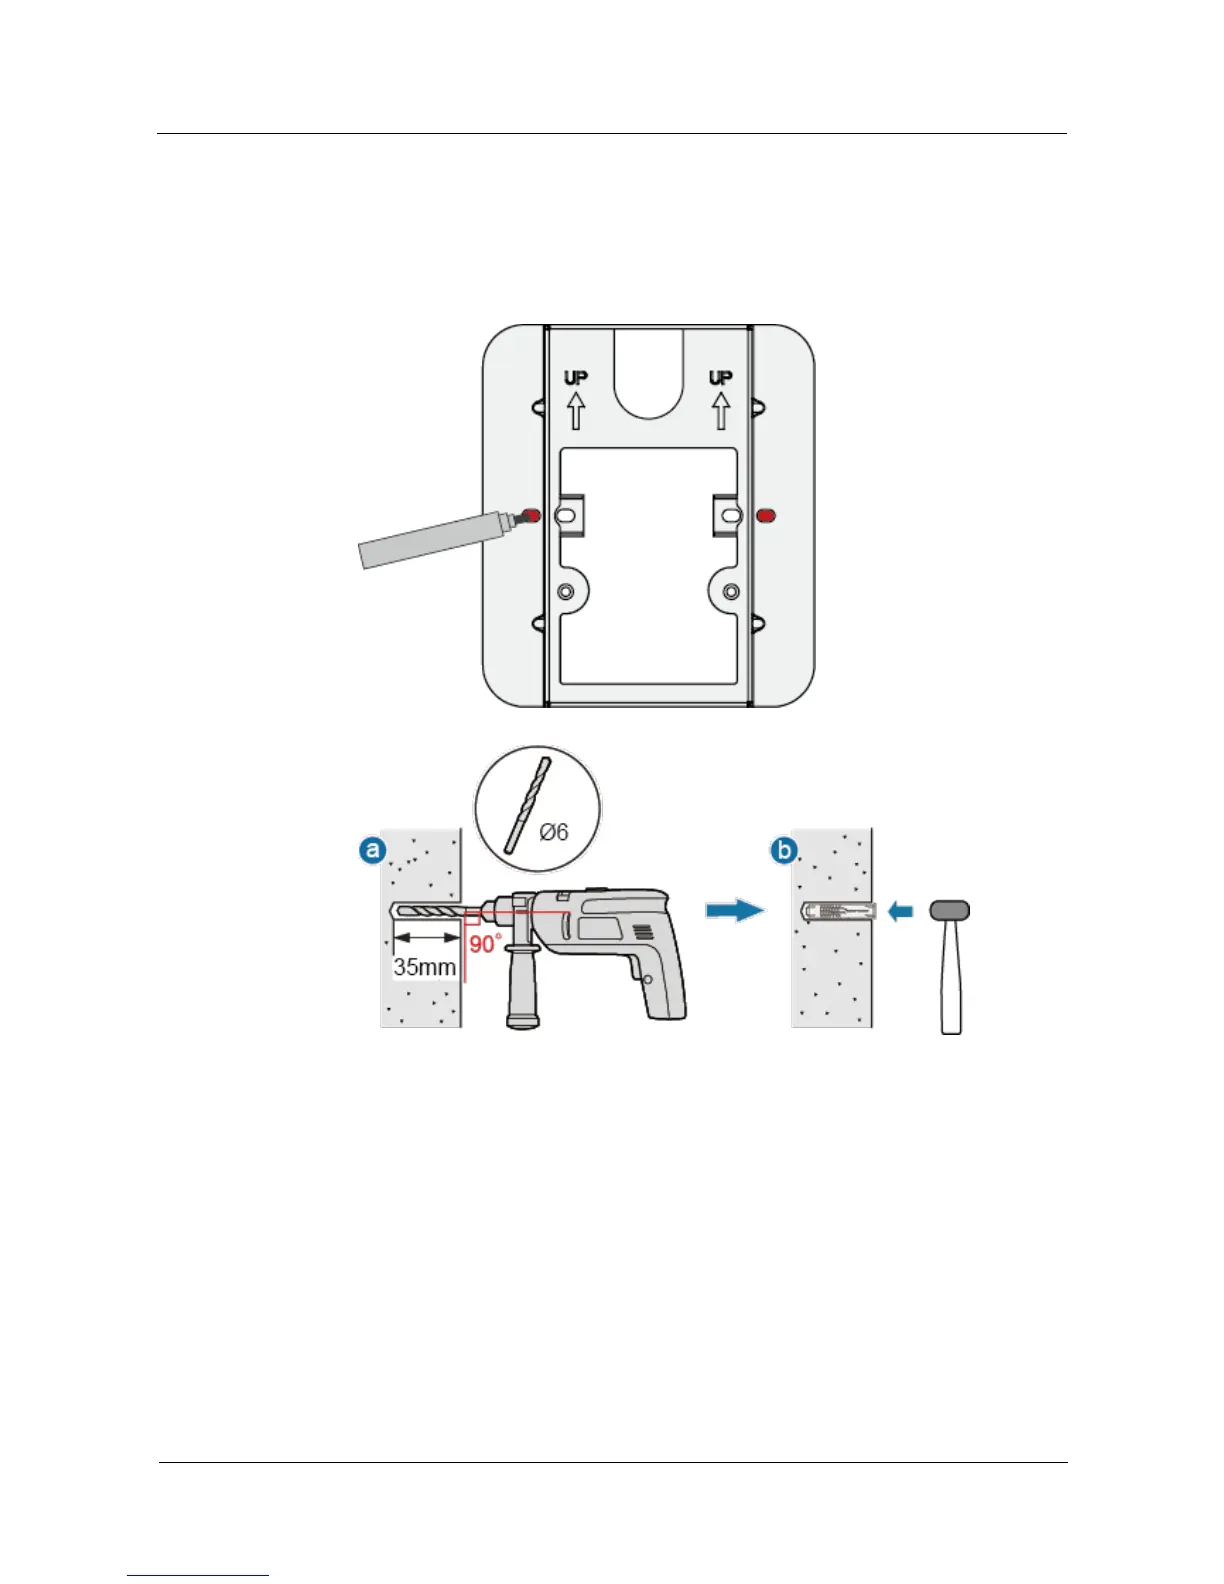
2. Drill holes at the marked positions and install the plastic expansion tubes.
a. Use a 6 mm drill bit to drill holes at the marked positions.
b. Hammer the plastic expansion tubes into the holes.
3. Use the flat washer and self-tapping screws to fasten the mounting bracket to the wall or
ceiling. If the device is installed against the wall, ensure that UP arrowhead faces
upwards.