Huawei Proprietary and Confidential
Copyright © Huawei Technologies Co., Ltd.
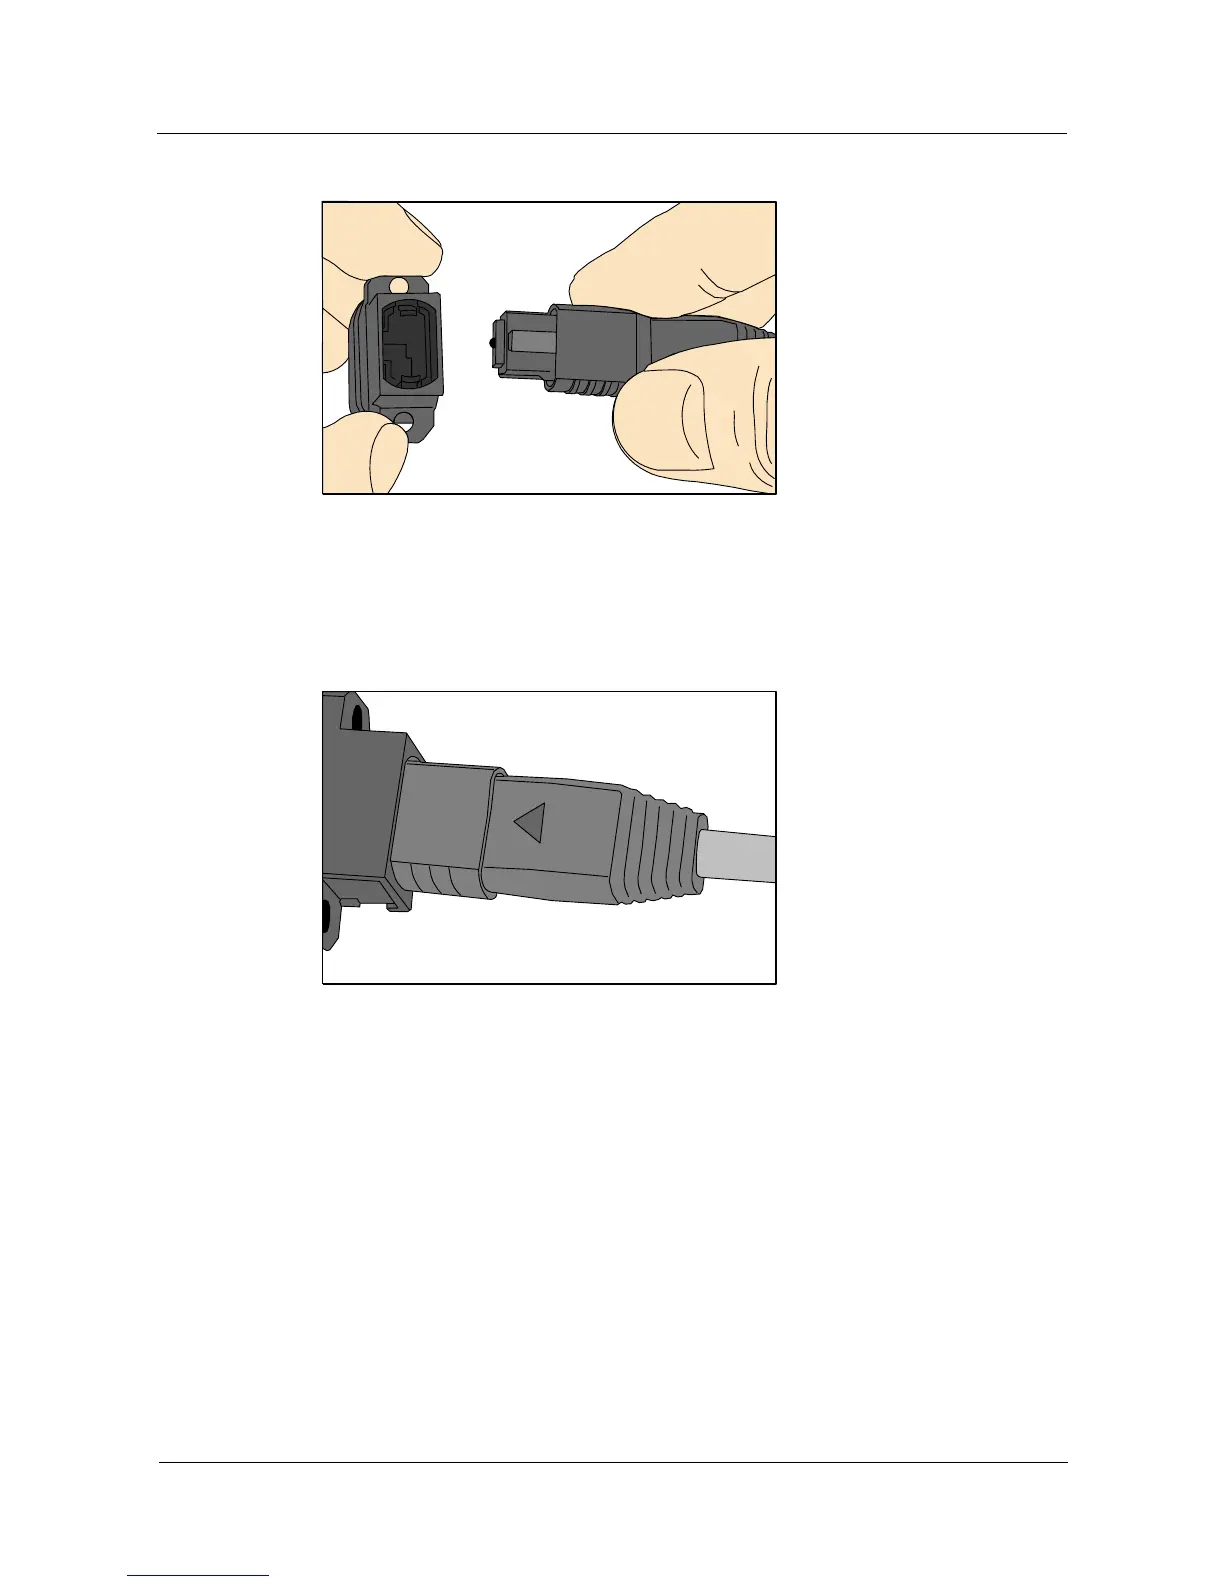
Figure 5-69 Aligning the male connector with the female connector
Step 3 Hold the shell labeled "PUSH" and feed the male connector into the female connector until
you hear a clicking sound. The male and female connectors are securely installed, as shown in
Figure 5-70.
Figure 5-70 Installed MPO fiber connector
Step 4 To disassemble an MPO fiber connector, hold the shell labeled "PULL" and remove the male
connector, as shown in Figure 5-71.
 Loading...