1
3 Safety Guidelines
4 Installing the Switch
S1700 series switches are Class A products. In a domestic environment this product may cause radio
interference in which case the user may be required to take adequate measures.
Take ESD protection measures before the installation, for example, wear ESD gloves or ESD wrist strap.
Do not place other objects on the chassis.
2 Packing List
Scenario 1: Installing the Switch in a 19'' Cabinet/Rack
The floating nuts and M6 screws are not delivered with the switch and need to be separately
purchased if needed.
S1700 series switches use forced or natural heat dissipation mode. If multiple switches are installed in
a cabinet/rack, leave at least 1 U (44.45 mm) distance between each two switches. This distance is
recommended for switches using forced heat dissipation, and a distance greater than 1 U is required
for switches using natural heat dissipation.
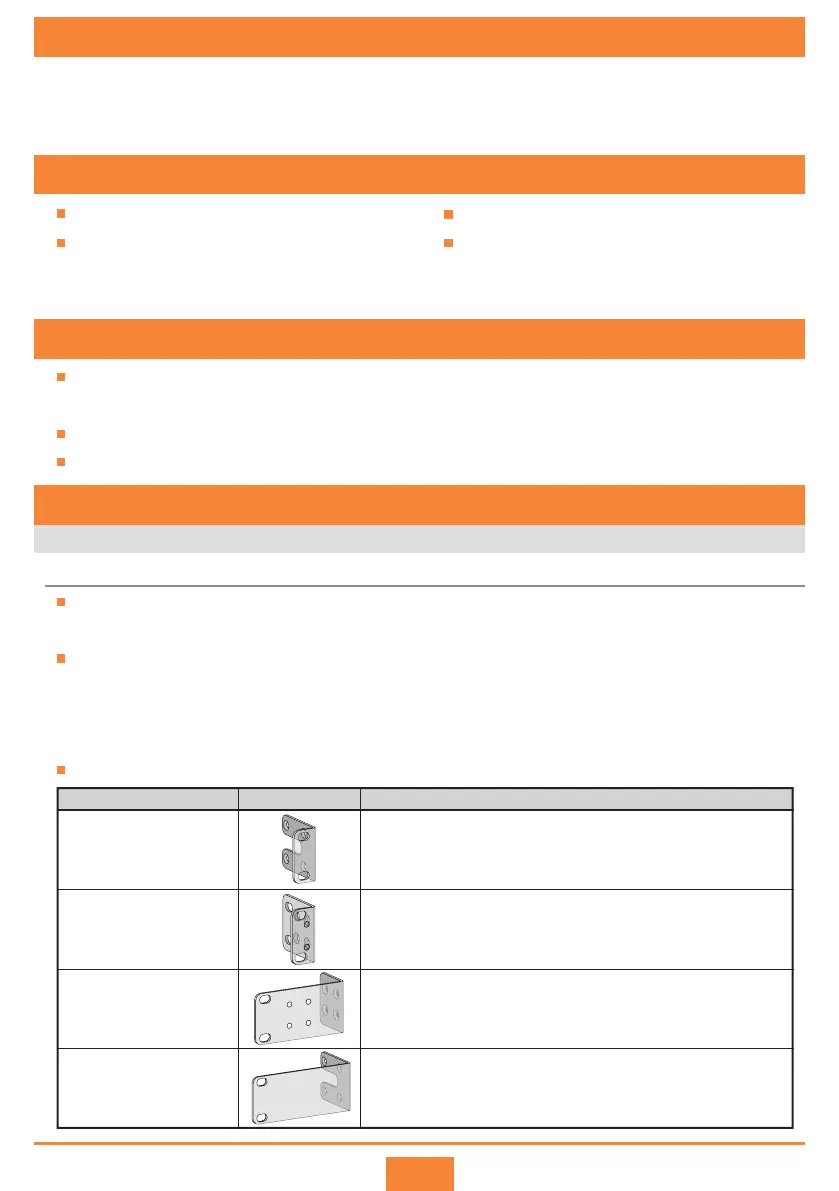
The following table lists the mapping between mounting brackets and switch models.
Before You Start
Thank you for purchasing Huawei S1700 series switches. This guide describes the installation and cable
connections of S1700 series switches. Figures in the document are for reference only and may not show
the actual appearance of the switches.
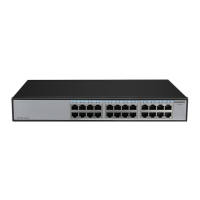
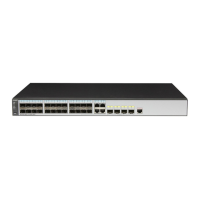
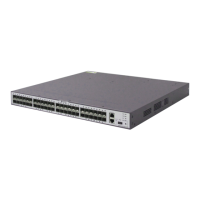
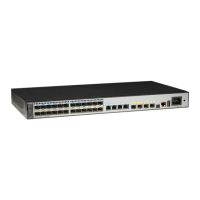
AppearanceName Device Model
S1700-16R, S1700-24R, S1700-24GR, S1700-26R-2T, S1700-28GR-4X,
S1700-52GR-4X, S1720GFR series, S1720X series, S1720X-E series,
S1720GWR series, S1720GWR-E series
Mounting bracket A
Mounting bracket B
Middle mounting bracket A
Middle mounting bracket B
S1728GWR-4P, S1700-28FR-2T2P-AC, S1700-28GFR-4P-AC,
S1700-52FR-2T2P-AC, S1700-52GFR-4P-AC, S1700-52R-2T2P-AC,
S1720-10GF-2P, S1720-10GW-2P, S1720-10GW-2P-E
S1720-10GF-PWR-2P, S1720-10GW-PWR-2P, S1720-10GW-PWR-2P-E
S1700-16G, S1700-24-AC, S1724G
1 About This Guide
Chassis ground cable (only for S1720 PoE models)
Chassis (with the product model on the nameplate)
AC power cable
Installation accessory package:
- M4 screws- Mounting brackets
- Quick Start Guide
- Rubber pads
 Loading...