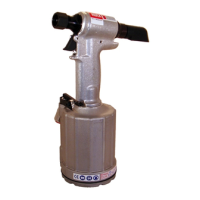
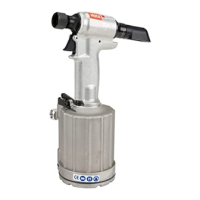
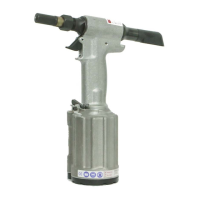
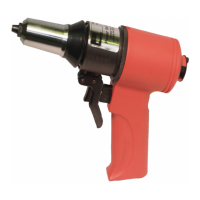
2624 2624HS 2628 2630 Series Tooling Alcoa Fastening Systems
10
CAUTION: Keep dirt and other harmful material out of
hydraulic system, which includes tool, hoses, couplers,
and POWERIG Hydraulic Unit. Parts must be kept away
from unclean work surfaces. Dirt in hydraulic system caus-
es valve failure in hydraulic unit.
Individual parts must be handled carefully and examined
for damage or wear. Replace parts where required.
Always replace O-rings and Back-up Rings when tool is
disassembled for any reason. See applicable Service Kit.
• The efficiency and life of your tool depends on proper
maintenance. Using this manual will help give a clear
understanding of the tool and basic maintenance pro-
cedures. Please read this section completely before
proceeding with maintenance and repair. Use proper
hand tools in a clean and well-lighted area. Only stan-
dard hand tools are required in most cases. Where a
special tool is required, the description and part number
are given.
• While clamping tool or parts in a vise, and when parts
require force, use suitable soft materials to cushion
impact. For example, using a half-inch brass drift,
wood block, and vise with soft jaws greatly reduces
possibility of damaging tool. Remove components in a
straight line without bending, cocking, or undue force.
Reassemble tool with the same care.
• Consult T
ROUBLESHOOTING section of this manual if a
malfunction occurs and then see appropriate
DISASSEMBLY; ASSEMBLY and/or Component illustration
sections.
(continued)
GOOD SERVICE PRACTICES
WARNING: Inspect tool for damage or wear
before each use. Do not operate if damaged
or worn, as severe personal injury may occur
1. Use Huck POWERIG® Hydraulic Unit, or equiva-
lent, that has been prepared for operation per appli-
cable instruction manual. Check both PULL and
RETURN pressures, and if required, adjust to pres-
sures given in specifications of this manual.
2. First, turn hydraulic unit to OFF, and then, discon-
nect power supply from unit. Connect tool's hoses
to unit.
3. Connect tool's control switch electrical cord to
hydraulic unit.
4. Connect hydraulic unit to power supply. Turn unit to
ON. Hold tool trigger depressed for 30 seconds;
depress trigger a few times to cycle tool and to cir-
culate hydraulic fluid. Observe action of tool and
check for leaks. Turn unit to OFF.
5. Select nose assembly for fastener to be installed.
Disconnect tool's control switch electrical cord from
hydraulic unit; disconnect unit from power supply.
Attach nose assembly to tool.
6. Reconnect hydraulic unit to power supply.
Reconnect tool's switch control cord to unit. Check
operation of nose assembly; install fasteners in test
plate of correct thickness with proper size holes.
Inspect installed fasteners. If fasteners do not pass
inspection, see T
ROUBLESHOOTING to locate and cor-
rect tool malfunction.
WARNING - Be sure to connect tool hoses to
hydraulic unit BEFORE connecting tool electri-
cal switch cord to unit. Hoses and switch must
be connected in this order and disconnected in
the reverse order to prevent possible severe
personal injury.
WARNING - Proper PULL and RETURN pres-
sures are important for proper function of
Installation Tools. Severe personal injury or
damage to equipment may occur without cor-
rect pressures. Huck Pressure Gauge P/N T-
10280 (old style) or the new T124833 is now
available for checking these pressures using
instructions furnished with the gauge and in
applicable POWERIG® Hydraulic Unit instruc-
tion manuals. See Specifications.
P
P
REPARATION
REPARATION
FOR
FOR
U
U
SE
SE
S
S
ERVICING
ERVICING
THE
THE
T
T
OOL
OOL