24
A
C
B
D
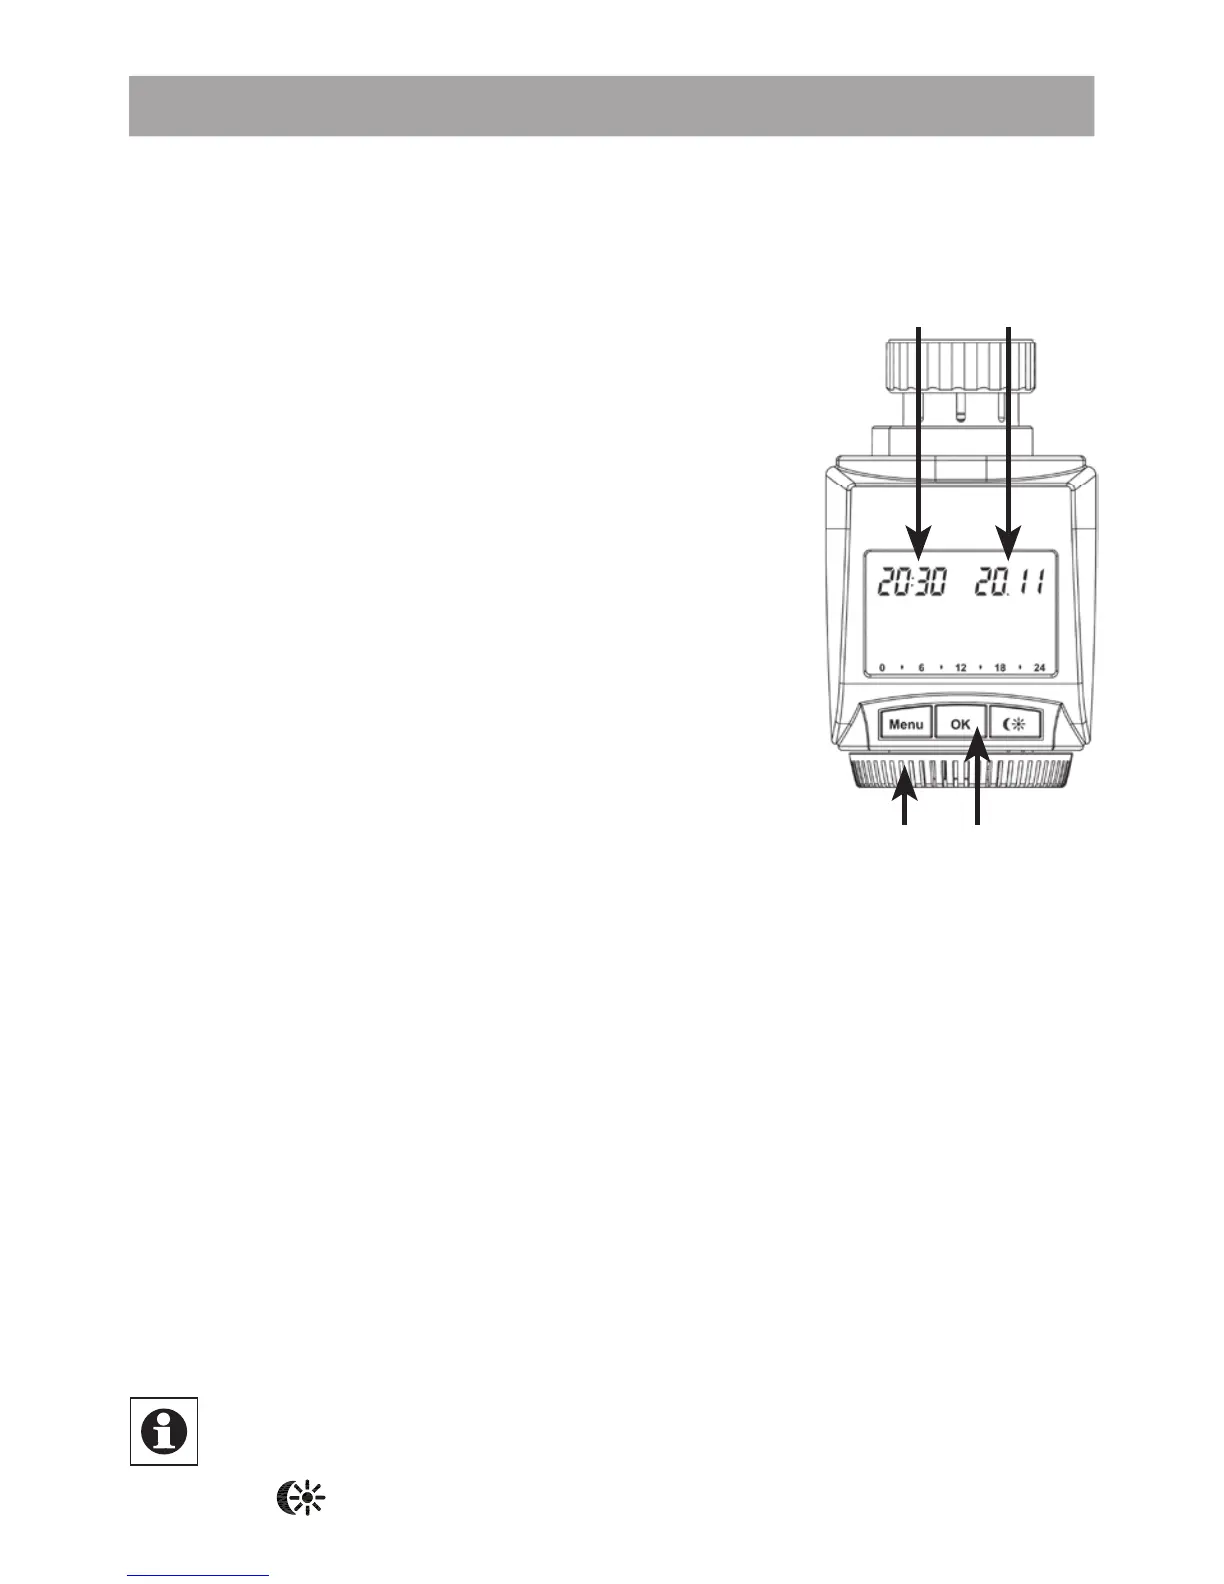
7. (Step 2) Setting the date and time of day
The fi rmware version number will be displayed briefl y once
you have inserted/replaced the batteries and then you will be
automatically prompted to set the date and time of day.
• Use the setting wheel (C) to set the year (B).
• Confi rm with OK (D).
• Use the setting wheel (C) to set the month (B).
• Confi rm with OK (D).
• Use the setting wheel (C) to set the day (B).
• Confi rm with OK (D).
• Use the setting wheel (C) to set the hour (A).
• Confi rm with OK (D).
• Use the setting wheel (C) to set the minute (A).
• Confi rm with OK (D).
The motor will start moving back the control pin while the
entries are still being made.
• If “InS” is displayed with a rotating “
∏
” symbol, this
indicates that the motor is still moving back. Once the
device is ready for the actuator to be installed on the
valve, just “InS” will appear on the display.
• The weekly program and other settings can be cus-
tomised prior to installation. To do this, press the menu
button when “InS” is shown on the display. For further
details, please see “12. Confi guration menu”.
• Once programming is complete, “InS” will reappear on
the display and installation (Step 3) can commence.
When “InS” is visible on the display, you can activate
the teach-in function prior to installation by pressing
the
button briefl y.