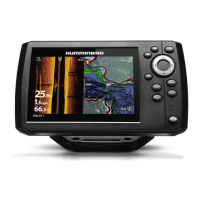
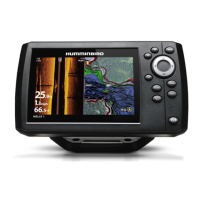
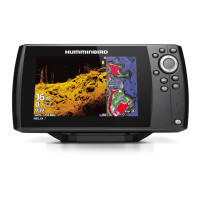
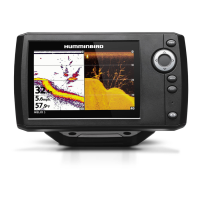
HELIX® 5 Series In-Dash Mounting Installation Guide
1
532319-1_B
Installation Overview
Following are instructions for the in-dash mount installation of the HELIX 5 control head. We encourage you
to read this guide before starting the installation, so you may understand the installation requirements.
Customer Service: If you find that any items are missing from your installation kit, visit our Web site at
humminbird.com or call Humminbird® Customer Service at 1-800-633-1468.
Supplies: In addition to the hardware supplied with your accessory, you will need a drill and various drill
bits, a cutting tool for the dashboard material, safety goggles, a dust mask, rubbing alcohol, and masking
tape.
NOTE: The illustrations in this manual may not look the same as your product, but your unit will function in the same
way.
1. Plan the Mounting Location
Start by locating a suitable, flat area of the dashboard for mounting. Consider the following to find the best
mounting location:
• Interference: The mounting location must provide adequate distance from electric motors or any
equipment that may cause electronic interference.
• Stability: The mounting area should be protected from waves, shock, vibration, and water.
• Depth: The mounting area should have a depth of 3 inches (7.62 cm) to allow space for the control
head and cables.
• Ventilation: The area beneath the mounting surface should be well-ventilated.
• Accessibility: The location should be easily accessible for all cables to reach the ports on the back of
the control head.
NOTE: If a cable is too short for your application, extension cables are available. For assistance, contact Humminbird
Customer Service at humminbird.com or call 1-800-633-1468.
HELIX 5 Series In-Dash Mount Dimensions
V
IEW
MENU
EXIT
7.55 in (191.77 mm)
4.28 in
(108.71 mm)
2.90 in (73.66 mm)
2.17 in (55.12 mm)