8
Ensure the power is OFF at the outlet box
and wall switch location before proceeding
with installation.
Turn Power
OFF
1
Turning off the power
2
Preparing the Wall Switch
After removing the switch plate cover,
remove all wiring from the switch.
3
Wiring the Wall Control
Using the wire connectors, connect each
black wire from the wall control to a
black wire from the switch box. Connect
the green with yellow stripe wire to the
grounding wire from the switch box.
Note: If two white wires are present in the
switch box, connect them to each other if
they are not already connected.
4
Installing the Wall Control
Insert the wall control into the outlet
box and secure the two metal tabs to
the tabs on the switch box using the
two at head screws that came with the
switch box.
ON
Turn Power
Turning
on the
power
7
5
6
Installing the Wall Plate
Installing the Wall Plate (CONT)
Remove the knob from the wall
control and mount the faceplate (not
included) to the wall control using the
two #6-32 screws you removed earlier
from the faceplate.
Reattach the knob onto the wall
control and turn it to the left for the
OFF position.
1.
2.
1.
2.
1.
2.
1.
2.
To avoid possible electrical shock, before
installing your fan, disconnect the power by
turning off the circuit breakers to the outlet
box associated with the wall switch location.
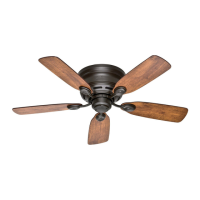
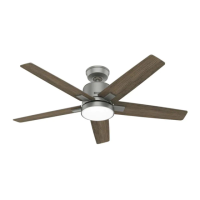
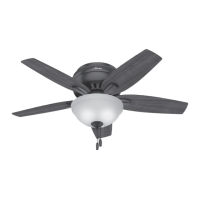
Ceiling Bracket Downrod Hanging Fan Wiring Canopy Blades Wall Control