43053
-
02/10/2009
16
Mettre le boîtier en place au-dessus du plafond.
Fixer la gaine existante au connecteur de gaine. Jointer avec du ruban. Si la gaine n’est
pas de la bonne dimension, vous pourriez devoir acheter un adaptateur.
Enlever un ventilateur existant et vérifier que l’ouverture est assez grande pour
permettre la pose d’un nouveau boîtier de moteur (203 mm x 216 mm [8 po x 8,5 po]).
Passer les fils par le raccord.
Installer le boîtier affleurant à la plaque de gypse et
le fixer en vissant les vis pré-installées dans la solive.
FRN FRN
FRN FRN FRN
Aller à l’ètape F1 à la page 20
pour Conecte los alambres como se muestra.
FRN
Mueva el alojamiento a su posición encima del techo.
Conecte el ducto existente con el conector de ducto. Aplique cinta a las uniones. Si el
ducto no se ajusta firmemente, puede ser necesario comprar un adaptador.
Retire el ventilador existente y asegúrese que la abertura sea suficientemente grande
para acomodar el alojamiento del motor/soplador nuevo (8 pulg. x 8 1/2 pulg.).
Tienda los cables a través del manguito de
alivio de tension.
Instale el alojamiento a nivel con la plancha de yeso
y asegúrelo apretando los tornillos precargados en la viga.
SPX SPX
SPX SPX SPX
Vaya al paso F1 en la página 20 para
onnectoer les fils tel qu’indequé comme indiqué
SPX
D13
D12
D11
EXISTING FAN /
VENTILADOR EXISTENTE /
VENTILATEUR EXISTANT
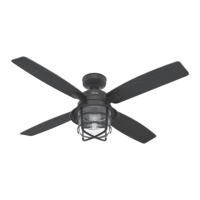
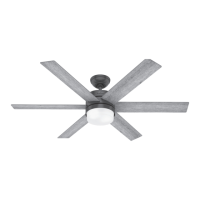
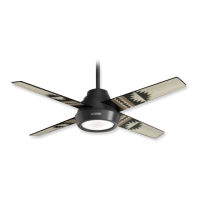
Existing Construction
accessible only from below
Construcción existente
accesible sólo desde abajo
Construction existante
accessible uniquement du dessous
D14
D15
Move the housing into position above the ceiling.
Attach existing ducting to duct connector. Tape joints.
If ducting does not fit securely, an adapter may need to be purchased.
Remove an existing fan and check to make sure the
opening is large enough to accommodate the new motor housing (8”x 8.5”).
Pull wires through strain relief.
Install the housing flush with the sheetrock and
secure by tightening the pre-loaded screws into the joist.
ENG ENG
ENG ENG ENG
Go to step F1 on page 20 to connect the wires as shown.
ENG
F1
D16