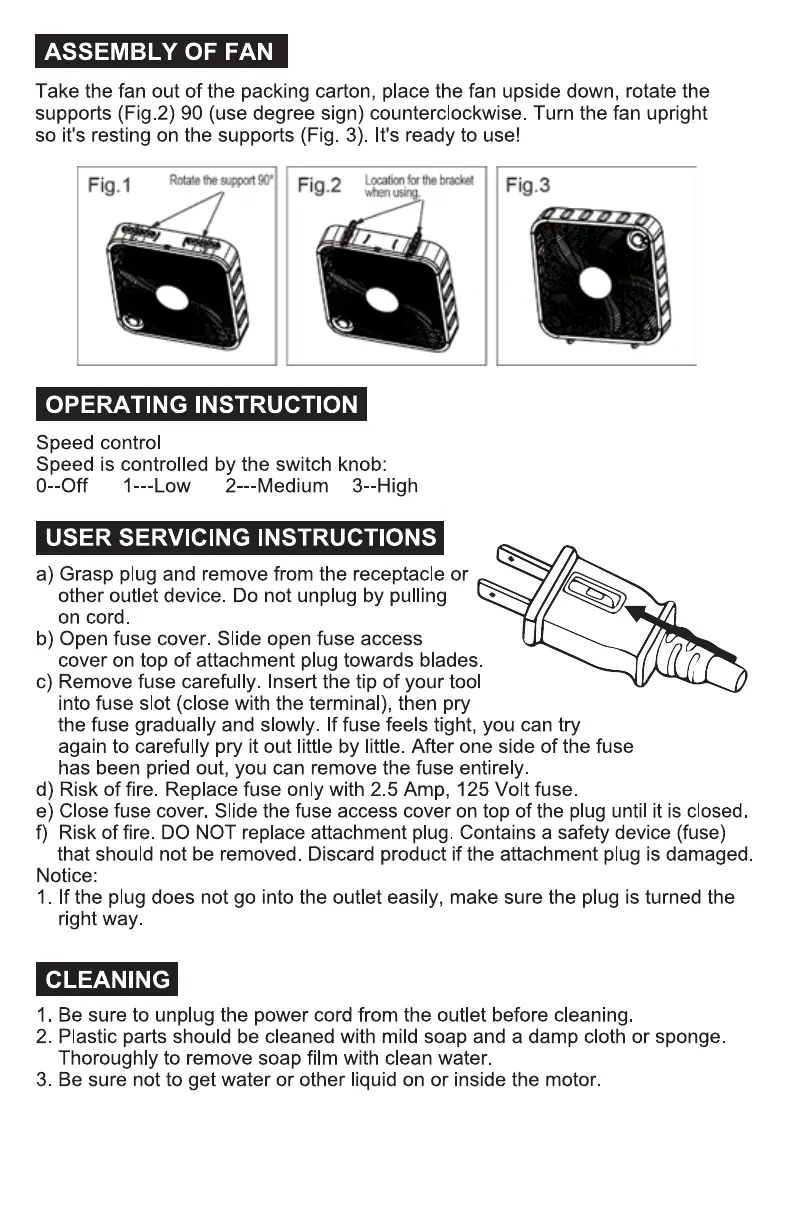
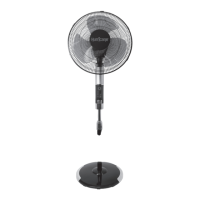
ASSEMBLY OF FAN
Take the fan out of the packing carton, place the fan upside down, rotate the
supports (Fig.2) 90 (use degree sign) counterclockwise. Turn the fan upright
so it's resting on the supports (Fig. 3). It's ready to use!
Fig.2 yetüiküthet,tacxet
Fig, I
OPERATING INSTRUCTION
Speed control
Speed is controlled by the switch knob:
0--0ff I---Low 2---Medium 3--High
USER SERVICING INSTRUCTIONS
a) Grasp plug and remove from the receptacle or
other outlet device. Do not unplug by pulling
on cord
b) Open fuse cover. Slide open fuse access
cover on top of attachment plug towards blades.
c) Remove fuse carefully. Insert the tip of your tool
into fuse slot (close with the terminal), then pry
the fuse gradually and slowly. If fuse feels tight, you can try
again to carefully pry it out little by little. After one side of the fuse
has been pried out, you can remove the fuse entirely.
d) Risk of fire. Replace fuse only with 2.5 Amp, 125 Volt fuse.
e) Close fuse cover. Slide the fuse access cover on top of the plug until it is closed.
f) Risk of fire. DO NOT replace attachment plug. Contains a safety device (fuse)
that should not be removed. Discard product if the attachment plug is damaged
Notice:
1. If the plug does not go into the outlet easily, make sure the plug is turned the
right way
CLEANING
1 . Be sure to unplug the power cord from the outlet before cleaning.
2. Plastic parts should be cleaned with mild soap and a damp cloth or sponge.
Thoroughly to remove soap film with clean water.
3. Be sure not to get water or other liquid on or inside the motor.